Sunday, March 30, 2025

Engine Mounting Part Seven!


Next comes connecting the engine harnesses to the fuse box cannon plugs.  These must have a sealing ring inserted in them before you attach them.  The seals come from Rotax with the engine.

Here they are installed.  These do sort of lock onto the connector if you turn them hard enough.  The latch is not very significant.  Wish these had some way to safety them because they are kinda important.

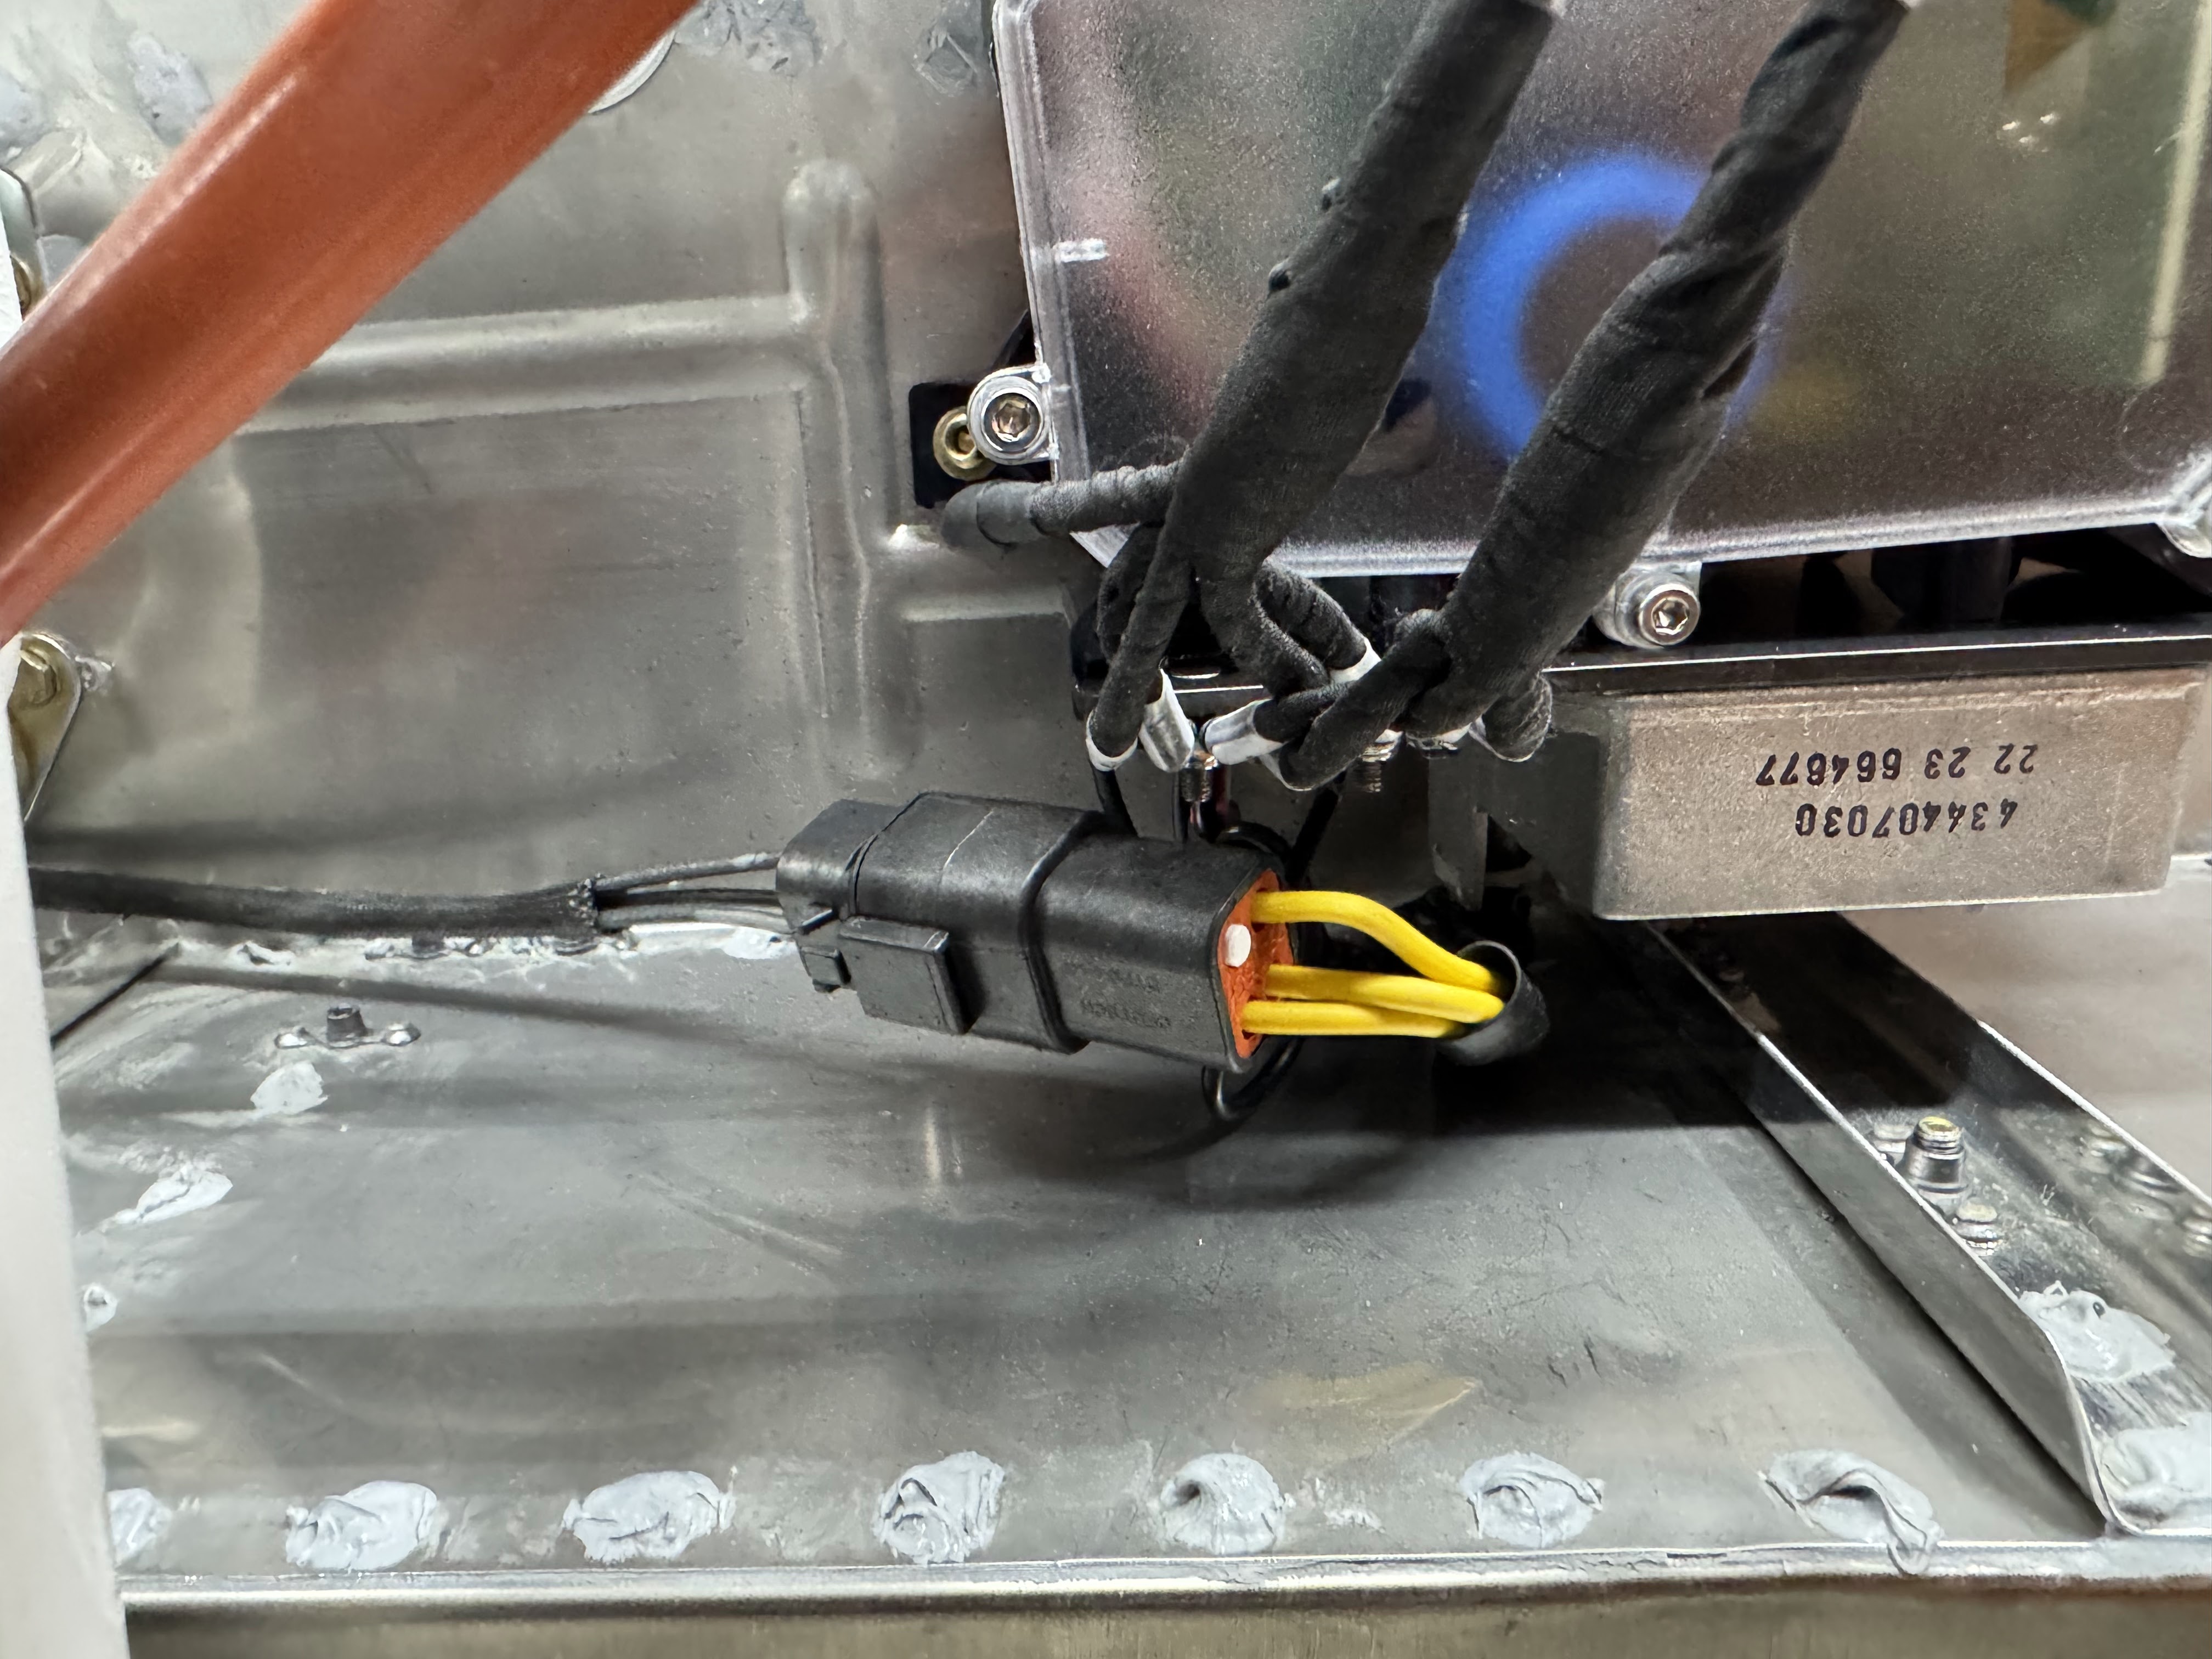
Here is the cannon plug that is different than the one called out in the KAI.  Totally different but much more robust design and it can be safety wired.

Here is the other connector that does match the KAI's.

They have you route the ECU cables thru the firewall.  I decided to put some split loom around the sharp edges of the hole to prevent damage to the cables.  The sealing parts and bushings get installed later.


Saturday, March 29, 2025

Engine Mounting Part Six!

Purchased this EarthX recommended charger to take care of the new lithium battery.  Pricey critter!


Connected the fuel supply and return lines.


They have you shove this heat shield up under the ignition coils.

And then safety wire it to this hose.

Next is to secure this heat shield in place with safety wire around the coolant distributor neck.


Numbered totally different that what the directions call out.

Unfortunately the wires are not labeled per the KAI's.  I had to use a multimeter to figure out which was the correct ground on the other end.

Next they have you cut the ground wire for the starter solenoid off and cover it with heat shrink.

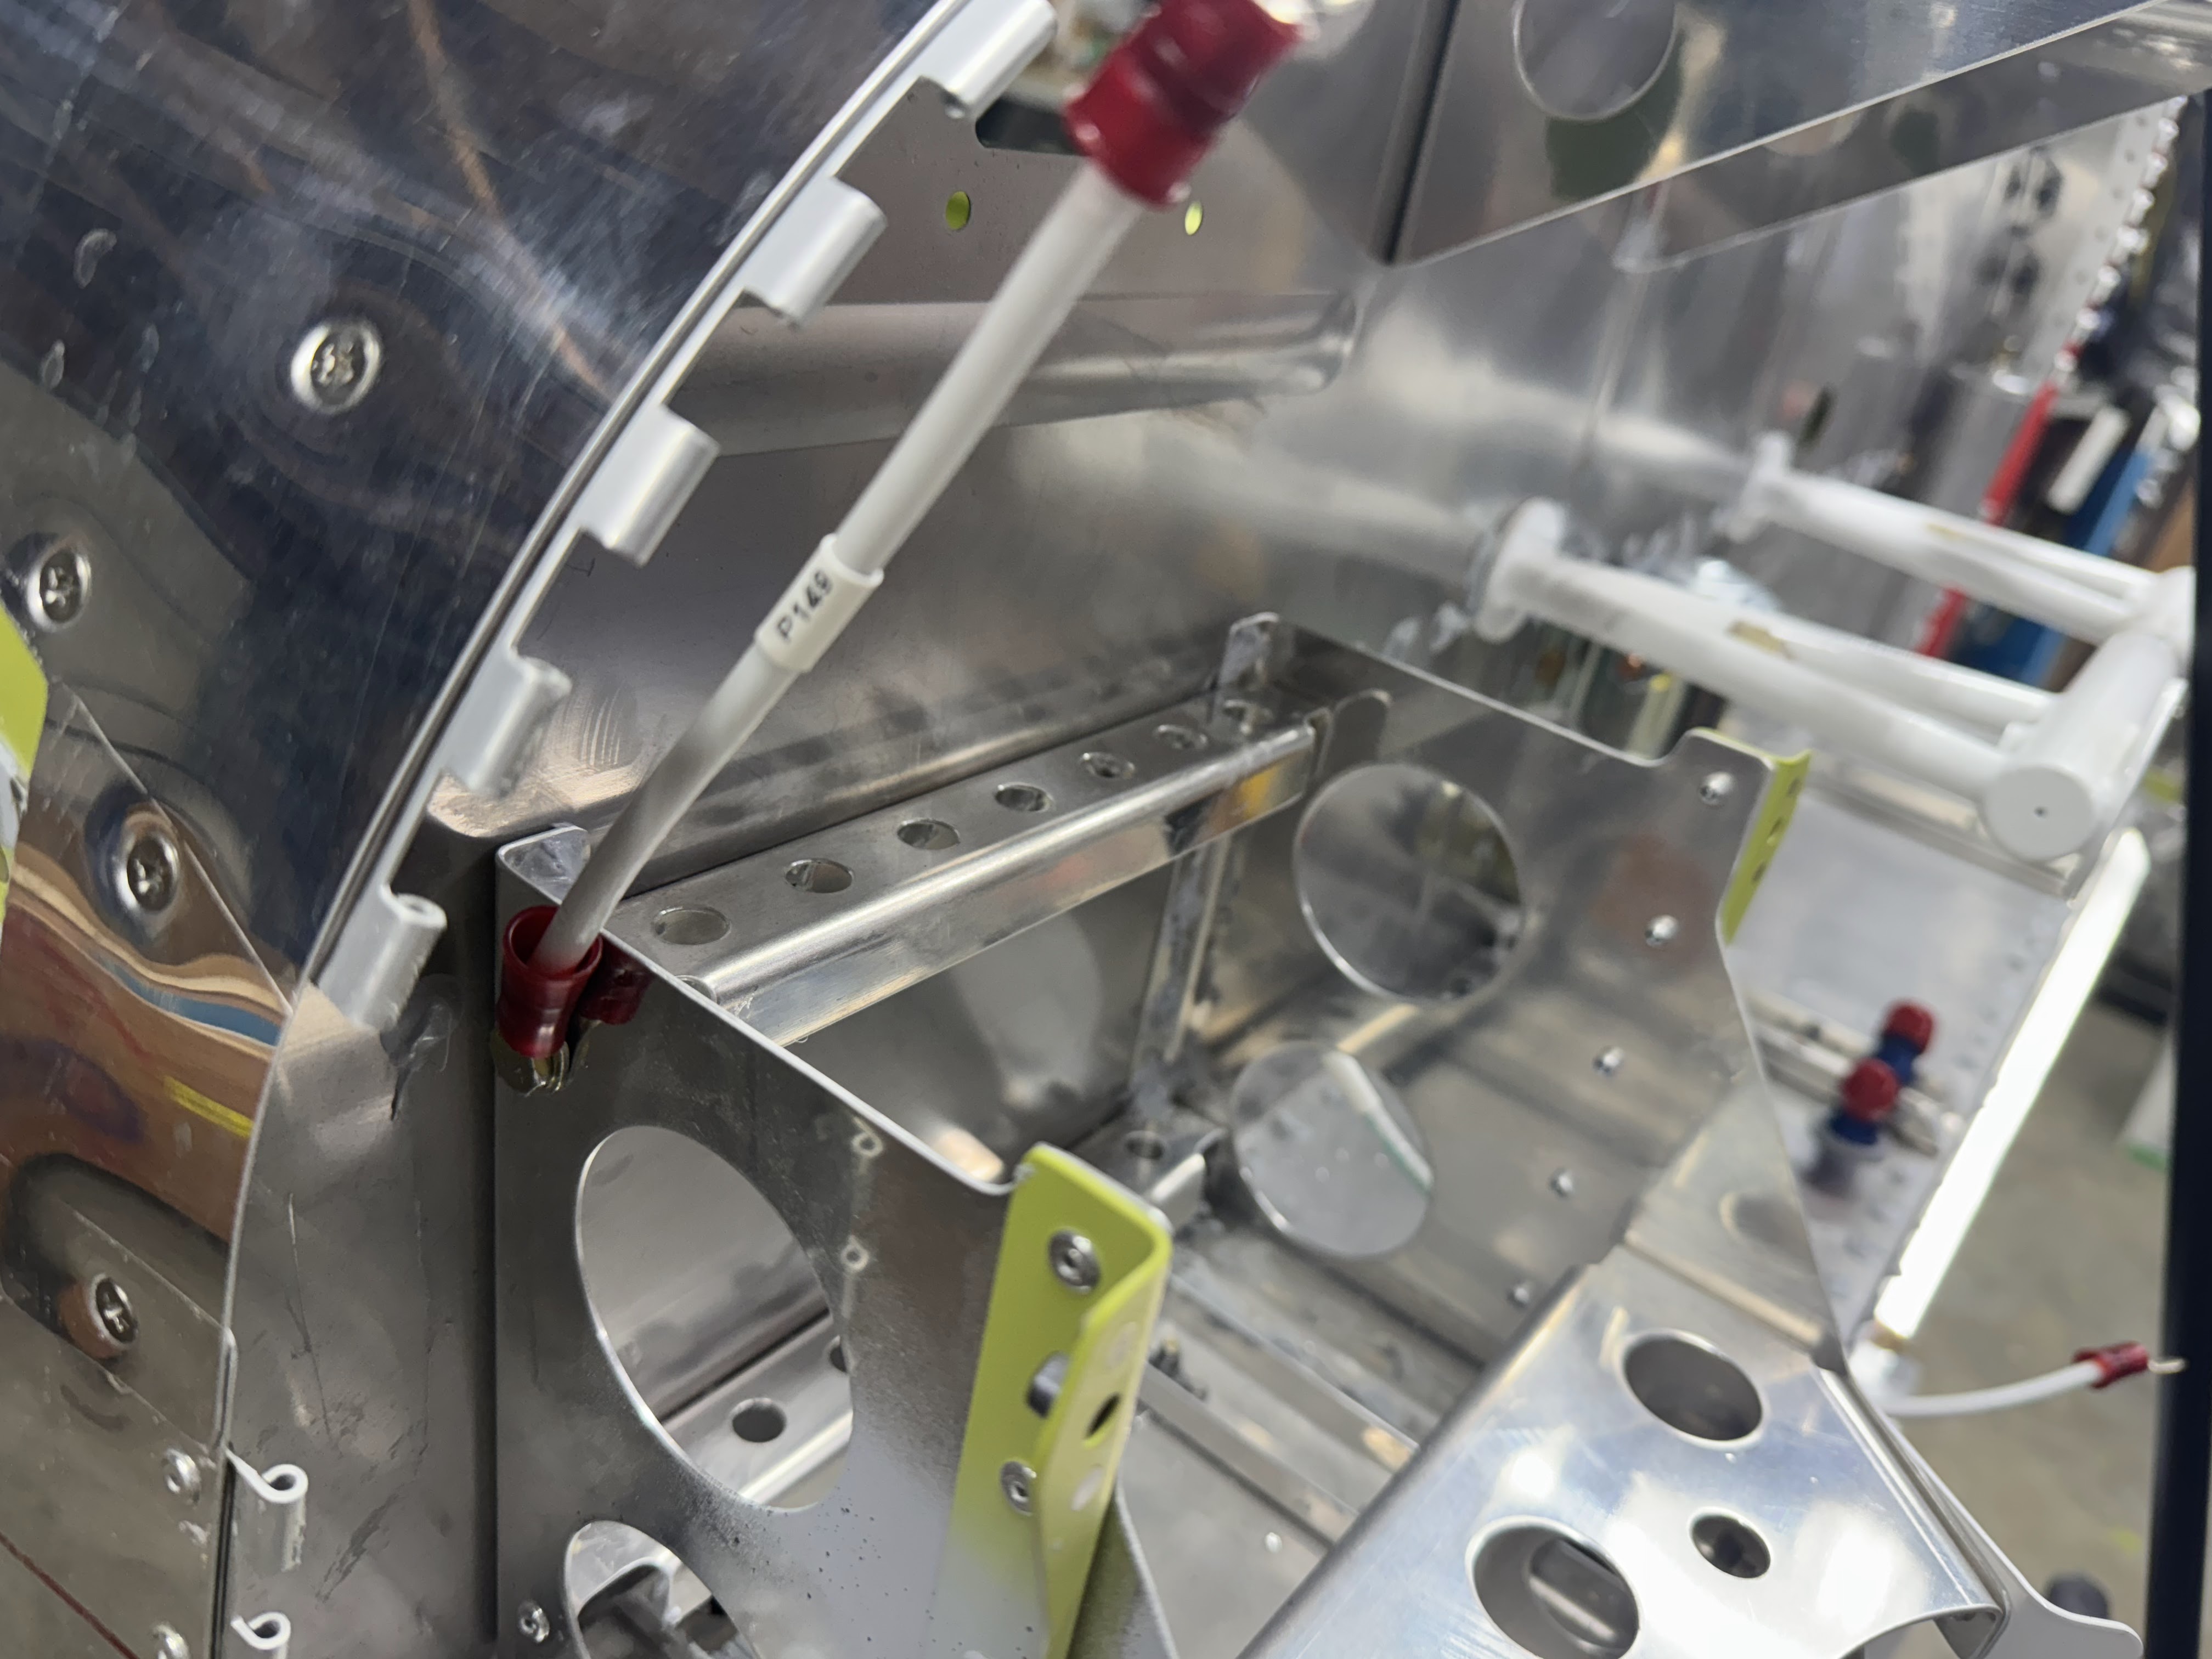
They have you connect all of the sensor ground wires to the ground lugs on the fuse box.

They have you temp mount the engine fuse box.  


Seems they have changed from having two of the same connectors that are a different color to two totally different styles.  One is now a cannon plug.

Monday, March 24, 2025

Engine mount part five!

I then swung my hanging straps around 90 degrees and pulled the fuse up close to the engine.  This allowed me to align the engine perfectly and get the bolts and isolators installed.  I did put a little bit of silicone lube on the isolators to get them to slide together easily.  I installed the bottom bolts first.


Then the top ones.  It is a tight fit on the top.  

I then torqued down the bolts per the KAI's.
Looks great hanging on the plane.  It is amazing how compact this engine is!


Sunday, March 23, 2025

Engine mount part four!

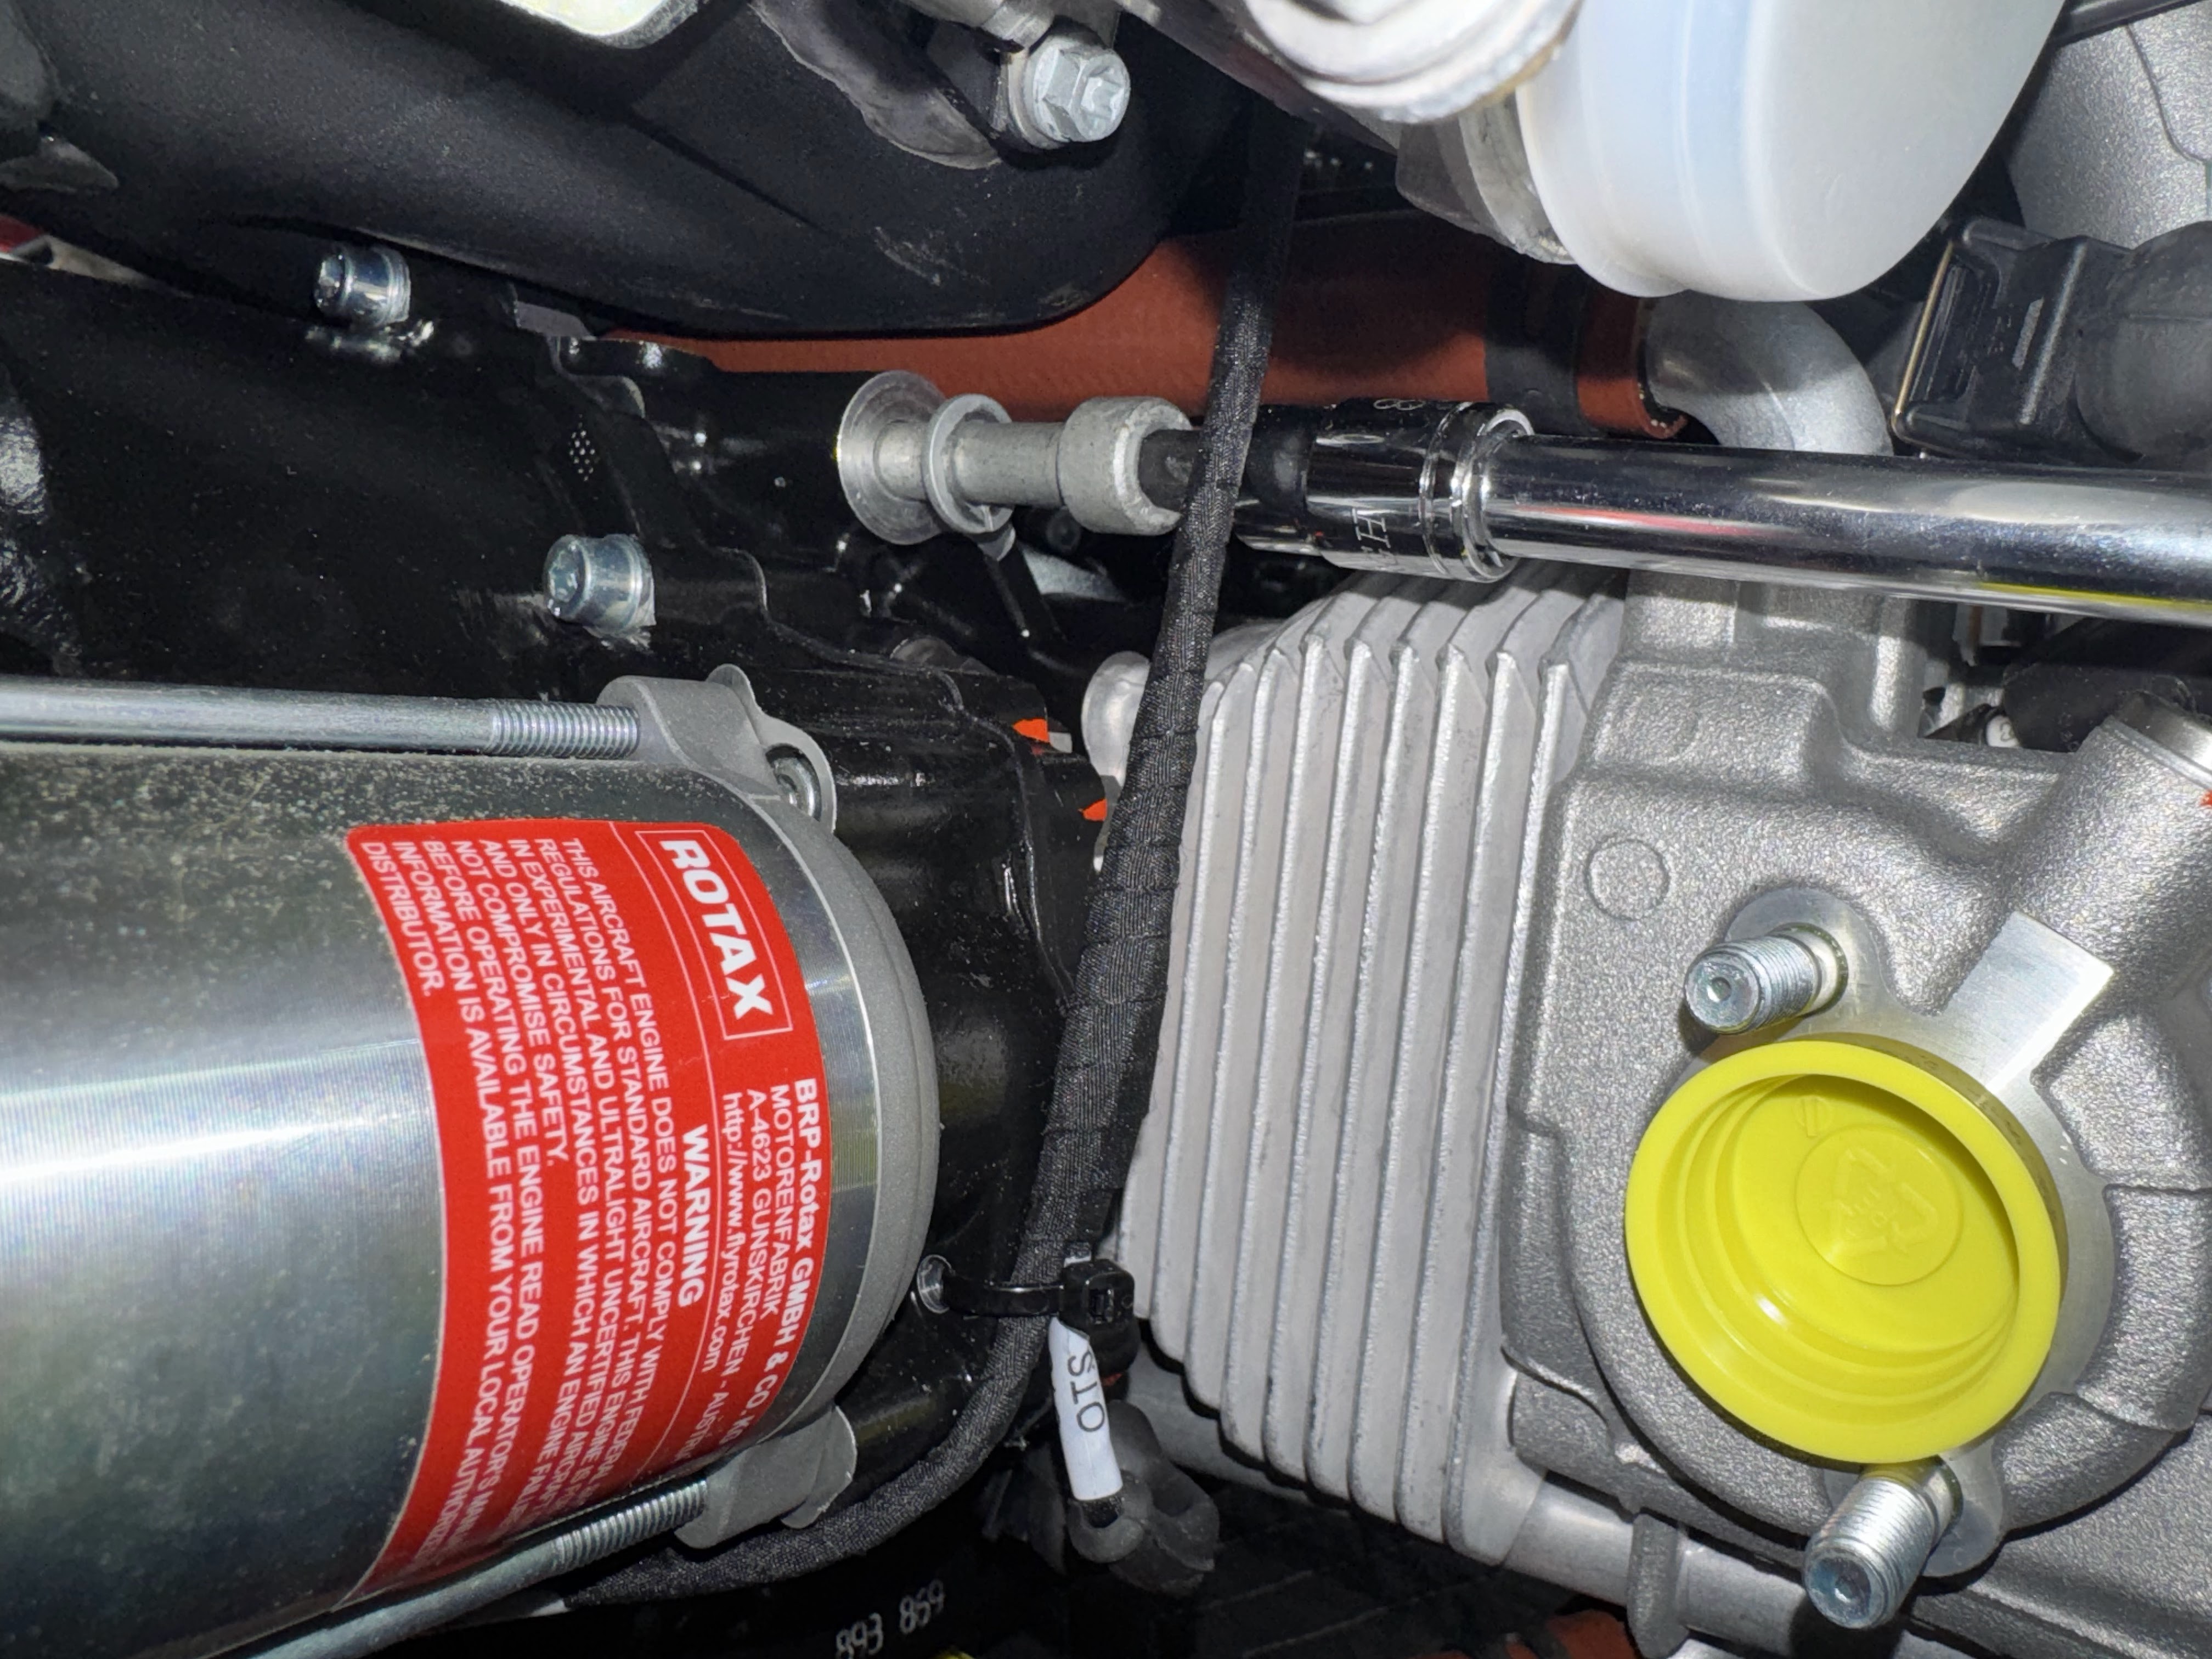
You will need a long ball end 8mm allen key to get to the top left mount bolt.  You have to look up the torque spec in the Rotax maintenance manual.  That manual also calls out that the bolts must have medium loctite when installed.


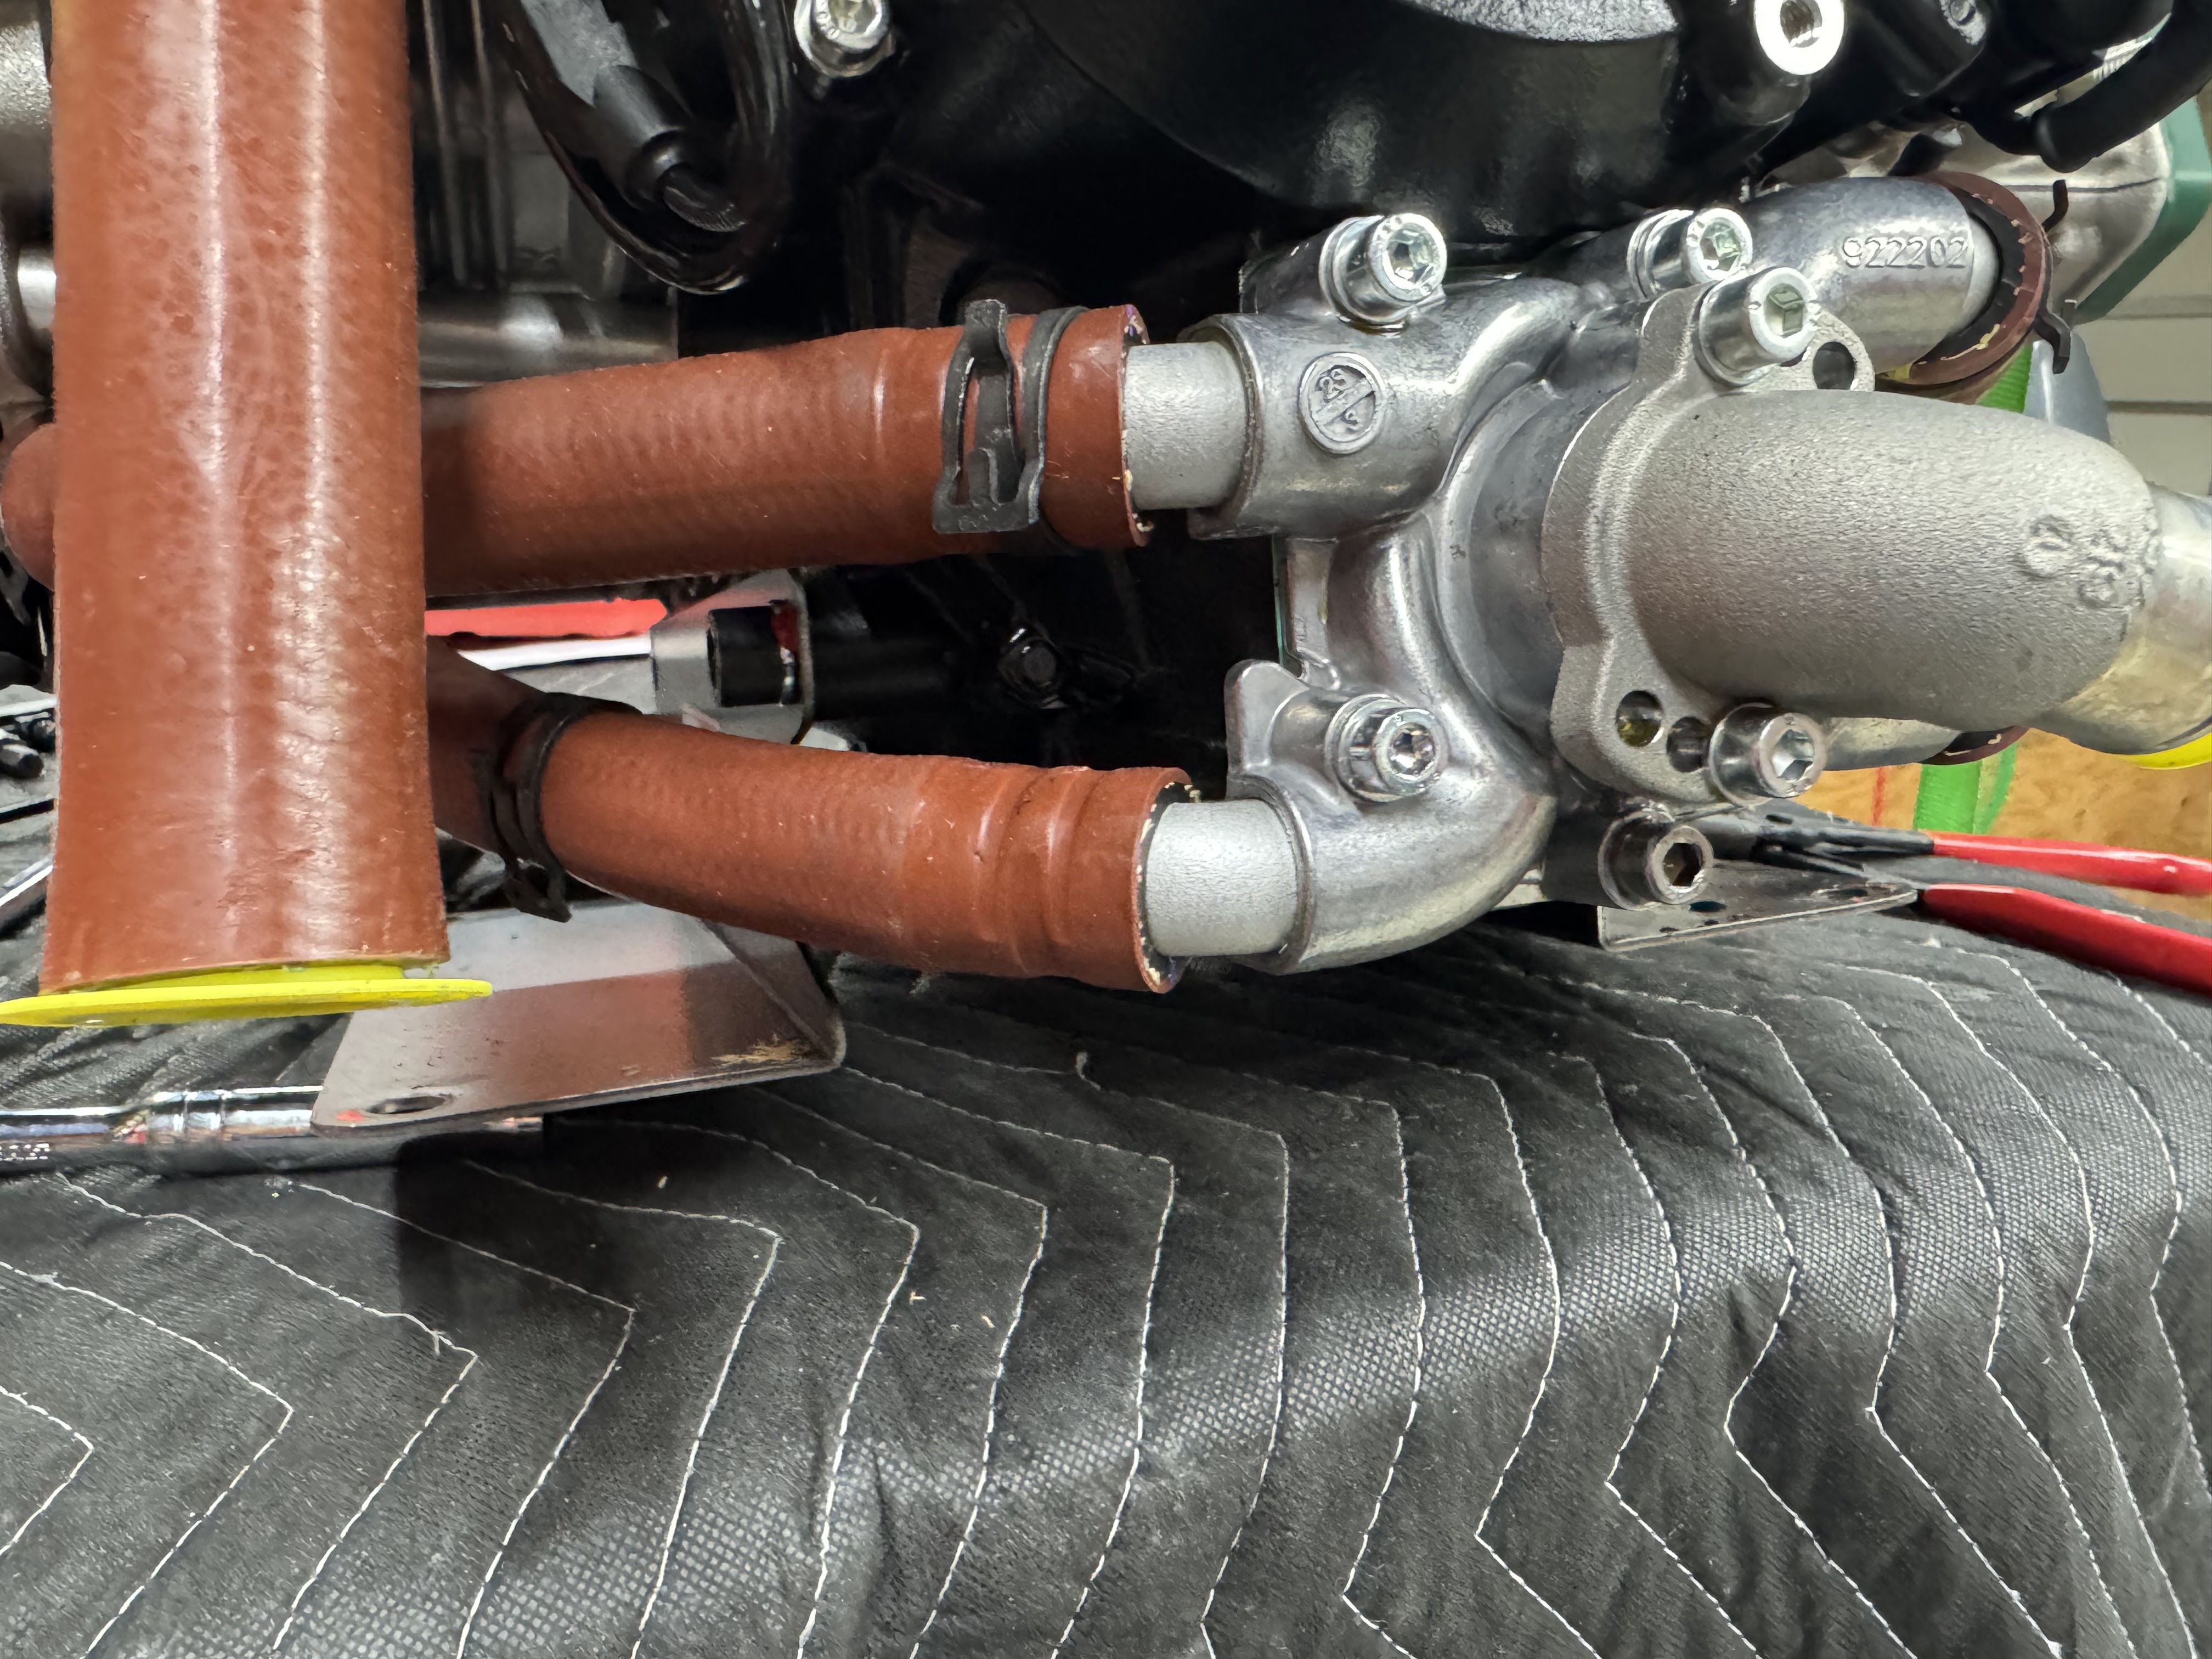
Then you are asked to reconnect the lower coolant lines.

Once that is done there is a procedure to match drill up to full size the lower engine mount bolt holes.  Easy peasy just follow the KAI's.


Saturday, March 22, 2025

Engine mounting part three!

The battery was shipped direct from EarthX.  The KAI's have you install some anti wear edging strips on the rudder pedal mount brackets under the battery box.  As well as some UHMW strips to the angles that contact the battery.  Then they have you make some foam spacer strips to take up the side to side space.  There is still a 1/8" gap front to back on the battery box.  Not sure what to make of that at this point.  The battery hold down bracket was back ordered.


My wife and I managed to lift the engine from the crate's base up onto the workbench where I used these straps to suspend the engine to remove the shipping brackets.

The clocking of the water outlet nozzle was correct out of the crate.  SCORE!

Next they have you remove the two lower coolant hoses.  Apparently the newer engines come with lifetime silicone hoses for this task where the older ones had rubber that had to be changed on a regular basis.  SCORE!

Left side.

Be aware that they run these engines at the factory so there can be some oil and coolant leak out when removing lines.

Here are the shipping mount plates that get removed.  Saving these in case the engine ever has to be shipped somewhere in the future.

They have you disconnect the crank position sensor connectors and remove the connectors from the mounting bracket.  This is to allow for the engine mount install.  They have these clips that lock them together on both sides and I used these two small screwdrivers to get them apart without bending the clips.

The bracket once the connectors are removed.

Next they want you to remove the radiator line from the coolant tank but there is no way to access the clamp without removing the coil pack.  


It was a tight squeeze to get the pliers on this clamp and get this removed.  It was also hard to get it to break free from the nipple.

Coil pack reinstalled.  These two screws will need to be loctited again but I will wait until the hose is permanently installed.

Then they have you tape up the engine mount to prevent scratches.  I found this totally unnecessary after the fact.  I would skip this step if I were doing it again.

Three of the four engine mount bolts are provided by Vans.  The one long bolt is installed at the factory by Rotax.  It has to be removed.  Do not use the washer or locknut that comes out with this bolt.

Here are the bolts and hardened lock washers that must be used with these bolts.  The lock washers are provided by Vans.

In order to install the engine mount, these zip ties must be cut to free up the crank position sensor cables.  One on the bracket that held the connectors.
And one on the wire bundle in the middle back.


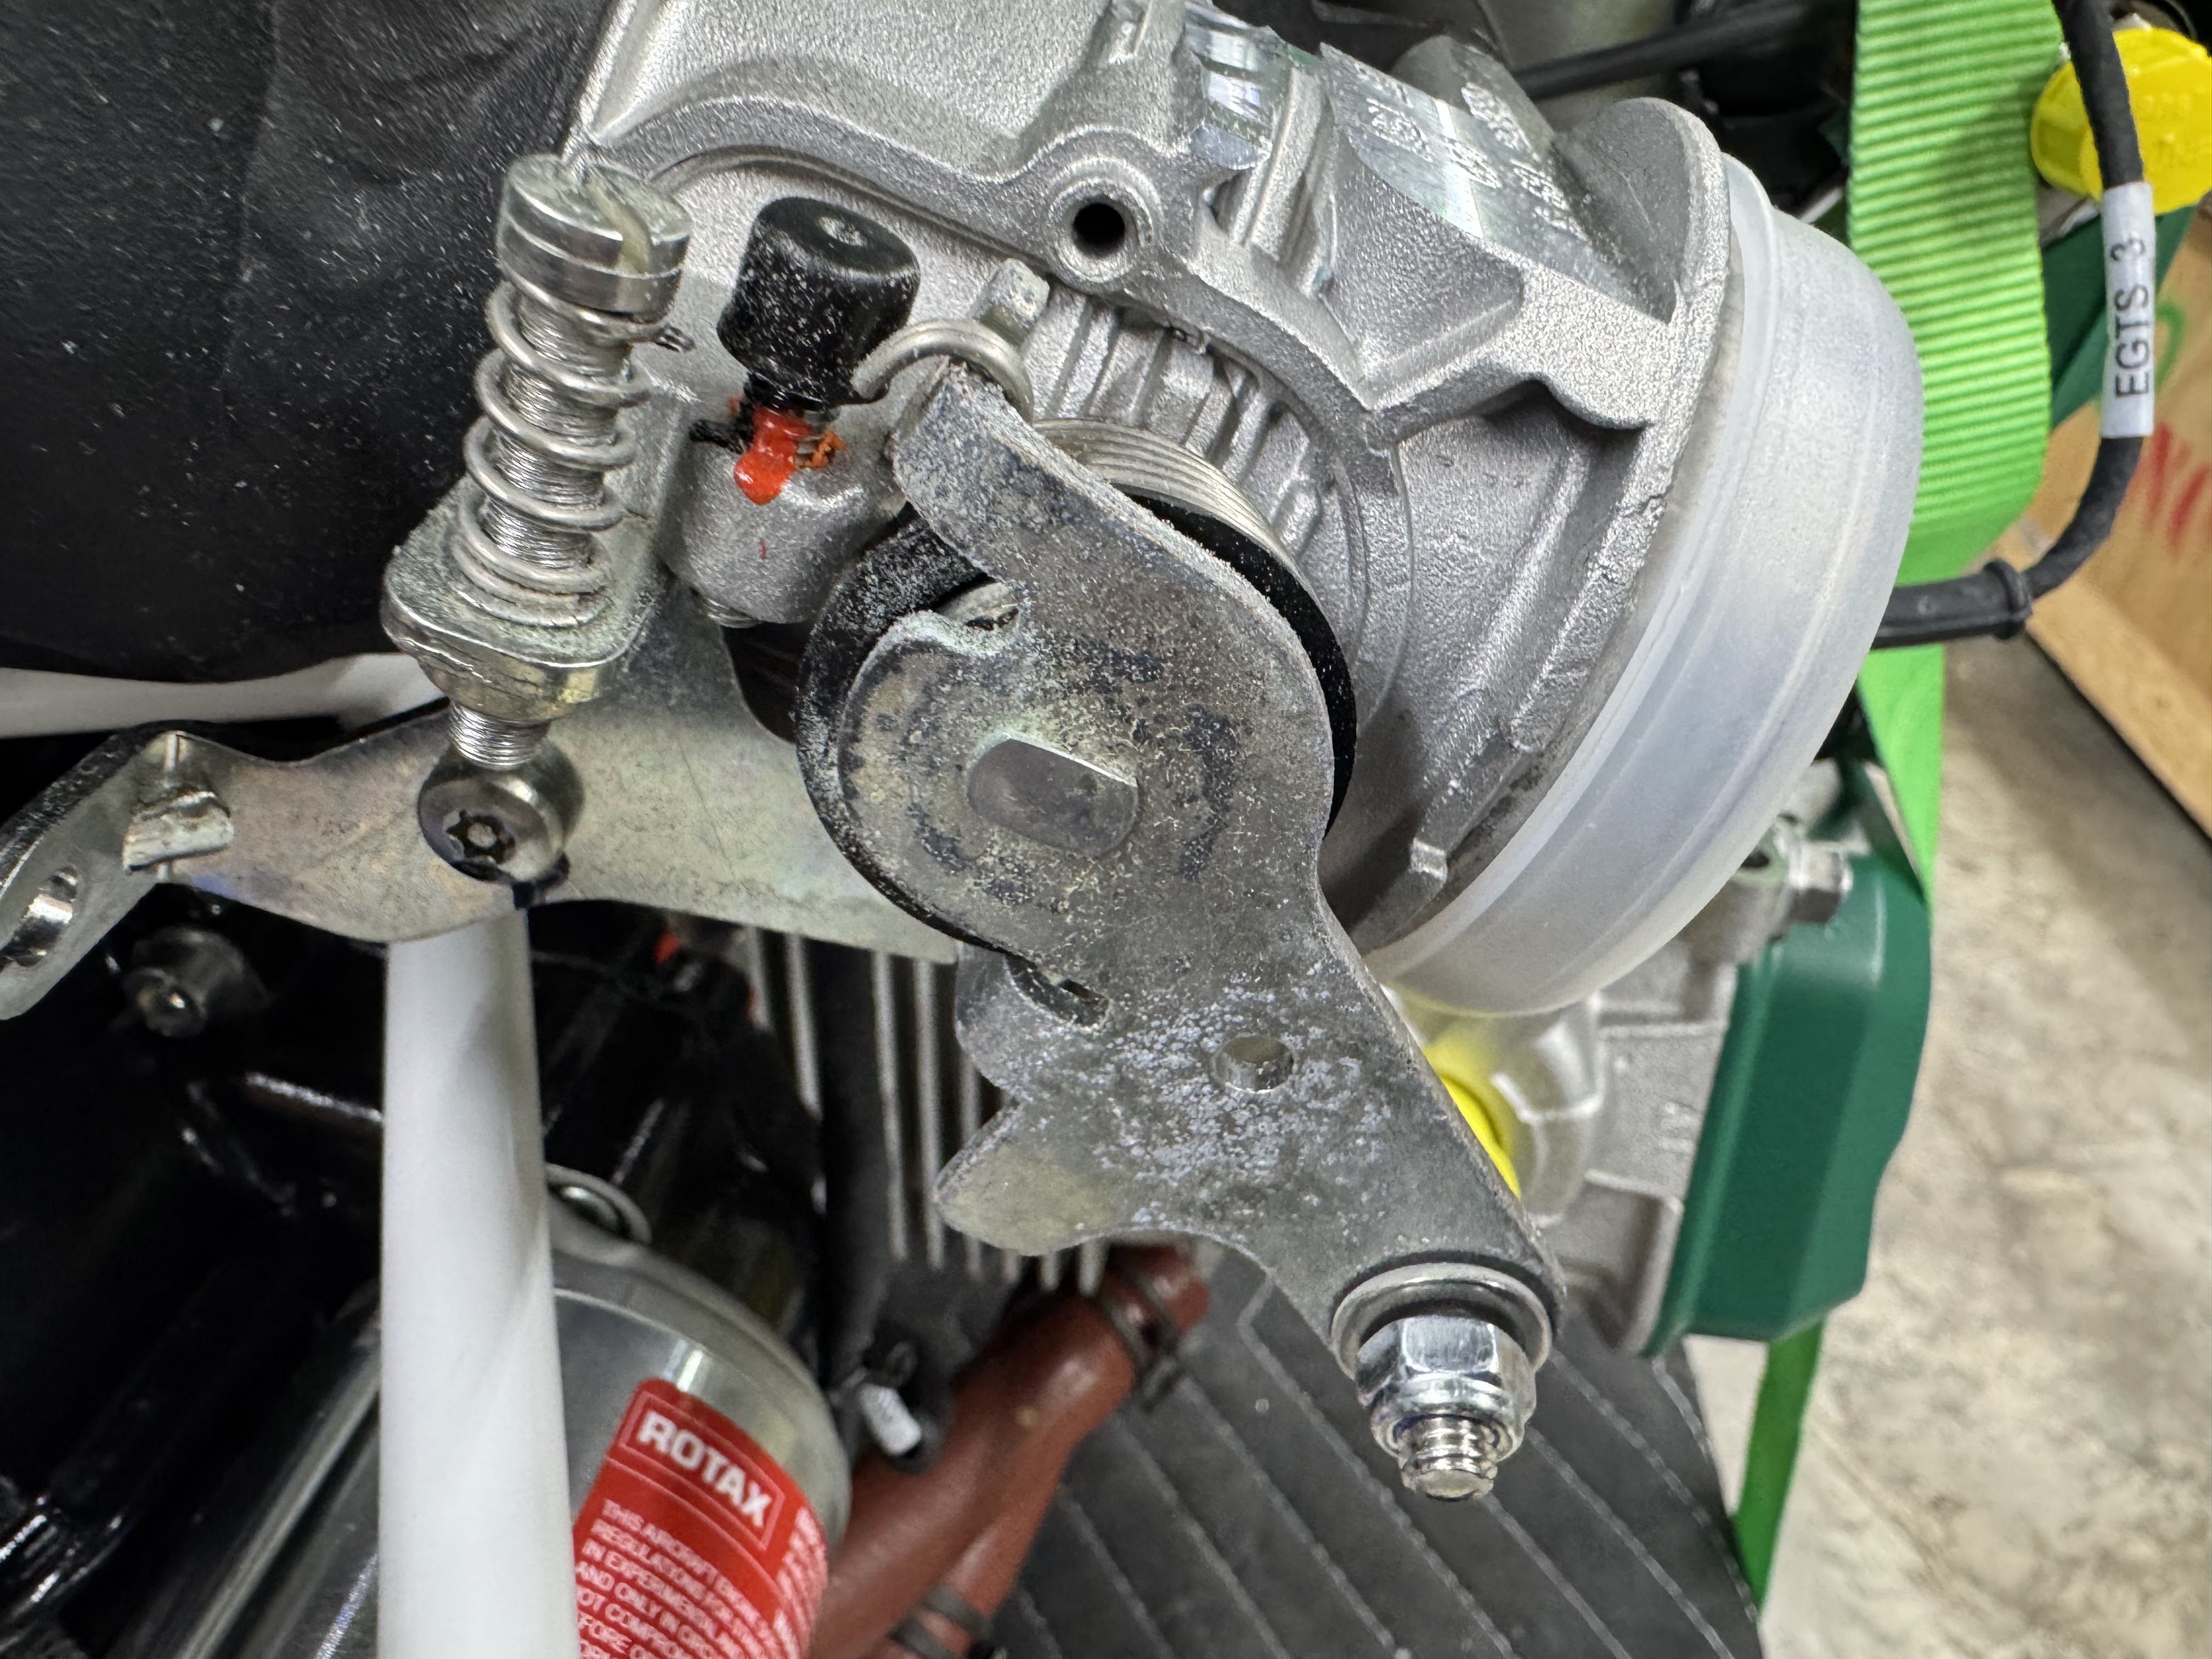
Not happy that this brand new $50K engine comes with a corroded throttle lever bracket.  Others have reported the same so apparently it is common and Rotax refuses to fix this issue.

Then you can slip the engine mount into its home location.  It is a very tight fit.  You must follow the directions exactly to get it on properly with no damage.  You then check for clearance and determine if any shim washers are required.  Mine fit perfectly with no gaps.


Tuesday, March 18, 2025

Engine mounting part two!

Next they have you install some of the main power wiring.  The battery ground cable.


The engine ground cable.

The battery positive cable and the master relay flyback diode.

And the starter relay power cable.


Monday, March 17, 2025

Engine mounting part one!

Got started with mounting a few components on the firewall.  


Master relay.

Starter relay.  This was provided by Rotax.