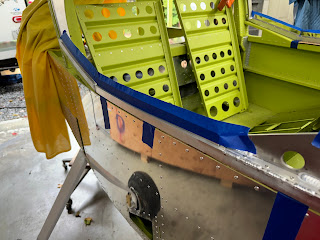
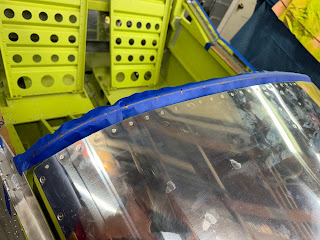
More canopy bubble drilling today.
Front all drilled.Thursday, September 26, 2024
Tuesday, September 24, 2024
Canopy bubble drilling!
Finalized the location of the canopy, taped it down and started drilling it to the frame today.
Ensured that the hole is concentric with the shaft.
And started drilling with the plexi drill. Front to back and side to side.
Monday, September 23, 2024
Canopy bubble fitting
Now comes the fun stuff of working with the canopy bubble. Always a risk of cracking one of the most expensive parts of the kit. No pressure!
First is to remove about 3" of the protective film around the edges of both sides of the bubble. Then to tape what remains down so that it is protected as much as possible.There was a blemish just to the side of the factory cut hole in the bubble. It kinda looks like that was supposed to be there as an indicator of where they should drill the hole. Hopefully it is not that far off!
This tape gets layed out but not pressed on to help indicate where the canopy contacts the frame.
Tape up the canopy latch shaft hole that sticks up to help prevent scratches.
I noticed that the copilot side was sitting on the frame and it needs a minimum 1/8" gap. First cut was completed.
Subscribe to:
Comments (Atom)


