Saturday, December 21, 2024

Flight controls part 3

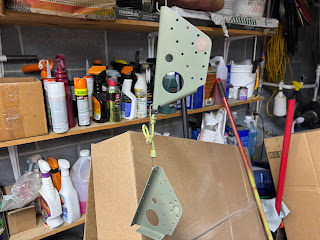
Riveted the brackets together along with their associated bearings.  There is a top and bottom to the spacer that gets sandwiched.  Make sure you put the extra hole at the top!

Then I riveted these into the fuse.

Next I cleaned all the holes on the control column weldment.

And then snaked the control column into the fuse.  There is a right and left to this so pay attention.  Also you have to find the magic combination in order to get this in.  Tip is to rotate it as you go to find the place where the tabs will slip thru the lightening holes in the ribs.


Then the control column gets bolted to the brackets.  This takes figuring out what combination of thick and thin washers puts the least side load on the bearings when torqued down.  Trial and error!


If you don't have a set of washer wrenches,  get them now!  You will thank me! 

Thursday, December 19, 2024

Flight controls part 2

Prepped the brackets that will end up holding the center control column in place.

These brackets get a bearing in between them that is tight tolerance.  I covered up that machined area before priming using these colored dots I swiped from my wife.  Worked better than great!

Primed the parts using self etching rattle can.  Its too nasty outside to prime with the waterborne epoxy.

Wednesday, December 18, 2024

Flight controls part 1

Started the flight controls section by installing the brake fluid reservoir.
 
The two lines from the reservoir to the master cylinders.

This was a pain in the rear to install!

Looks much cleaner with that adel clamp in place.


Monday, December 16, 2024

Canopy fairing part 18


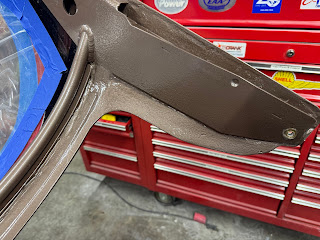
Final sanded the inside of the canopy fairing so I could paint it with the same Rustoleum Hammered paint that I am using on the rest of the interior.

Masked off the areas that I don't want painted.


Turned out pretty nice considering it is seen very little once the plane is finished.  Mostly only visible when the canopy is open.  The hammered finish hides some of the imperfections.


Sunday, December 15, 2024

Canopy fairing part 17


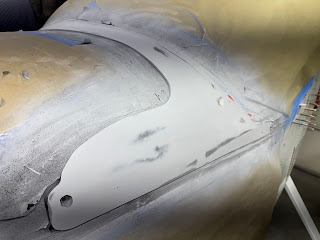
Learned this little trick back in auto body class at the vocational school during high school.  Speckle the surface with some contrasting spray paint.  Then when you sand, you can see the low spots.

Sand until just breaking thru to the high spots.


I then sprayed another three coats of the high build primer and sanded that layer as well using the exact same process.  At that point, I was not breaking thru anywhere and there were no low spots left so I called it done!