Showing posts with label Builder Tips. Show all posts

Wednesday, September 18, 2024

Canopy latch and handle

Worked on the canopy latch handle today.

First is match drilling the exterior handle to the interior handle shaft.  Be careful to drill it straight.

Then the exterior handle gets drilled deeper for the tapped threads.

Then the first half of the handle gets enlarged for the screw clearance.

Then the shaft gets enlarged as well.
Then the exterior handle is tapped for the screw that holds it onto the shaft.  I can't believe this one little screw is all that keeps the handle from falling out and if it does, the canopy will be free to pop open in flight.  I don't worry about the screw shearing off but it is possible for it to vibrate out.  There is no mention of using loctite on this screw but you can be sure I will be.

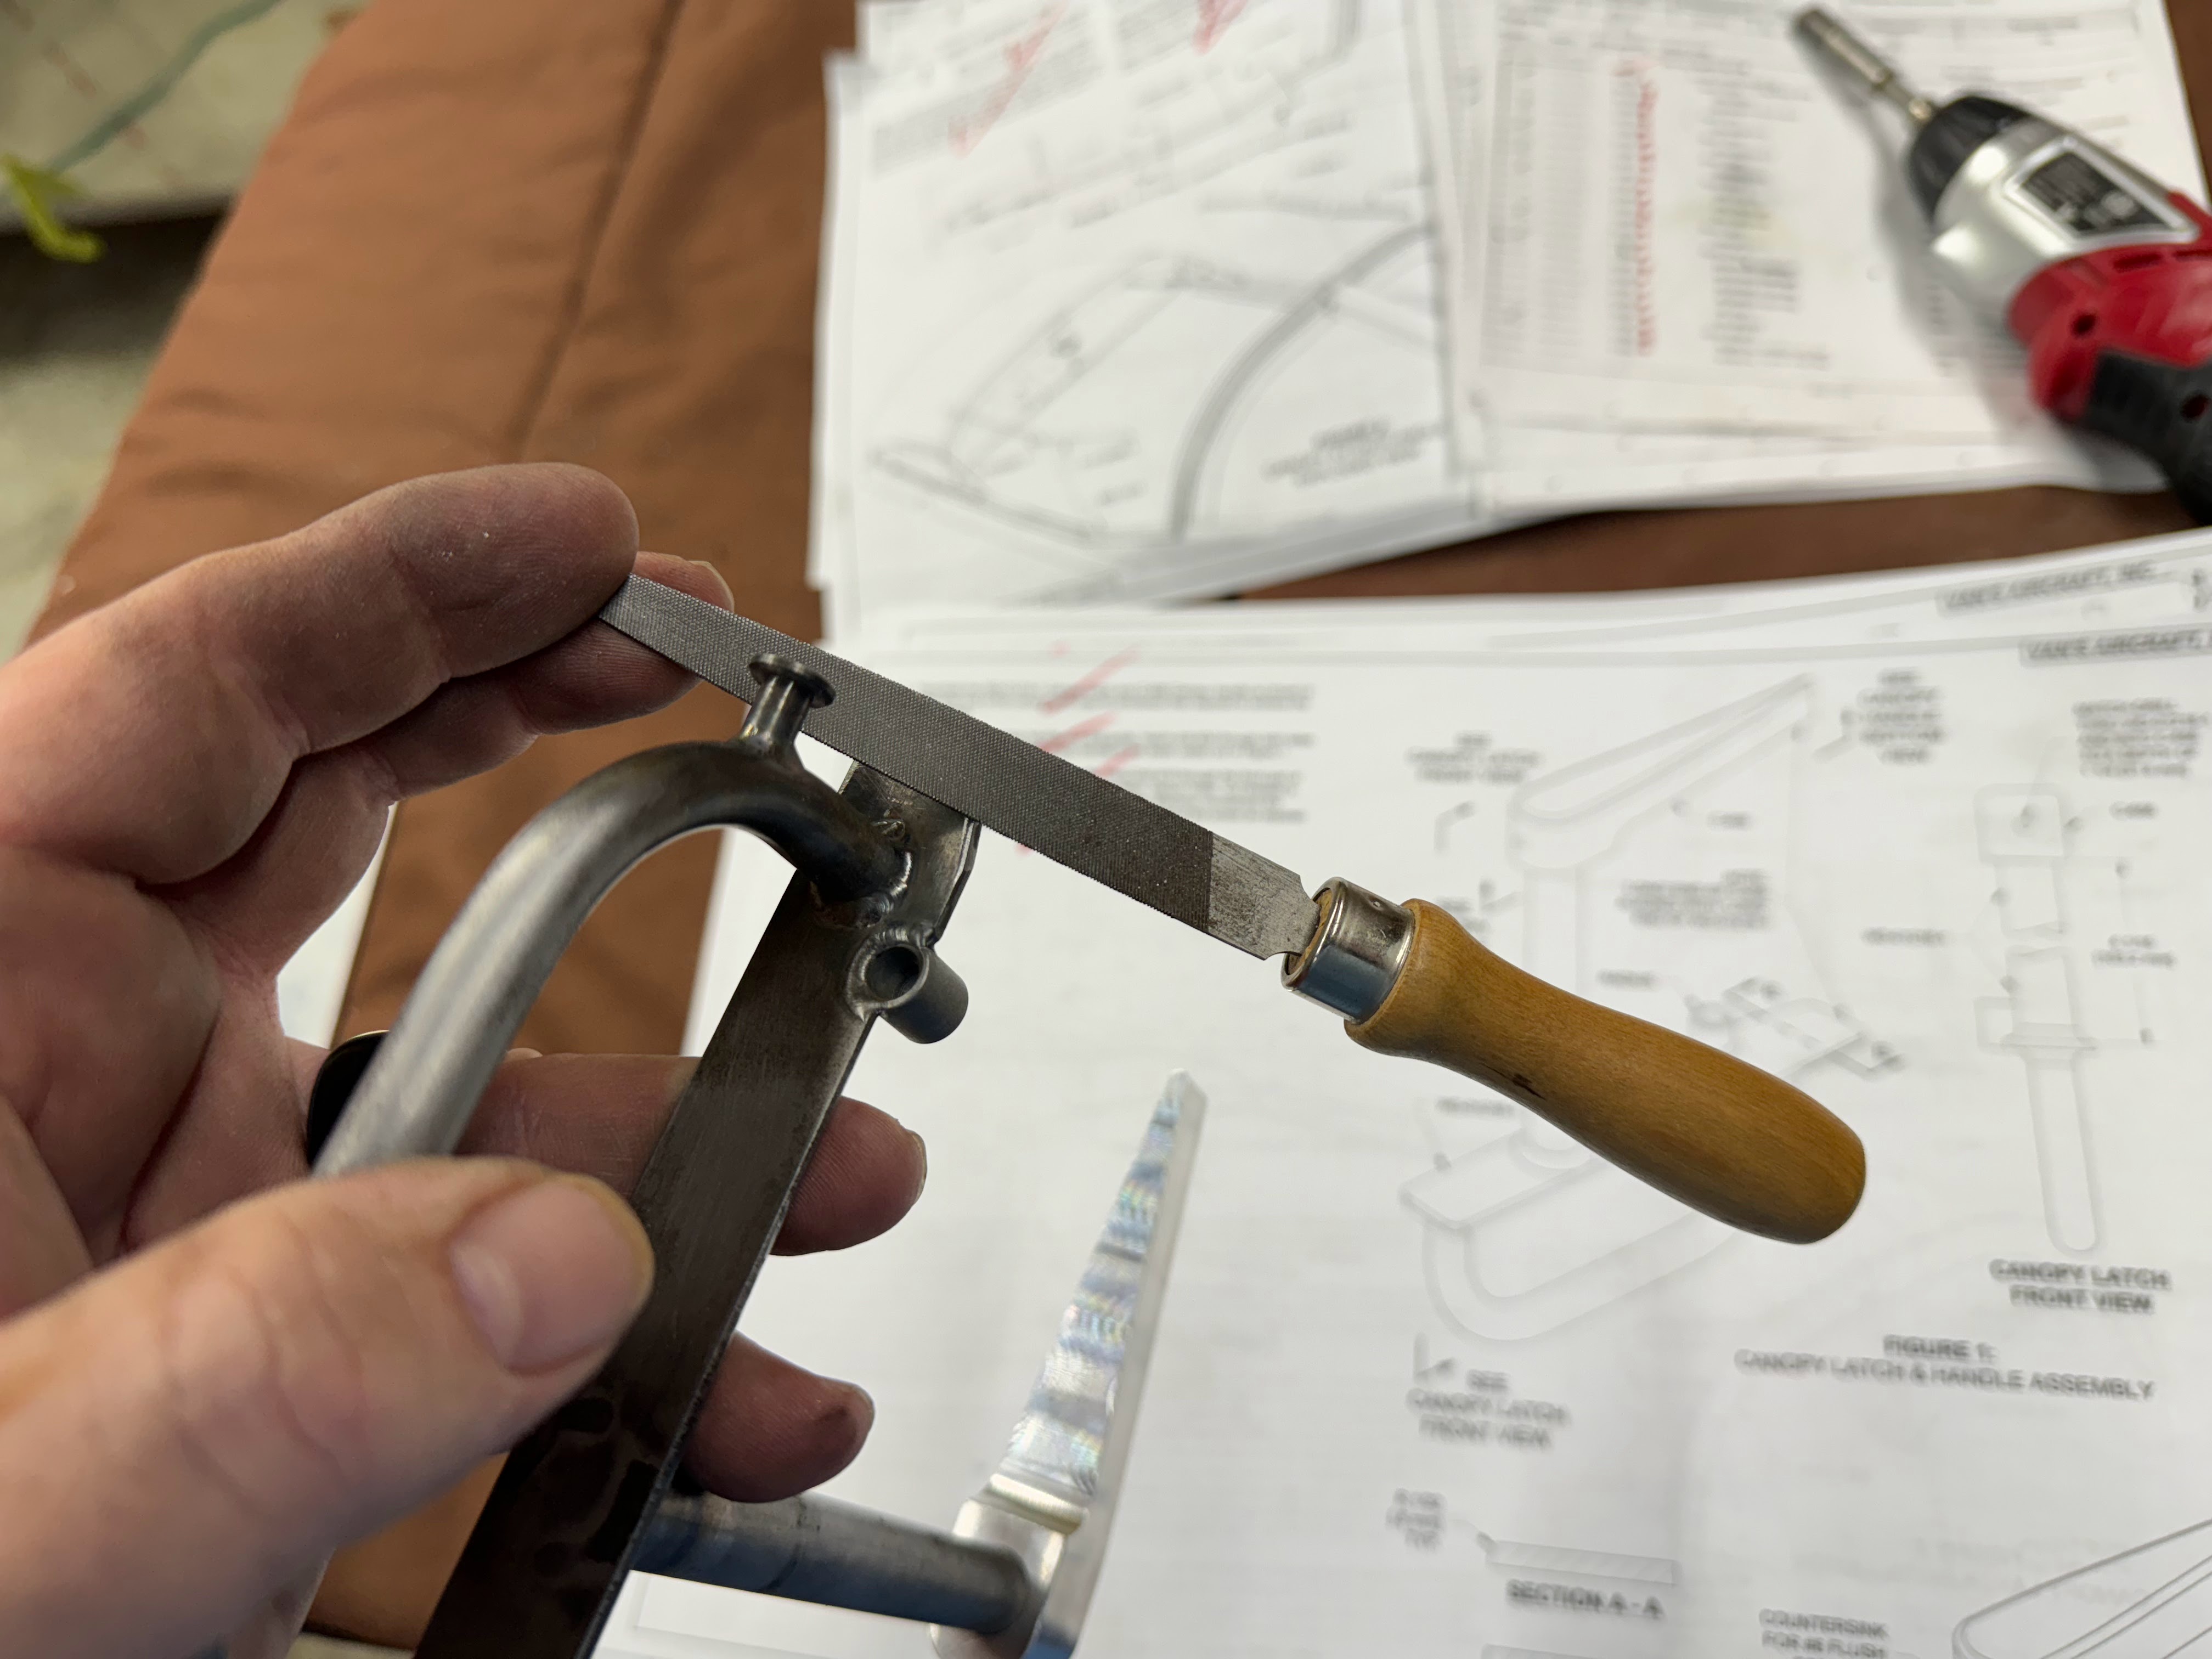
Next the interior handle has to be rounded over in a few places. 


Then this spacer has to be installed onto the shaft.  It must be chamfered to allow it to clear the weld bead on the handle.


The fit was so tight that I was not able to just slide the spacer down the shaft.  I had to make a tool to help push it without damage.  I just drilled a hole in a piece of hardwood that was just big enough for the shaft.  Worked well.

Then they have you clamp the frame to the rollbar using the wood spacers that were included in the kit.

And they have you check that the latch interfaces properly with the latch block.


Sunday, June 2, 2024

Wings part 31


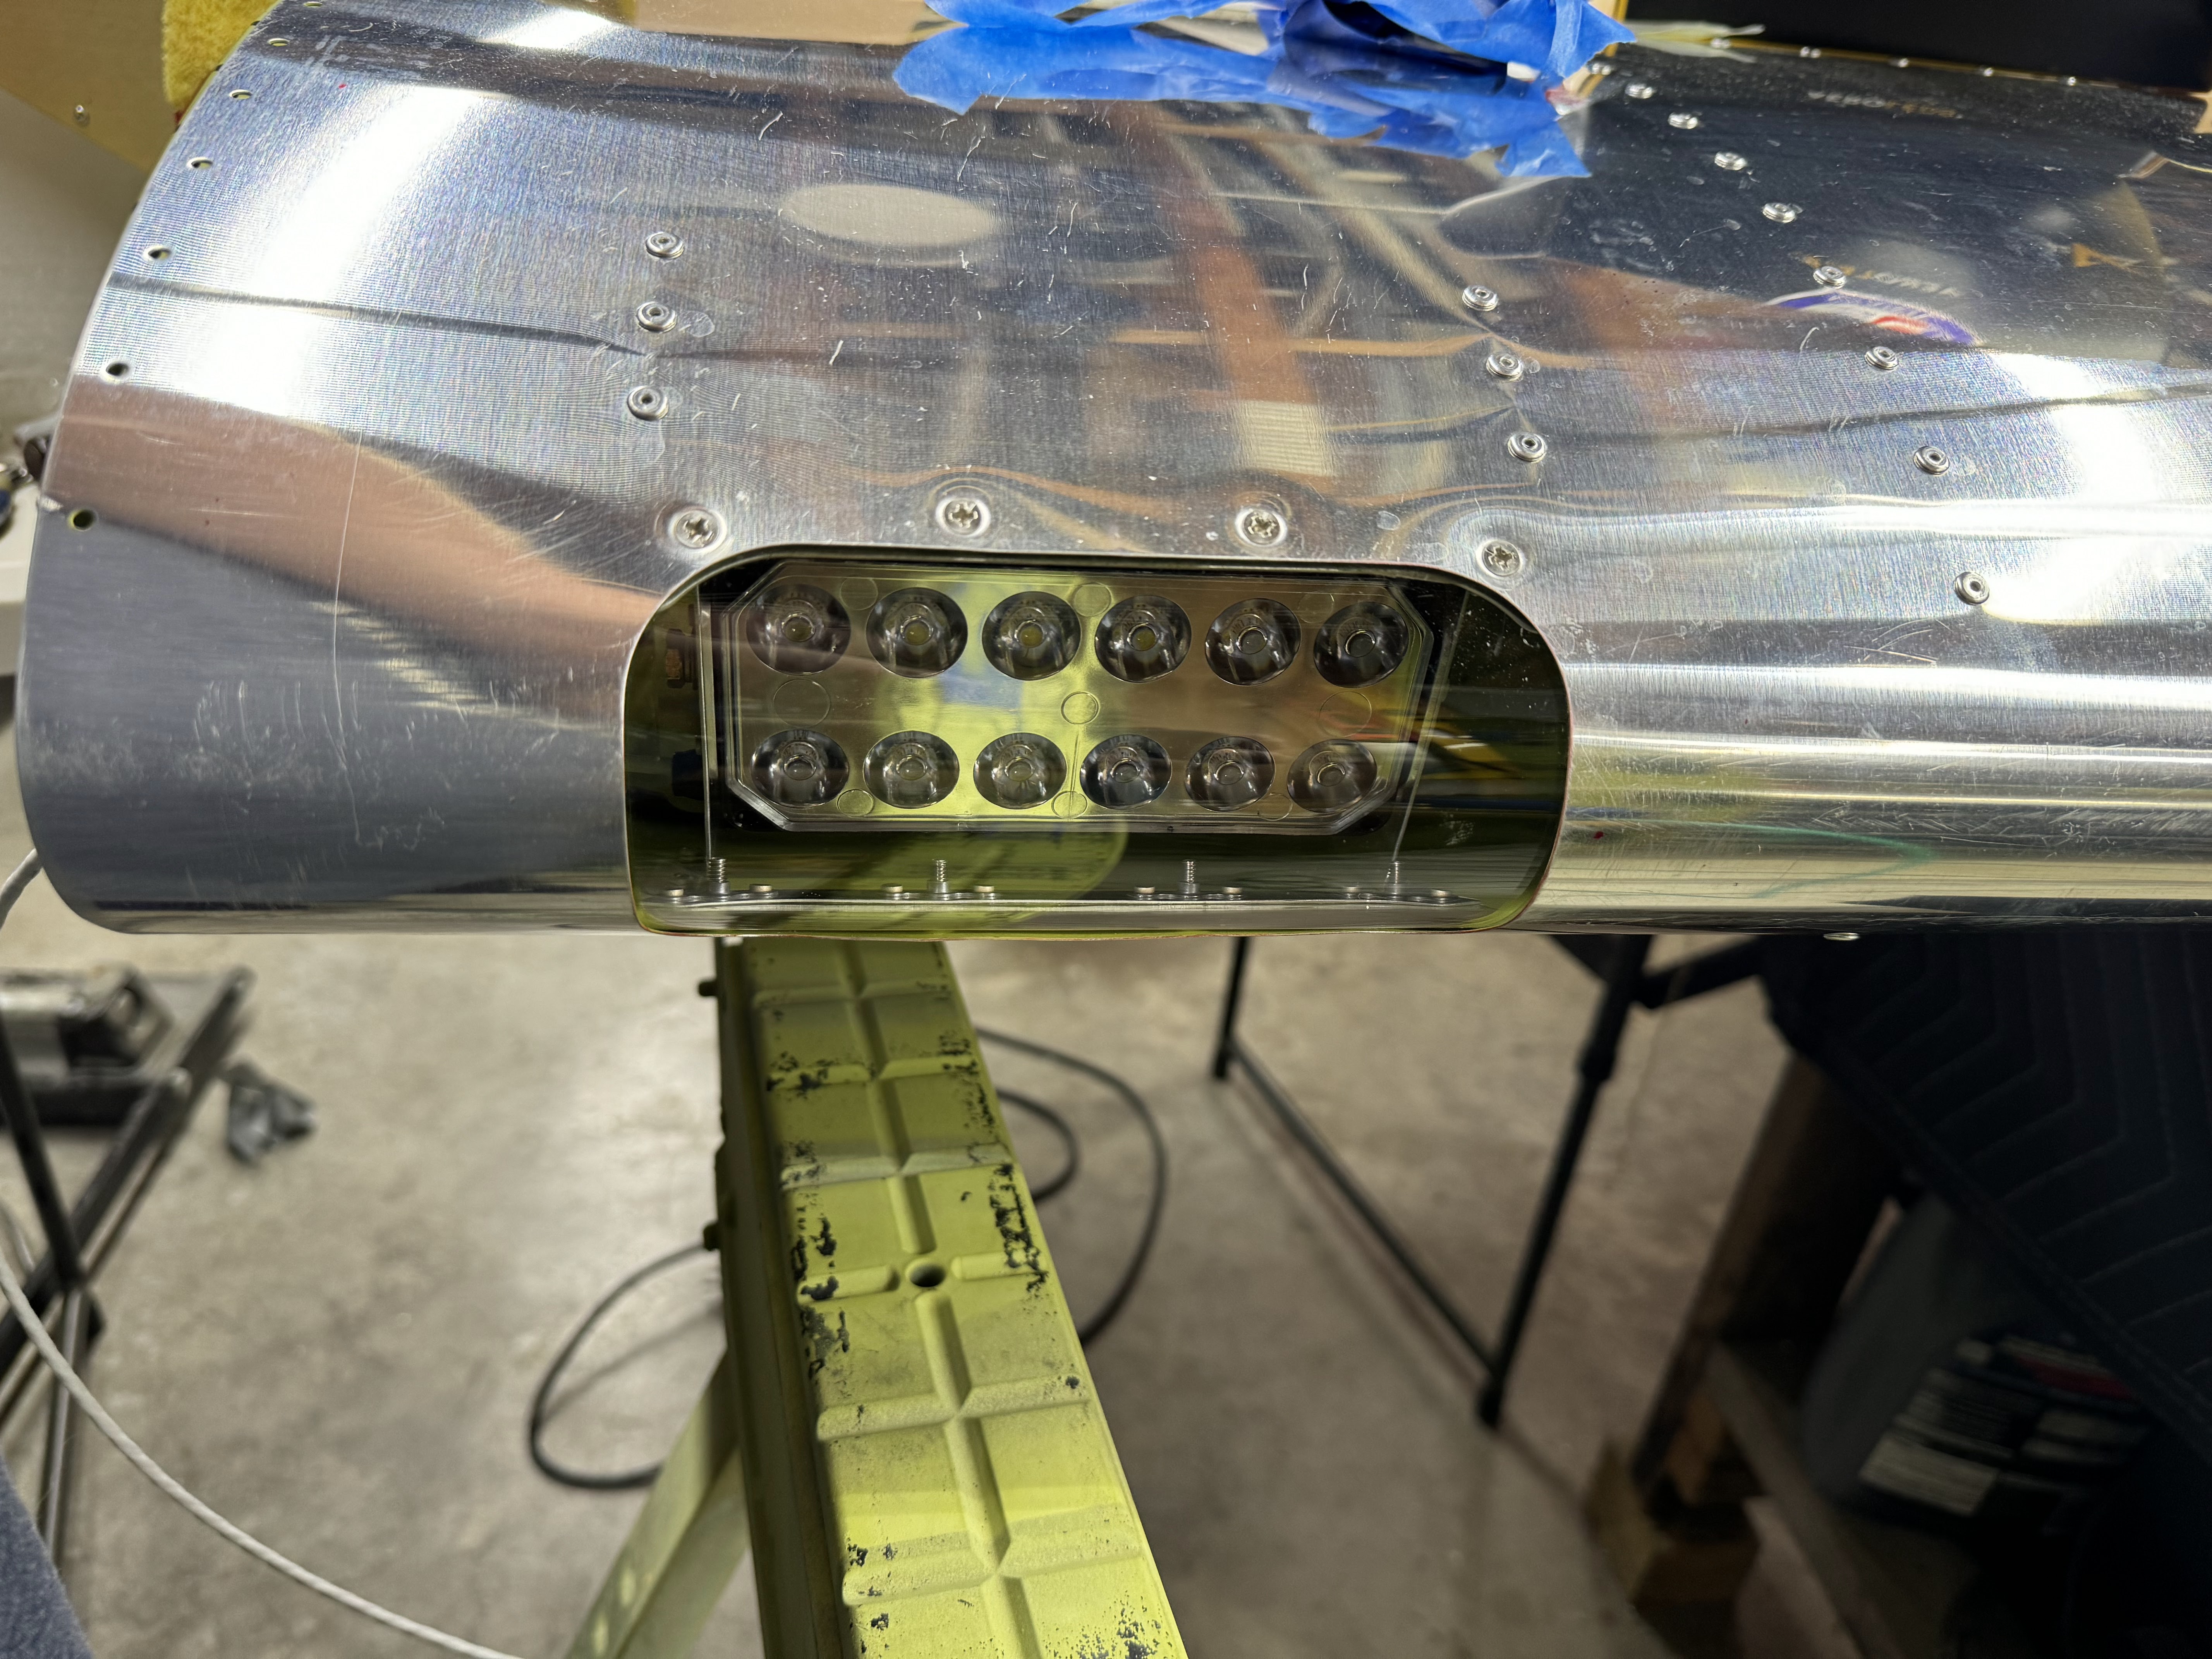
Today I succeeded in getting the lens into its new home.  The trick was to use a heat gun on medium heat to warm up the lens and to squeeze it while inserting the outboard end into the wing first.    The heat helped tremendously and helps reduce the amount of pressure required.  Don't over do it and keep the heat gun moving and at least 12" away from the lens.  Work fast once you get it warmed up!


Then I started repeating the process on the left wing.  Rinse and repeat!

Saturday, June 1, 2024

Wings part 30

After returning from our week long glamping trip,  I started working on the landing light for the right wing.


First I used painter's tape to totally cover up the acrylic lens to prevent scratches.
Then I centered the lens in the cutout opening and used tape to pull it forward while also reaching in thru the end rib holes to push on it to minimize any gap between it and the skin.  The lens looks fairly symmetrical but it is not.  One way it matches the skins better than the other.  Try both ways and then keep up with which side is the top.

I then drilled the 1/8" pilot holes using a special bit that is made for acrylic.  Cleco'ing as I went.  I then marked the cutout on the lens all the way around the hole.

I then used the cutoff disk and the Dremel to cut the excess lens away,  I just followed the KAI's here.

Cut down to size....

I then increased the size of the pilot holes to as close to #27 as I can get since I only have a 5/32" acrylic bit.

These acrylic bits have  a specially ground point, 60° included tip angle, 0°rake angle, shoulder relieved, for drilling acrylic sheet to prevent fractures, chipping or cracking.

Next I used the screw backer strips to mark the radius for the corners of the lens.  Once this was done, I carefully sanded the entire circumference of the lens making the edges smooth and rounded.  I used many different grits and a sanding drum like this one to get the job done.  The smoother they are the less likely they are to crack.....


Then I upsized the holes in the skin to #27.

And dimpled the skins for #6 screws.

Then I countersunk the backer strip for the nutplate attach rivets.

And then riveted on the nutplates.

Increased the size of one of the tooling holes to 3/8" for a snap bushing in the landing light attach ribs.

Then I cut the ribs apart.

Riveted on the doublers for the ribs.  Also cleaned up the slot to ensure the bolt can slide freely.

Installed the two snap bushings.

AeroLED supplies a more robust connector for their landing lights now.  I had to cut the pre-installed pin off of the factory wiring and install the pins that come with the landing light.  Here is the ground wire installed in the connector.

The ground wire gets connected to the landing light mount rib with a screw, washer and nut.

Here are the other three wires with pins crimped and then installed in the connector.

I then riveted the landing light mount ribs to the wing skins per the KAI's.


Here is the landing light all mounted and aimed per the KAI's.  Do yourself a favor and loosely assemble this assembly before riveting it in.  I also had to use an additional washer on the pivot bolt because the bolt bottomed out in the light housing before it tightened up on the rib and doubler.

Here is the assembly from the backside.  I added some spiral wrap to protect the wires from rubbing on the skin.

I then spent a very frustrating 2-3 hours trying to get that lens to fit in the hole after the light is all installed.  Gave up and decided to sleep on it after reaching out to the Interwebs for advice. 


Tuesday, May 21, 2024

Wings part 27

 Went to my daughter's piano recital tonight so I did not have much time to work on the wing skins.  


Builder tip: If you are married and/or have kids.  Make them a priority over the build!  

I did get this doubler drilled and riveted to the skeleton.  It takes three different kinds of rivets.  Even uses the special closed end rivets normally used for fuel tanks.  Have no idea why they are used on the right wing because there is nothing under them unlike the left wing where there is.


Friday, May 17, 2024

Wings part 23

Finished up riveted the bottom skins on the left wing.


They have you rivet the leading edges of the top of the wing up to a certain point.  It is a bit difficult to get the skin to wrap around tight enough to get the holes to align.  Just be careful and don't damage anything.

Leading edge done.

The leading edge skins stay open so that you can insert the J channel profile of the top skins into the rib notches.


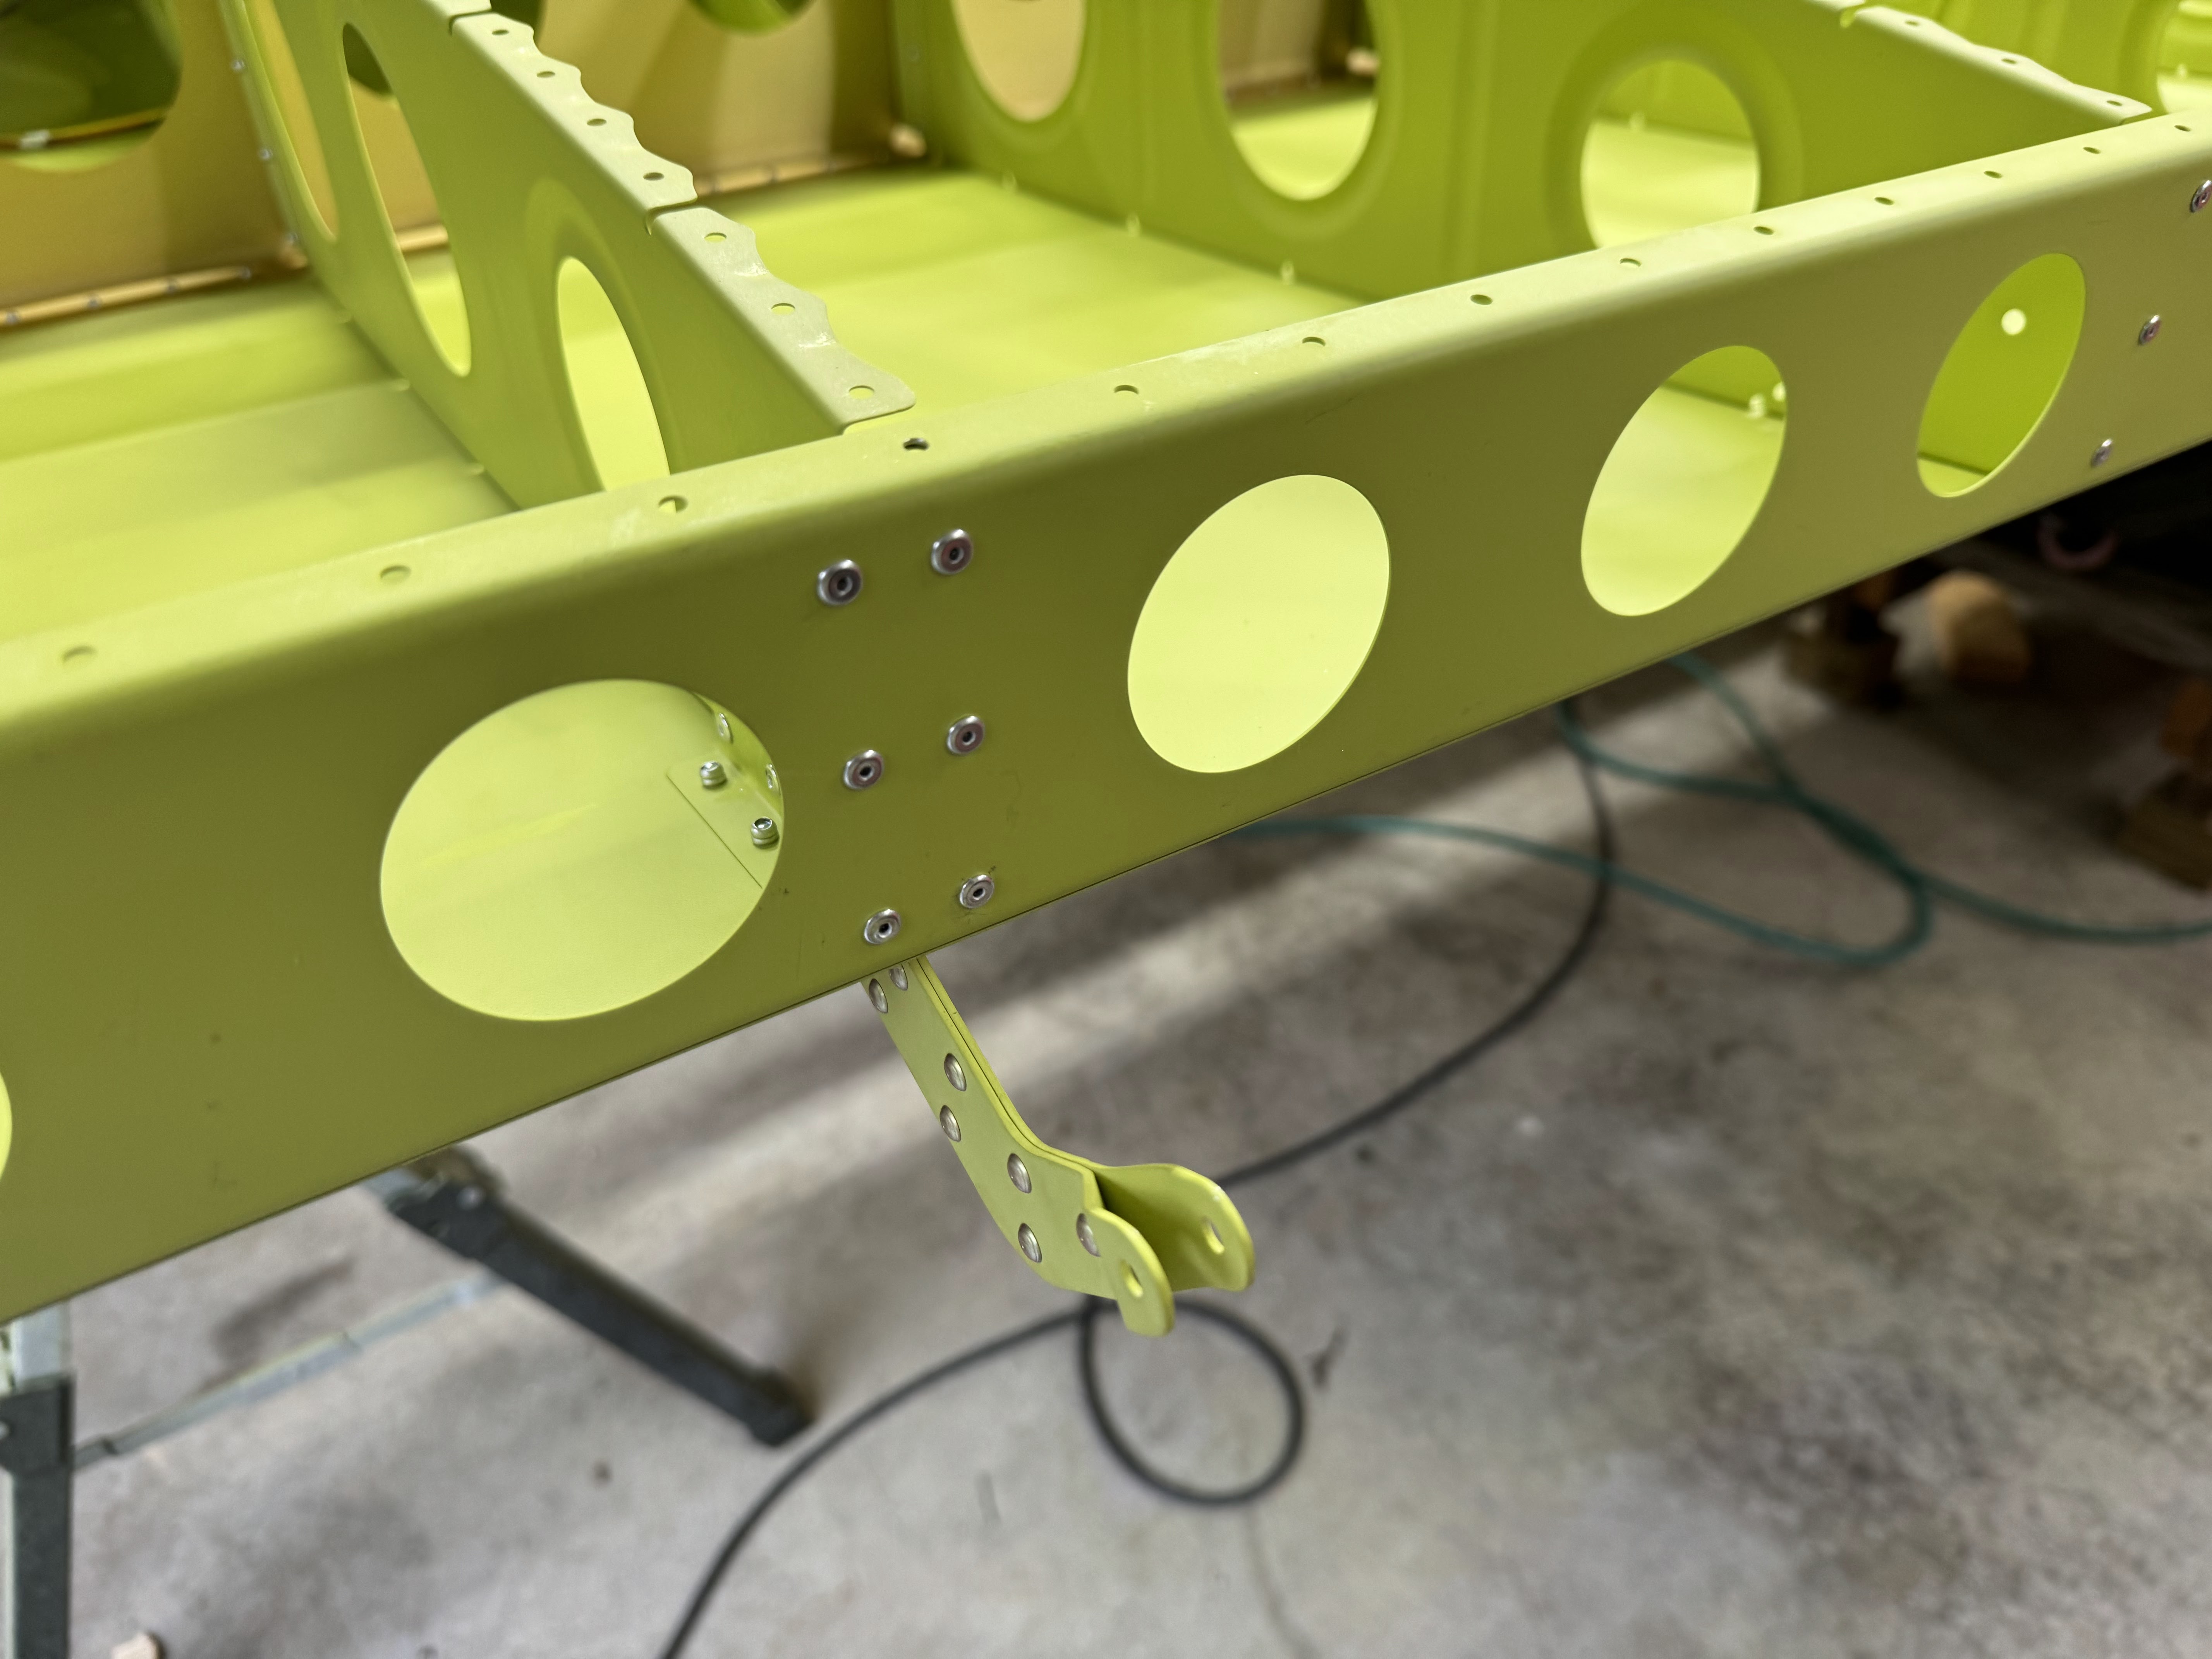
Next I riveted in the rib doublers for the flaperon hinges.  TIP:  Don't put the rivets in the corners or rear spar yet as they get in the way of the rivets that go thru the web.


Again don't put that corner rivet in yet where it goes thru the skin, rear spar and the rib doubler.

Here I have all the rivets installed.  Some of these are some of the hardest rivets to install in this kit so far as the tails of the other rivets get in the way.  Definitely used the wedge tool and a piece of thin cardboard between the puller and the primed surfaces to prevent damage.
Rear spar rivets done.

The inboard hinge done.

That bucket of rivet stems is slowly filling up!