Saturday, April 19, 2025

Cowl Fitting Part Six!

They have you measure up from the top of the level to the front corner of the top cowl.

Left side.
Right side.  If they match you are good to go and the cowl is properly aligned.

Double checking that the cowling is centered on the fuse.
Also the aft end of the top cowl is marked for trimming by measuring from  the aft side of the white tape that was applied to the front of the fuse.


Getting the aft hinges ready to go.

Clamping the top cowl to the spinner backplate with the spacers.


Marking the location of the hinge rivet lines.


Super easy way to mark a consistent spacing.  Use a flexible ruler.

All marked.
And drilled in the cowl.

Replacing the top cowl and ensuring that it is back to its proper centered location.


Then taping it so it can't move.


And then drilling the top cowl to the hinge by alternating back and forth side to side.
Once the top cowl was drilled and cleco'ed I installed the lower cowl with tape.  Then I drilled the holes from the front top cowl to the bottom cowl for the three screws per side that get installed later.

The top cowl just overlaps the sides of the bottom cowl at this point.


Tuesday, April 15, 2025

Cowl Fitting Part Five!


Next they have you level the fuse in the roll axis.  I used some of the trim stock that I have on hand.

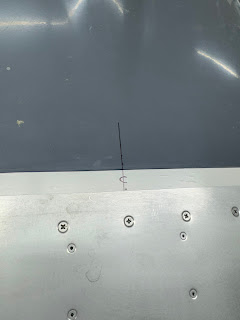
Then you level the level that they have you put in the floor under the front cowl corners.  Then they have you string up some plumb bobs from the front corners down to the top of the level.  Once the cowl is centered on the fuse, they have you mark the bob location on the level and measure from there up to the front corners of the cowl to ensure that the distances match.  The directions are pretty vague here leaving you to scratch your head on what they want you to do.

Next they want you to fab up these spacers that space the front cowl aft of the spinner backplate.  They call out wood.  These things have some weird radius' and particular dimensions.  I decided to just throw the job on the 3D printer instead.  Instant spacer blocks with perfect dimensions and no cussing!