Worked on the canopy latch handle today.
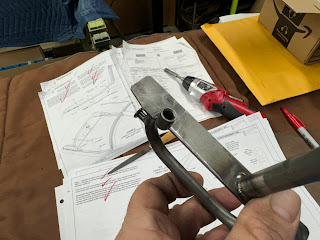
First is match drilling the exterior handle to the interior handle shaft. Be careful to drill it straight.Then the shaft gets enlarged as well.
Then the exterior handle is tapped for the screw that holds it onto the shaft. I can't believe this one little screw is all that keeps the handle from falling out and if it does, the canopy will be free to pop open in flight. I don't worry about the screw shearing off but it is possible for it to vibrate out. There is no mention of using loctite on this screw but you can be sure I will be.
Then this spacer has to be installed onto the shaft. It must be chamfered to allow it to clear the weld bead on the handle.
The fit was so tight that I was not able to just slide the spacer down the shaft. I had to make a tool to help push it without damage. I just drilled a hole in a piece of hardwood that was just big enough for the shaft. Worked well.
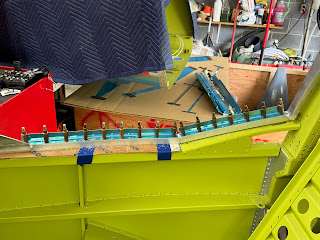
Then they have you clamp the frame to the rollbar using the wood spacers that were included in the kit.


