Saturday, May 18, 2024

Wings part 24

Worked on the top skins for the left wing today.  Here are the skins all deburred and prepped for primer.


Tack coat....
Inboard top skin rivets done aft of the spar.

Outboard top skins ready to pull.


Friday, May 17, 2024

Wings part 23

Finished up riveted the bottom skins on the left wing.


They have you rivet the leading edges of the top of the wing up to a certain point.  It is a bit difficult to get the skin to wrap around tight enough to get the holes to align.  Just be careful and don't damage anything.

Leading edge done.

The leading edge skins stay open so that you can insert the J channel profile of the top skins into the rib notches.


Next I riveted in the rib doublers for the flaperon hinges.  TIP:  Don't put the rivets in the corners or rear spar yet as they get in the way of the rivets that go thru the web.


Again don't put that corner rivet in yet where it goes thru the skin, rear spar and the rib doubler.

Here I have all the rivets installed.  Some of these are some of the hardest rivets to install in this kit so far as the tails of the other rivets get in the way.  Definitely used the wedge tool and a piece of thin cardboard between the puller and the primed surfaces to prevent damage.
Rear spar rivets done.

The inboard hinge done.

That bucket of rivet stems is slowly filling up!


Thursday, May 16, 2024

Wings part 22

Riveted the bottom two outside skins for the left wing.  Deburred prepped and primed the bottom center skin for the left wing.

After priming the two bottom outside skins for the left wing.

Riveted the skin to front spar rivets on the bottom skin on the left wing at the root end.  These get countersunk rivets.

All done!  Some holes remain empty for now.

Riveted the rest of the root skin nose rivets.

And this doubler plate.  There are 4 different kind of rivets on this doubler.

Nose ribs all riveted.

Riveting the nose ribs on the left bottom outboard skin.

Nose ribs done.


Turned the wing around and riveted the main ribs to the bottom skin.


All done....

Prepped and primed the left wing's bottom center skin.

All primed.  Those splotches are sunlight that was making shadows.

Riveted the bottom center skin nose ribs.

Another 1000 rivets down!  Over 7000 so far!.

Riveting the bottom center skin main ribs.

The bottom of the left wing is all riveted!  Yay!  That is a ton of rivets!


Tuesday, May 14, 2024

Wings part 21

 Today I got started with prepping the left wing skins.

For whatever reason, they leave two holes that they ask the builder to dimple.  The rest of the dimpled holes are already dimpled from the factory.

Then they have you upsize 8 holes for the skin doubler.  This requires a #20 drill bit.  There are a bunch of warnings about drilling into the spar caps but for the left wing, there is no way this can happen.


Then they have you enlarge the wing tie down hole to 3/8".

Next I used the tried and true method to remove the blue film from the wing skins.

Rounded the skin corners to prevent cuts.  The factory corners are like a razor looking to kill you.  A nice little radius helps prevent this situation.

Then I sanded the edges of the skins with this flexible sanding block.  Works like a dream.  I get them at Lowes.

Finally I scrubbed the inside of the skins with Prekote and will prime them tomorrow.


To clarify I only prepped the outside bottom skins for the left wing.  I plan to break up the prep and the primming of the skins into a few sections to keep the monotony down.

Monday, May 13, 2024

Wings part 20

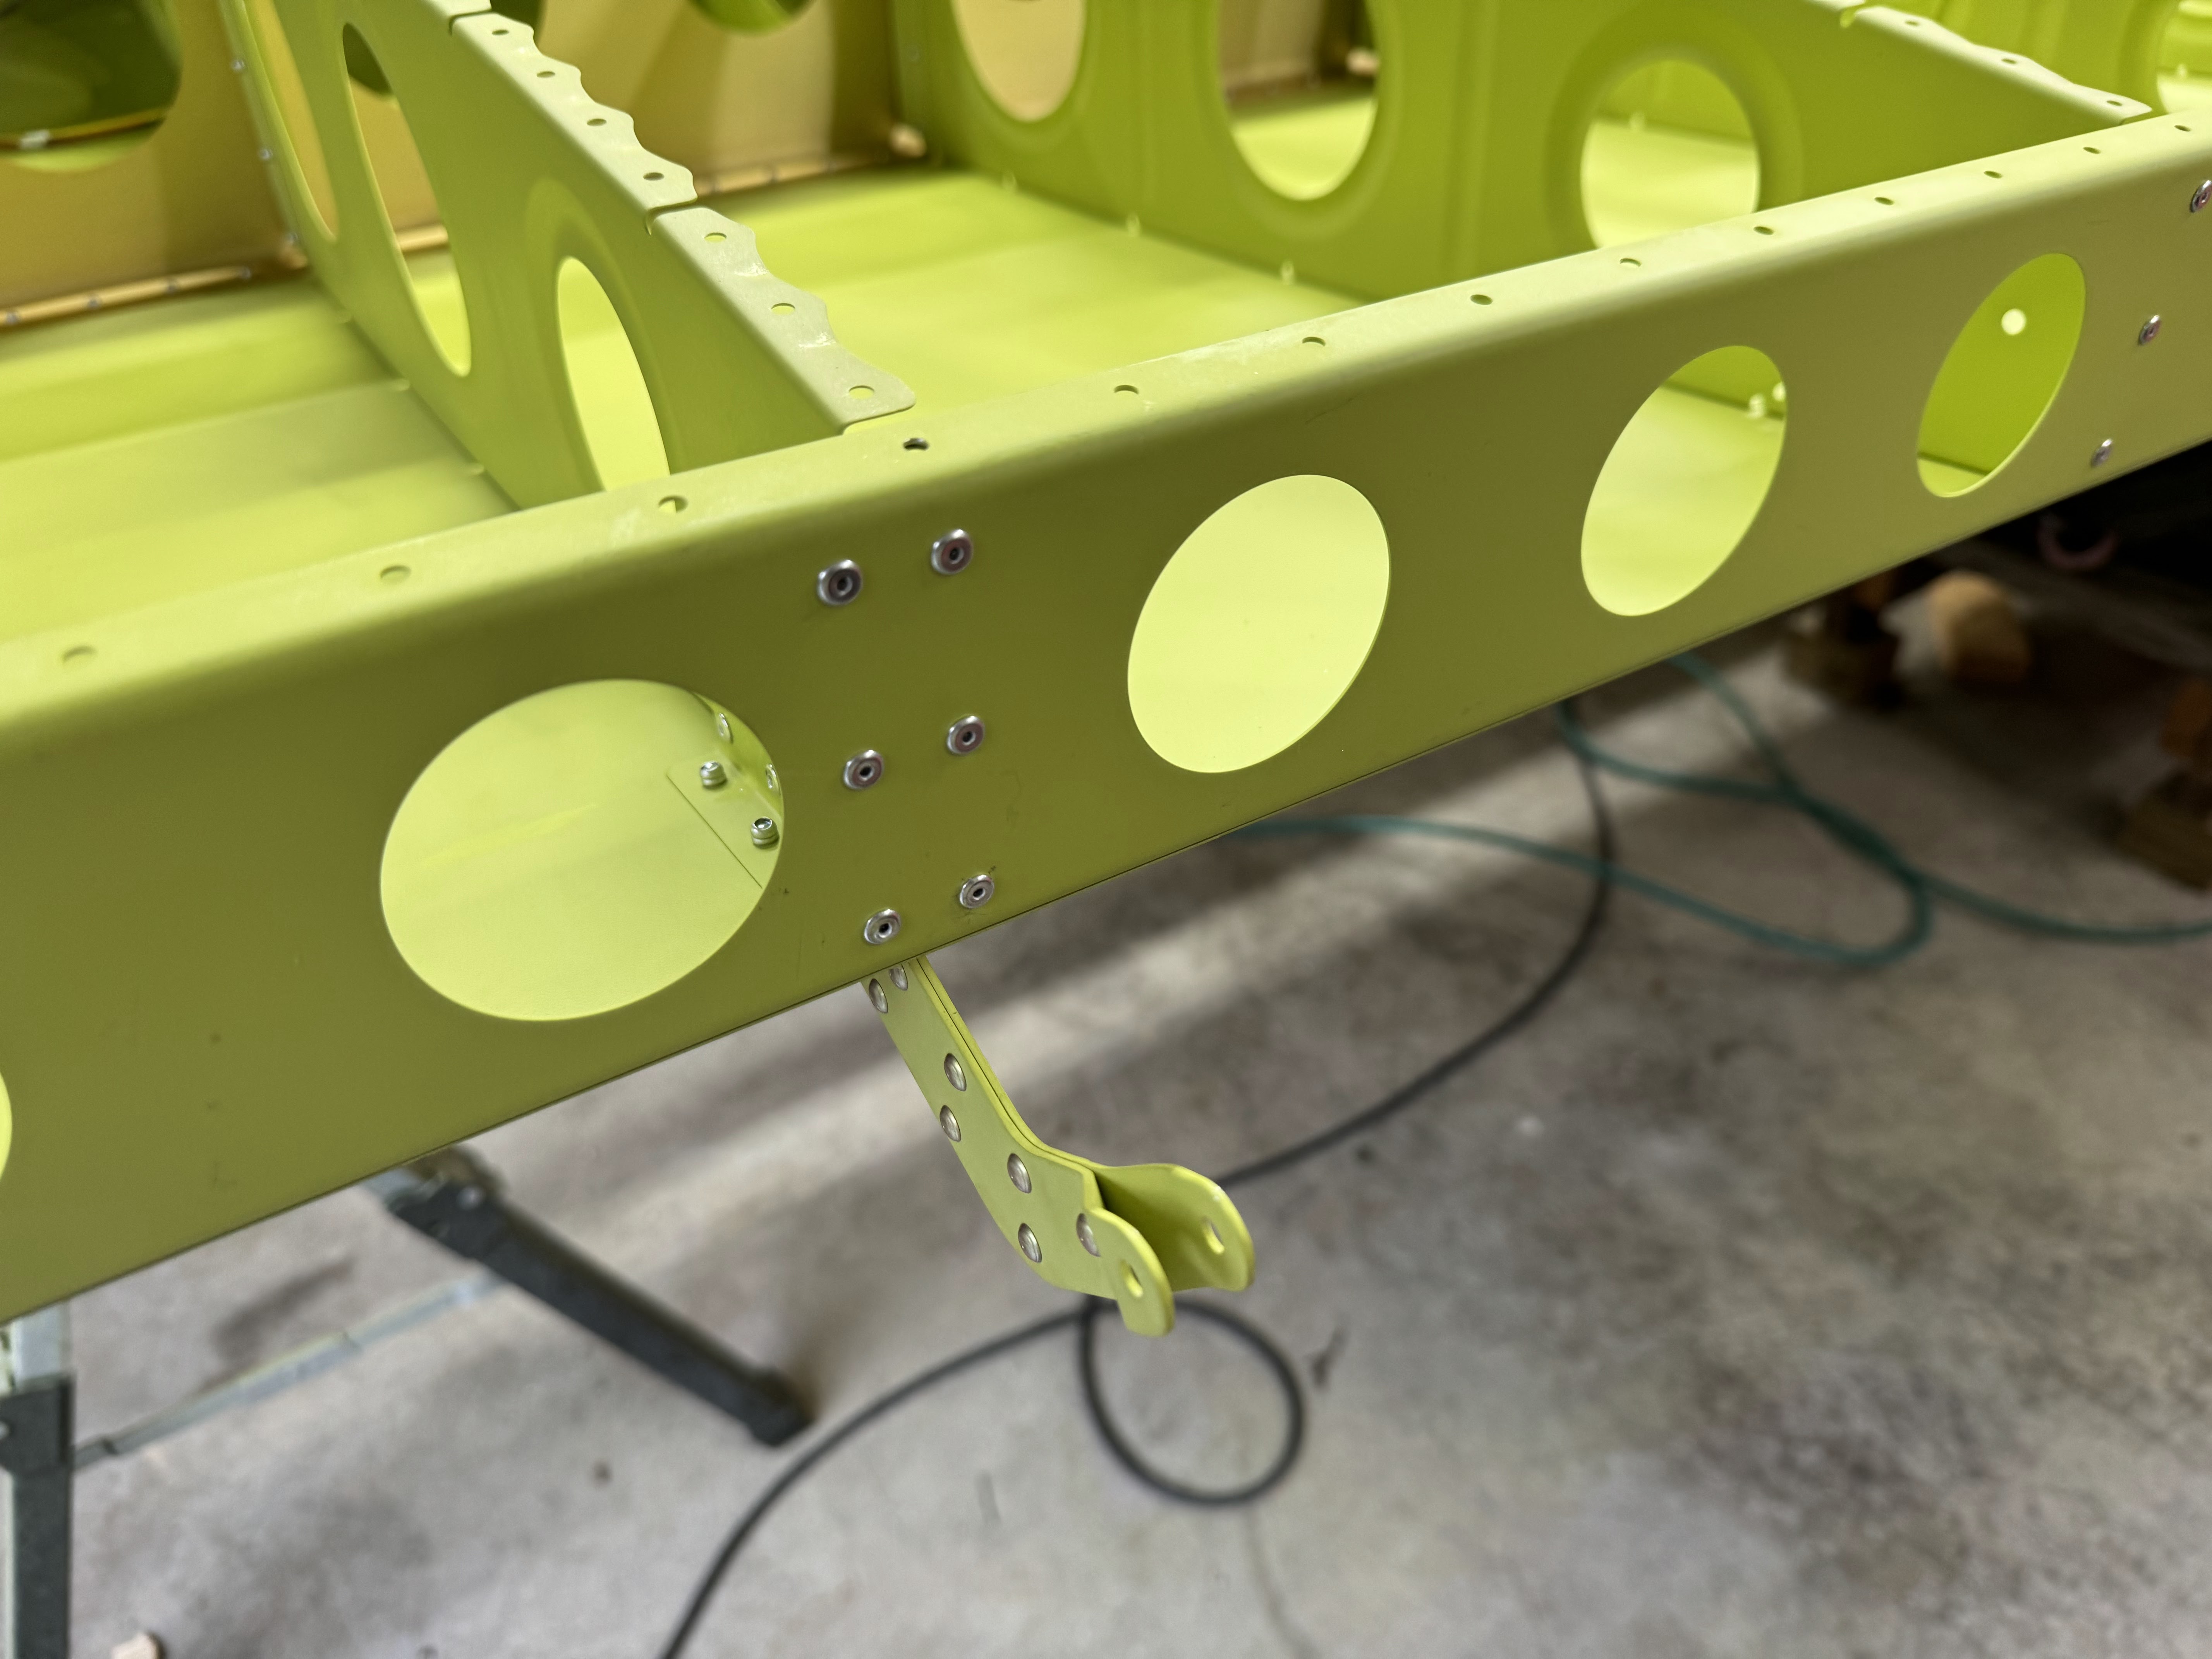
Been working on getting the wings ready to skin.  This includes installing the wiring harnesses and the wing root connectors as well as the stall warning vane switch.

I did the right wing first since this is the one that was on the table.  They have you install this wiring harness by first removing a couple of snap bushings.  Ensure you have the correct harness on the correct wing.  The right wing has female pin sockets on this blue connector and also has one less wire than the left.  Use Loctite on the screws for the standoffs.  Also ensure you clean the primer off of the area where the ground screw attaches.  The #4 washers come in two thicknesses so be sure you measure them to be sure you have the correct ones.  The orientation of this blue connector is important.  Make sure the bigger slot is on the bottom of the wing.

Feed the wires thru all the ribs.  The multi conductor cable goes all the way to the end.  The other wires stop one bay in for the landing light.

Next I worked on the parts for the stall warning vane switch.  These parts get some drilling, some countersinking and a ton of deburring.  I then squirted some self etch primer on them since they are too small for a real primer batch.

Started installing the left wing harness.  Here I have cleaned off the primer where the grounds go.  This one has an extra wire for the stall vane switch.  It came with the connector already crimped on which won't go thru the snap bushings.  I cut it off and then crimped on a new one once the wire was installed.

Connector all installed.  Loctite was used.  This harness has male pins on the connector.

Then I assembled the vane switch assembly.  I followed the KAI's but had to change the washer stackup for the vane pivot shaft.  I had to switch to thin washers to make it work properly.

Here is the stall vane switch all installed.  Still needs to be adjusted.


I then installed the AOA line and wing root connector.  Just followed the KAI's.