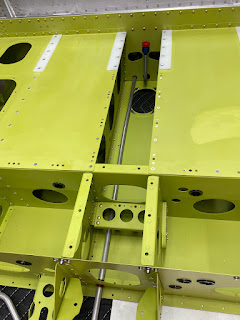
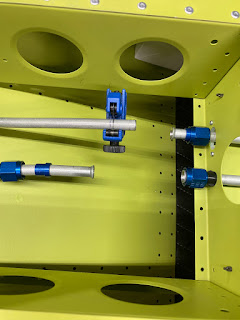
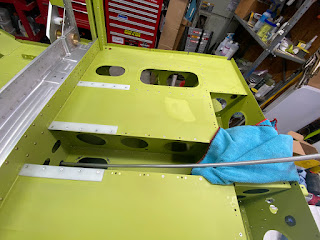
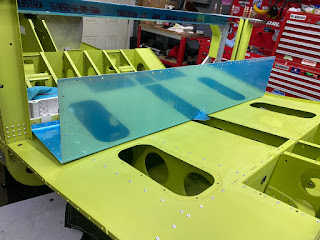
So today, I permanently joined the fwd fuse to the mid fuse. I broke from the KAI's order by leaving this step to until I got the center channel fuel lines installed. Worked like a dream!
Then I final riveted the fwd fuse section to the mid fuse section and reconnected all the fuel lines. Everything aligned great! No issues with this approach were noted. I am now back in alignment with the KAI's but I have a bonus, all my center channel fuel lines are complete! YAY!
Got started on the longerons. These come with some of the work done from the factory like the large radius bend in the shoulder area of the cockpit and these bends at the aft end on the angle. They have you tapper the longerons from this bend to the aft most end of the angle. Here is the mark to cut.
Then they have you mark the location of the start of the forward splay that you have to put in the longeron. Also the root of the twist that must be reintroduced into the front of the longeron to cancel out the splay and to get the top of the longeron all on one plane again. This is also the fwd locating point of the cockpit rail that finalizes the shape of the sides of the cockpit area.
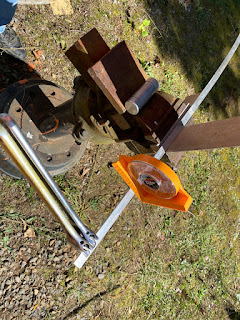
Spreading the longeron open 5.4 degrees is super easy with a huge vise and a large diameter cylinder of aluminum. The recommended 1/2" socket is an accident waiting to happen. Don't even try it. Use at least something this size. Also, go slow and work progressively from the mark to the fwd end of the longeron. Don't try to do it all at once and realize that the angle to open it up starts at 0 at the mark and goes to 5.4 deg at the fwd end. One more piece of advice. Use a solid rod. I tried a large hardened impact socket and the open end of the socket started to oval out instead of opening the longeron angle. Trust me, use a large diameter solid rod to make this happen! Forget using a small 4" vice as well. Use a big honkin vice like this to make your life easier. Find someone with a big vice if you don't have one.
Here I am twisting the longeron to take half of the splay out of the equation and put the top surface of the longeron back in plane with itself from the mark all the way up to the fwd end.
Start at the mark and drill aft ensuring the rail overlaps the side of the longeron by 0.025". Use a piece of scrap to make a guide. Go one or two holes at a time, constantly adjusting the overhang. Use whatever force is necessary to ensure the longeron matches the rail and that the overhang is 0.025".
All done! Van's did a great job with their bends on the aft end as well as the large radius bends in the middle. They almost matched the side rails perfectly with very little tweaking required. The front end was super easy with the huge vice I have. These were child's play compared to the RV-7 longerons I made with just a hammer and a template. Those had no prep work from the factory! This is one of those task that many dread but if you have the right tools and approach, it is super easy!


