Monday, April 7, 2025
Sunday, April 6, 2025
Engine Mounting Part Nine!
Saturday, April 5, 2025
Engine Mounting Part Eight!
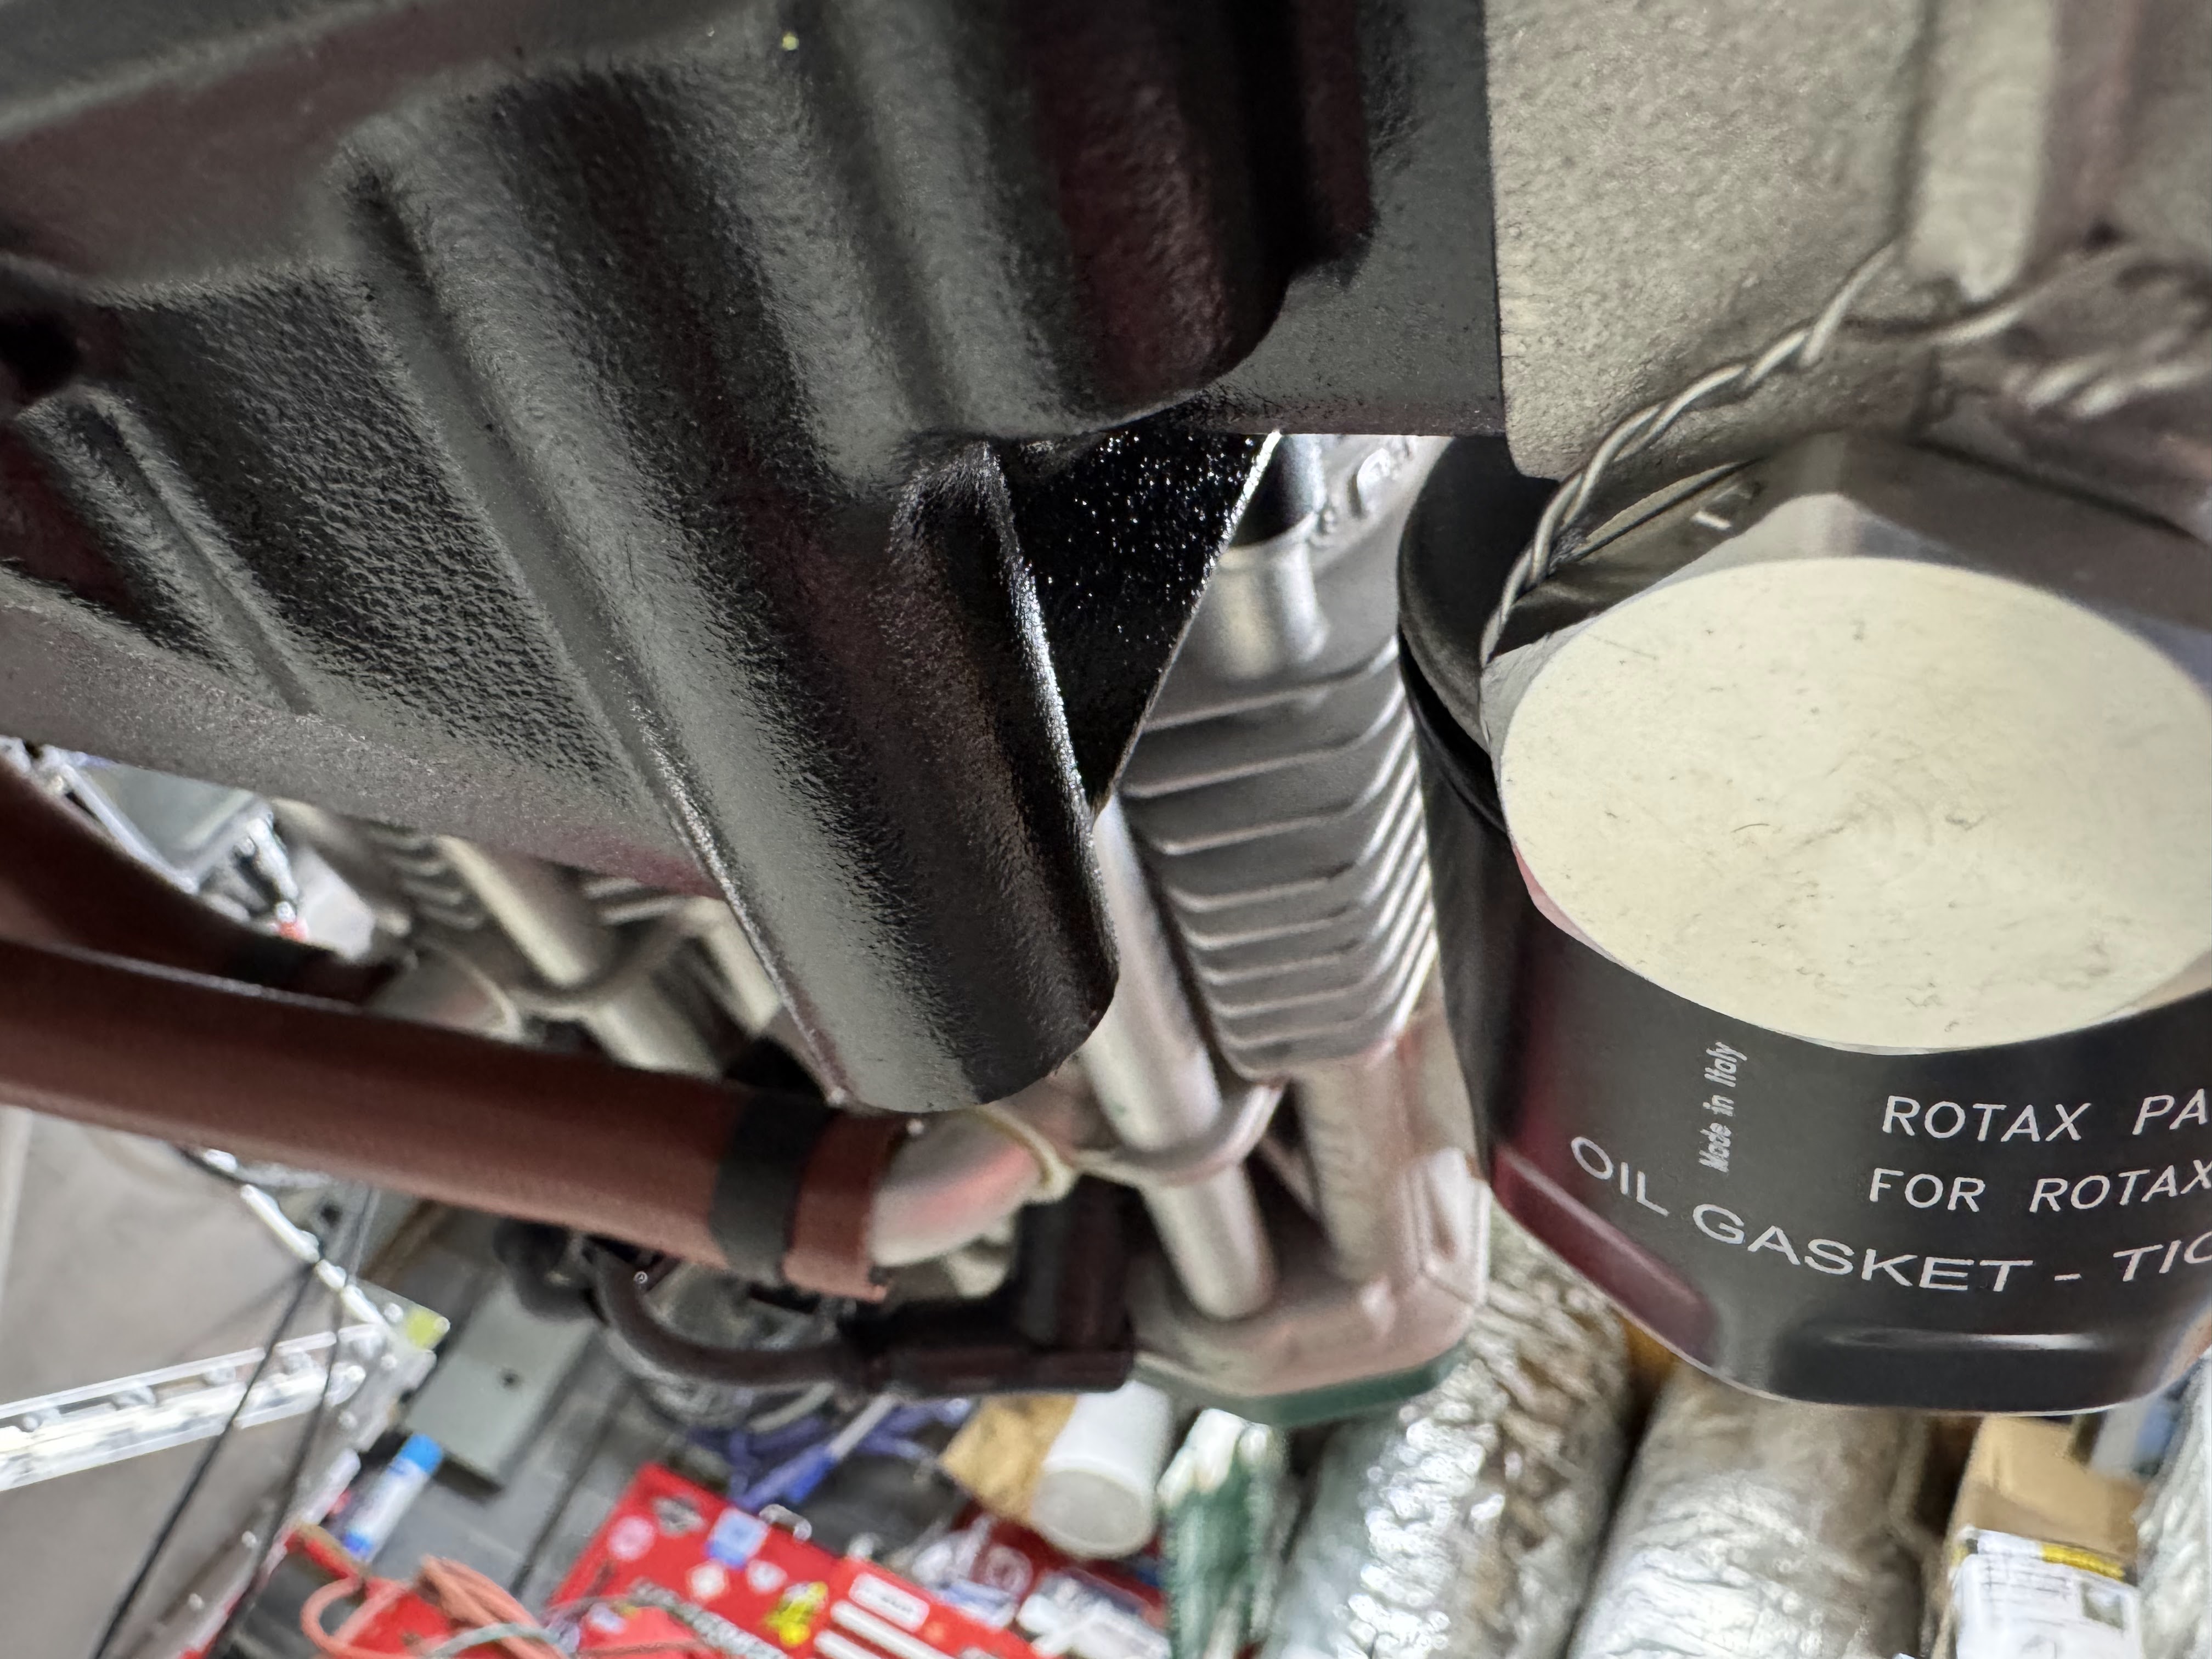
So Van's let me know that the contractor that Rotax sent in to perform the SB's on my engine before it was shipped to me did not apply Loctite to the aft crank plug and that they had issued a SD for this situation. Apparently one flight school had already had an incident with a brand new S-LSA where the plug fell out and the engine dumped all the oil overboard. That being said, the SD referred to other Rotax documents that said that the O-ring needed to be replaced anytime this plug is removed and reinstalled. So I ordered some O-Rings and a new Copper Gasket that is replaced when the crank locking screw hole bolt is removed and replaced. I also know that one of the test that must be done after first engine start requires that the valve covers must be removed. I went ahead and ordered those O-rings as well. (PSA: Do not order the prepackaged kit of valve cover O-Rings. It cost about 4 times the cost of just purchasing the O-Rings separately.)
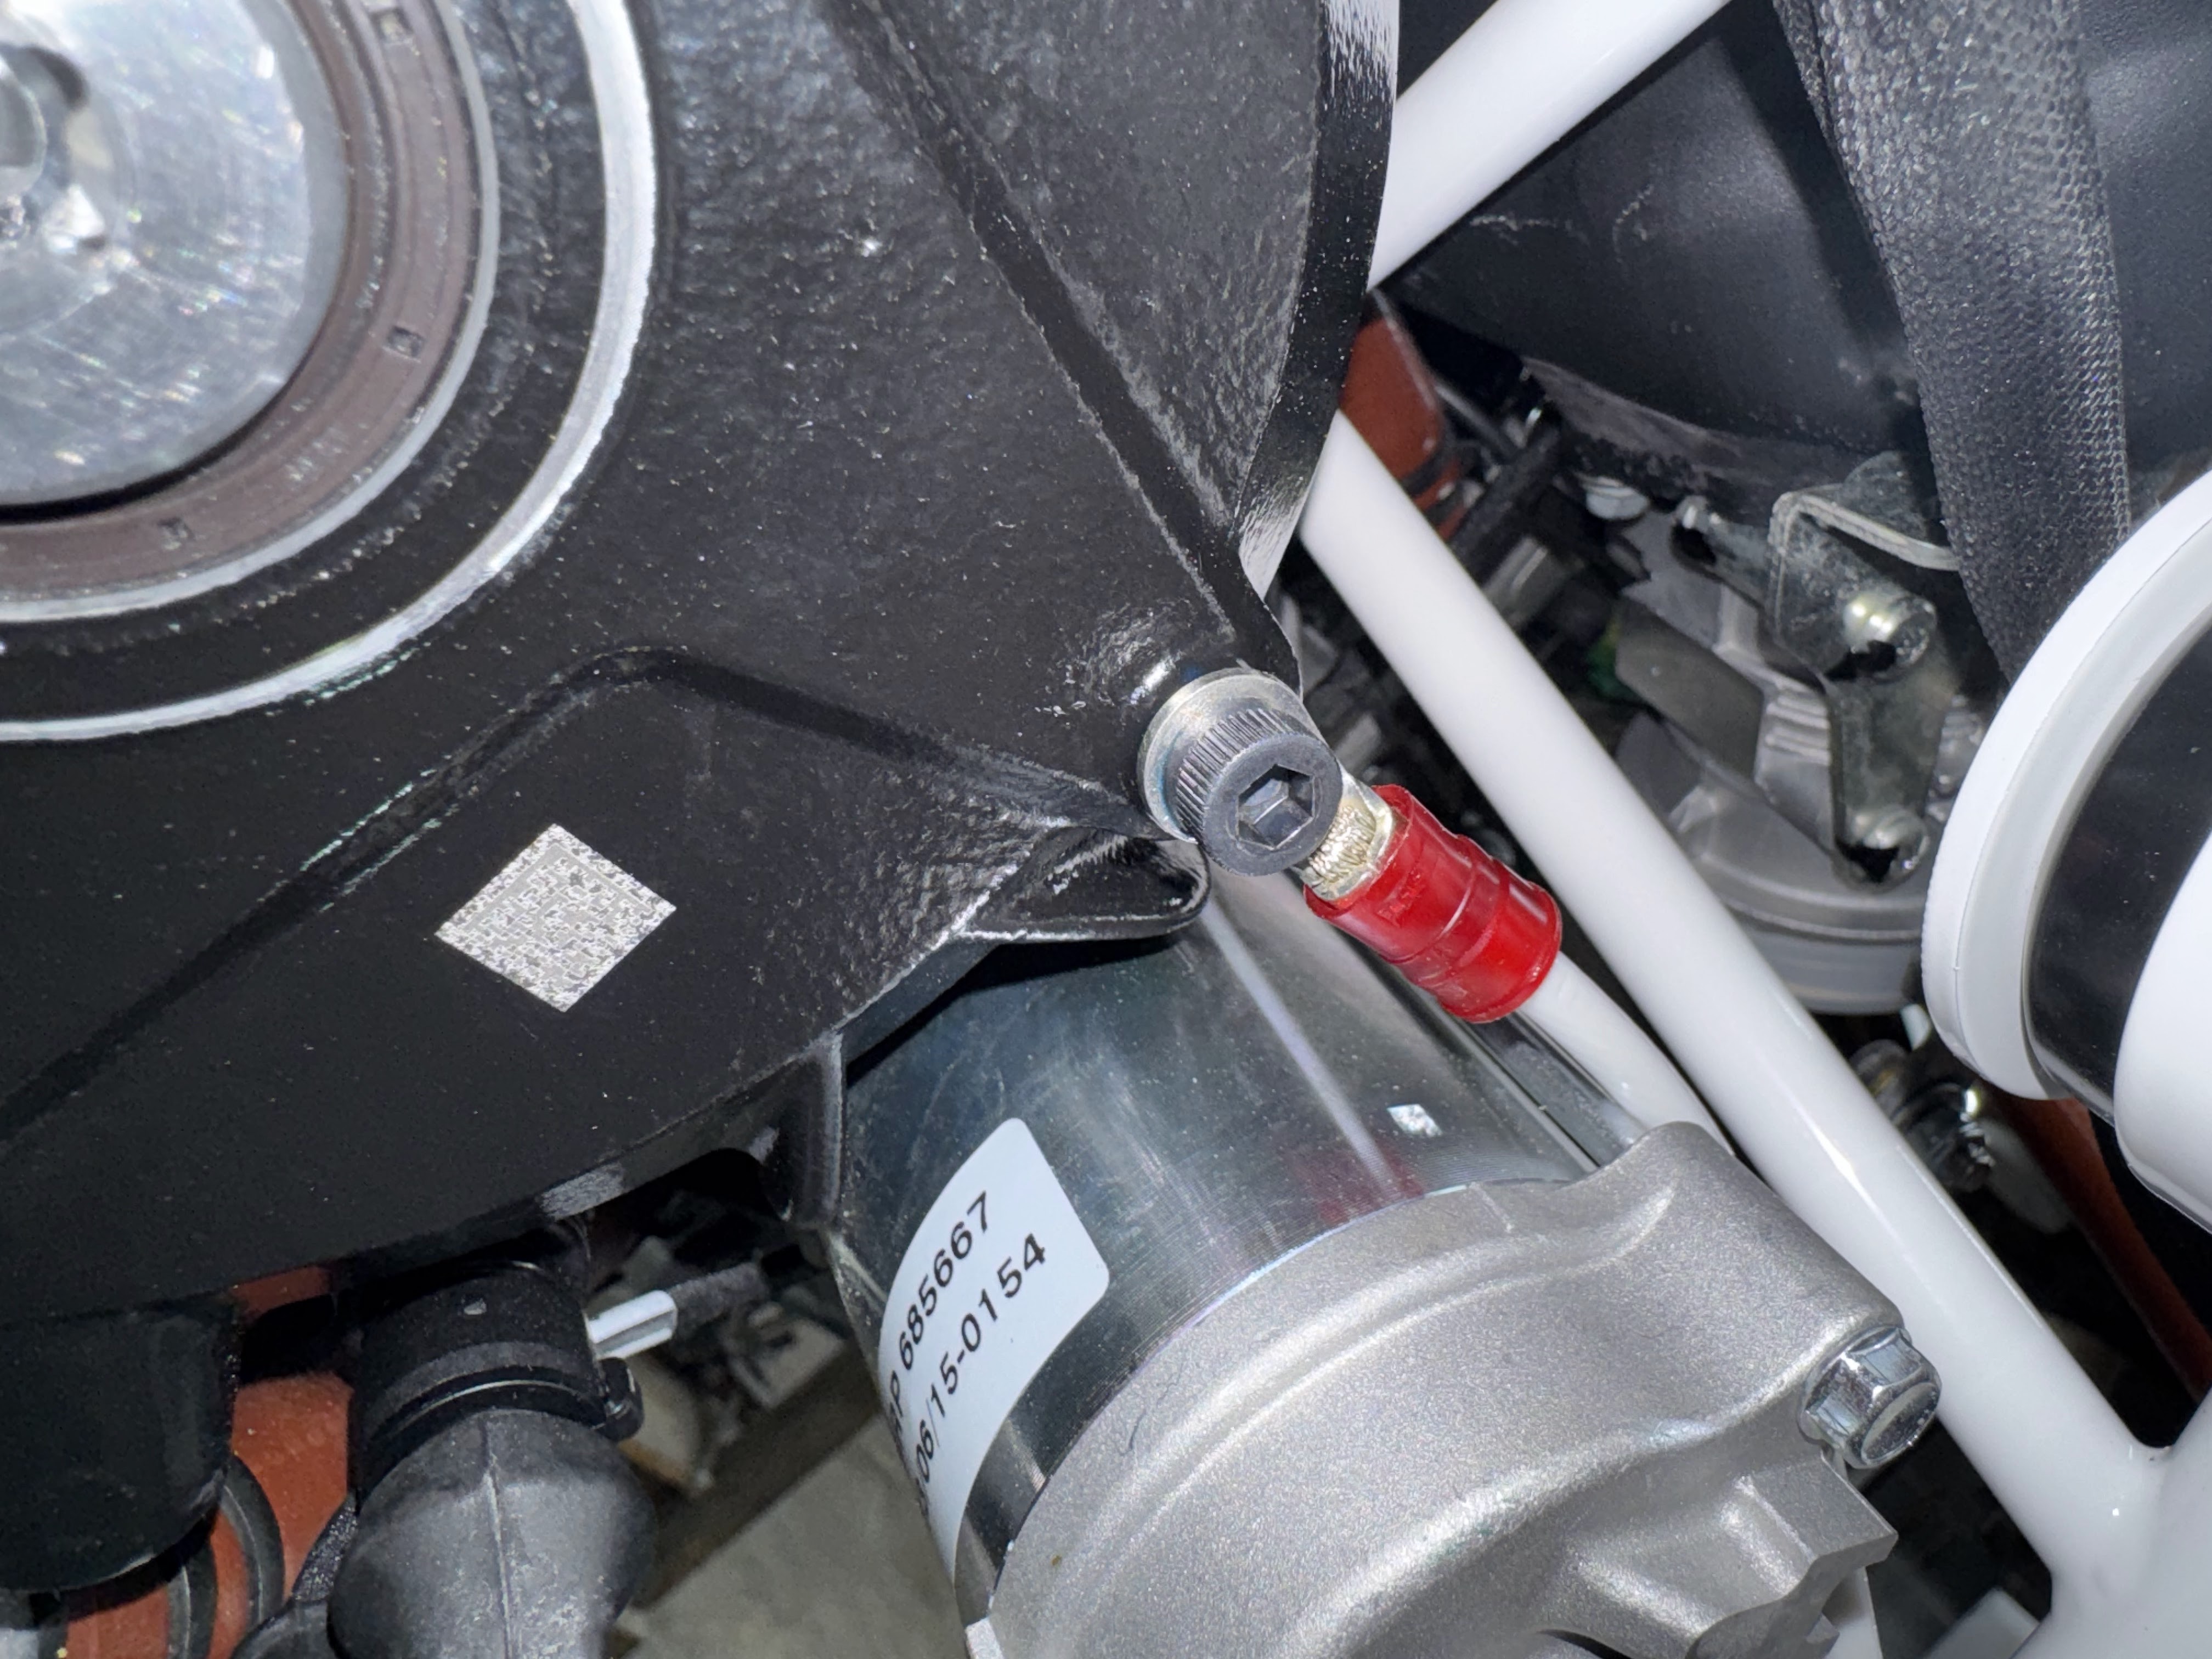
Next I worked on these adel cushion clamps. This was a pain in the rear even using all the tricks to work with these things. Also the bolt called out was too short. I had to remove it and put in a longer one. Also not sure but I think the way Rotax builds these harnesses may have changed since Vans took pics of where and how to install these clamps. I did it the way they suggested but it is obvious it is not optimal for the current harness design.
Sunday, March 30, 2025
Engine Mounting Part Seven!
Here they are installed. These do sort of lock onto the connector if you turn them hard enough. The latch is not very significant. Wish these had some way to safety them because they are kinda important.
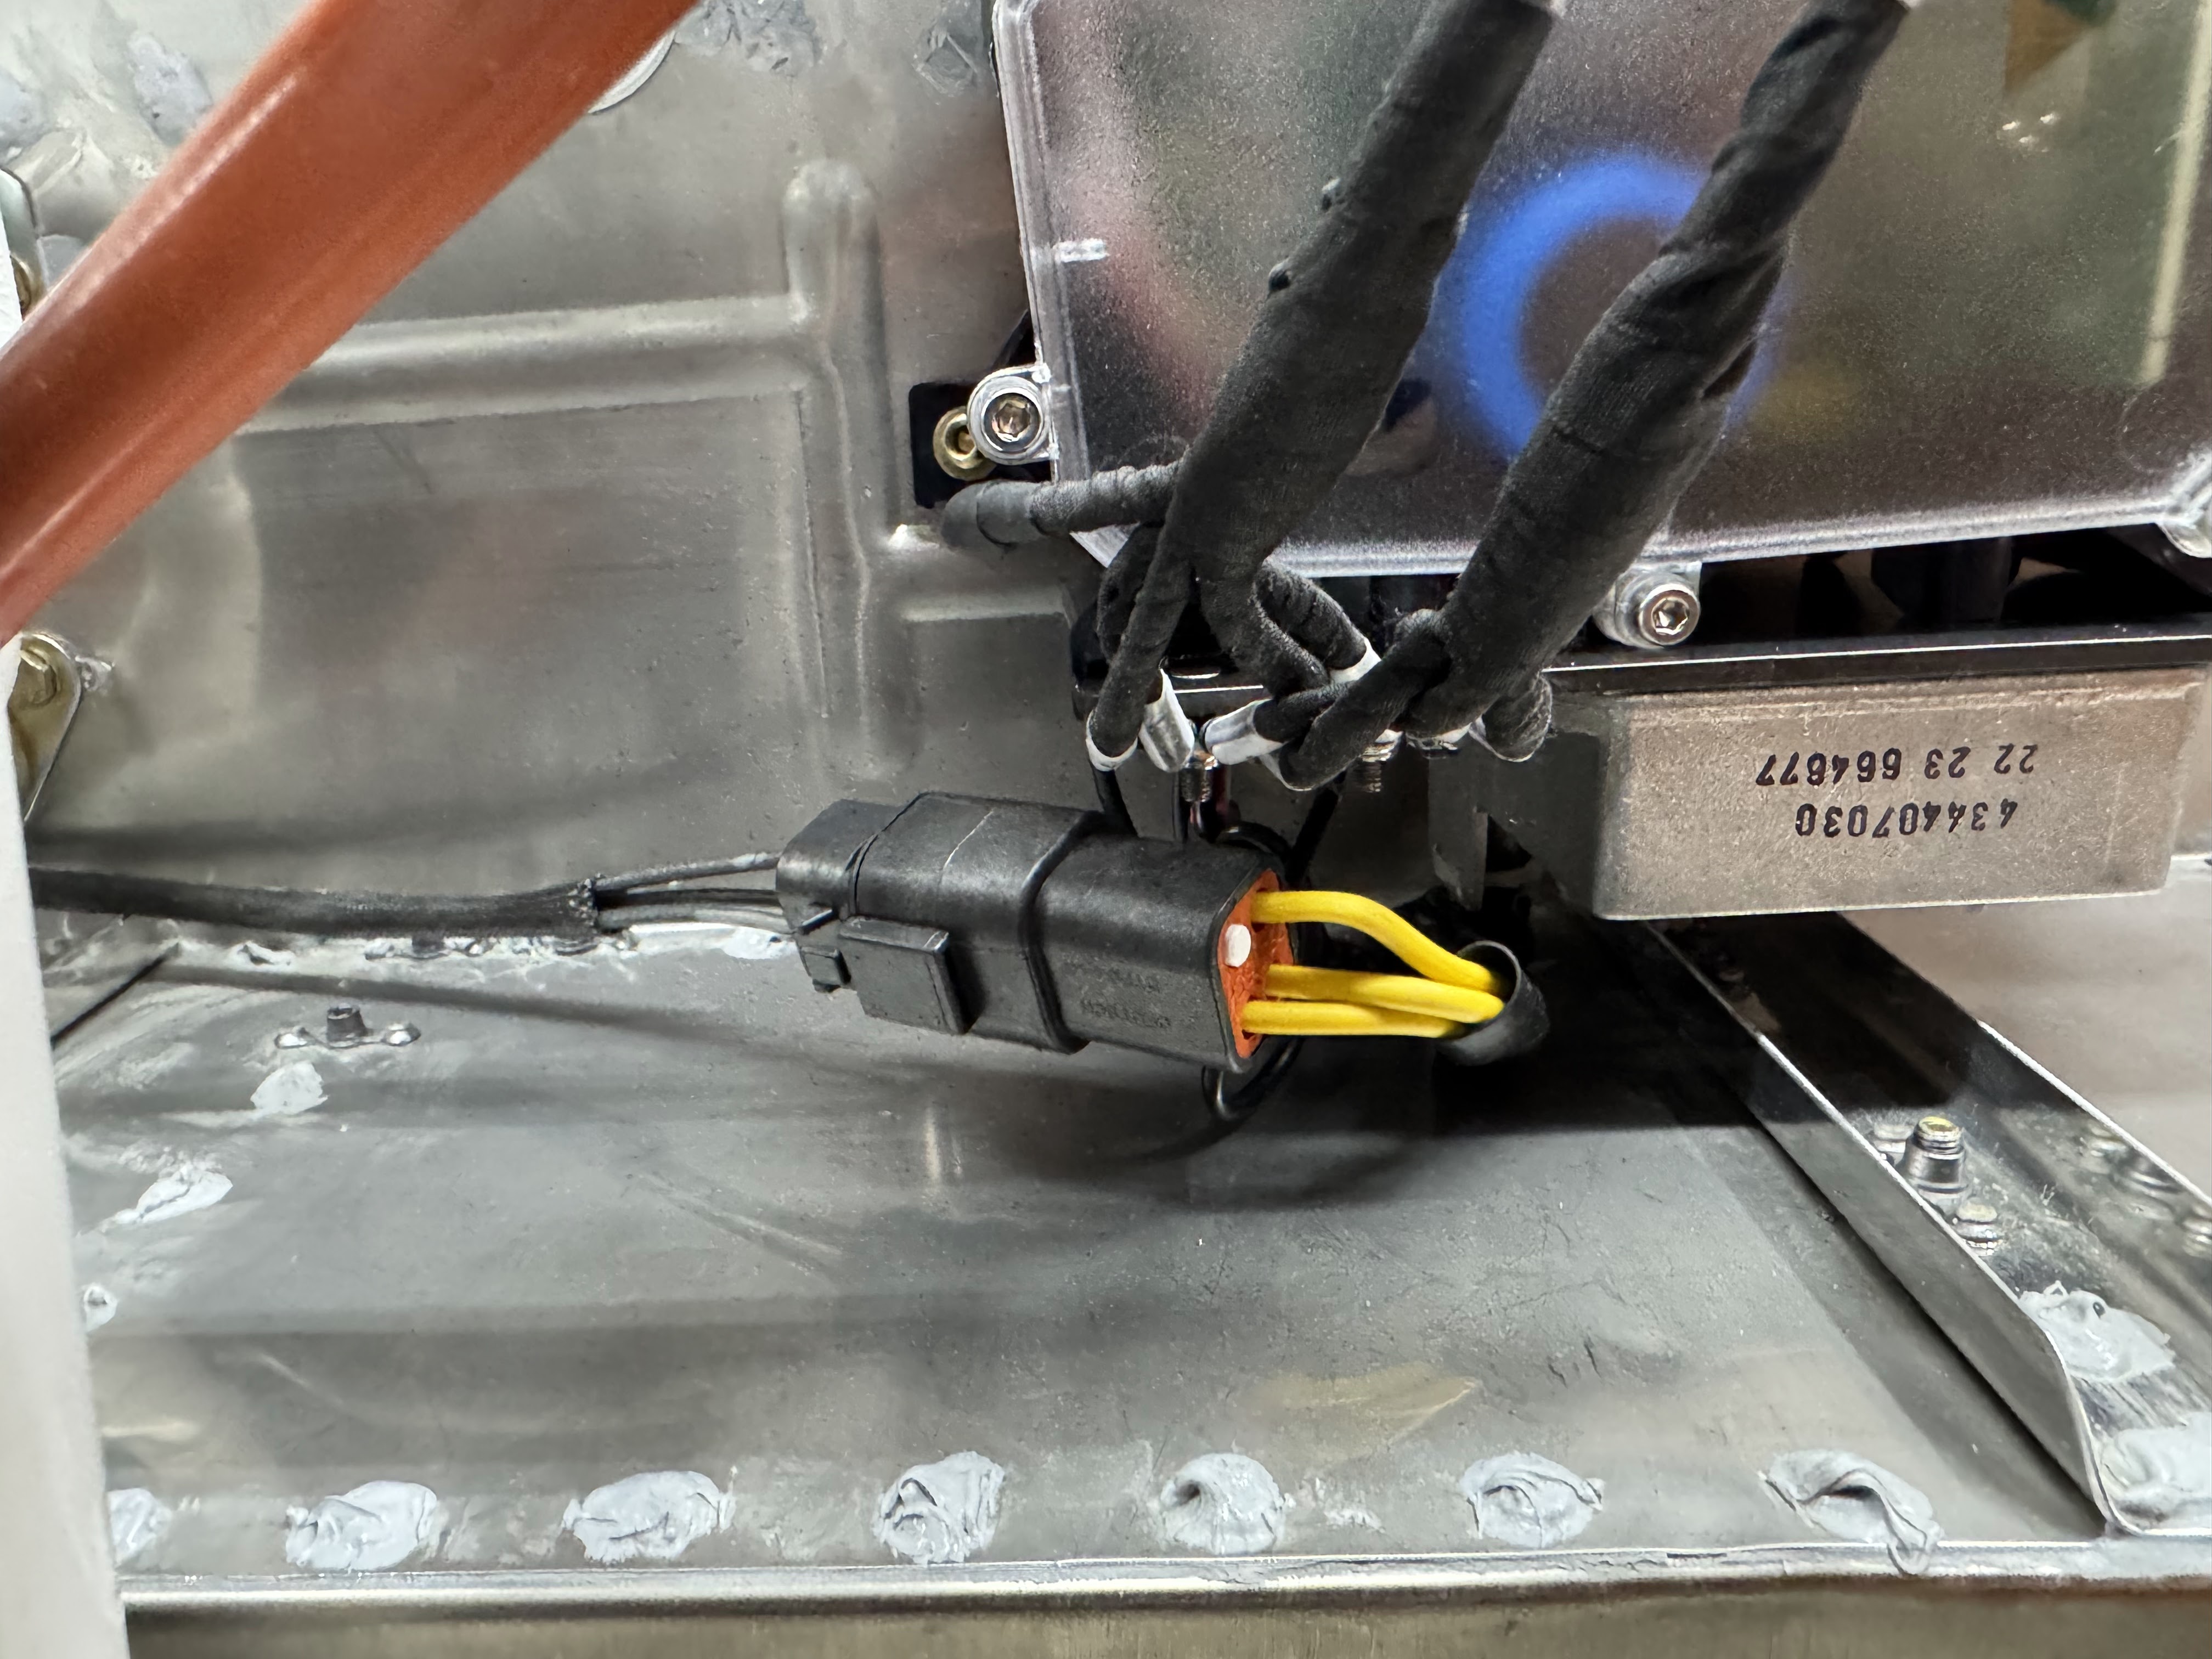
Here is the cannon plug that is different than the one called out in the KAI. Totally different but much more robust design and it can be safety wired.
They have you route the ECU cables thru the firewall. I decided to put some split loom around the sharp edges of the hole to prevent damage to the cables. The sealing parts and bushings get installed later.
Saturday, March 29, 2025
Engine Mounting Part Six!
Connected the fuel supply and return lines.
And then safety wire it to this hose.
Next is to secure this heat shield in place with safety wire around the coolant distributor neck.
Numbered totally different that what the directions call out.
Next they have you cut the ground wire for the starter solenoid off and cover it with heat shrink.
Monday, March 24, 2025
Engine mount part five!
I then swung my hanging straps around 90 degrees and pulled the fuse up close to the engine. This allowed me to align the engine perfectly and get the bolts and isolators installed. I did put a little bit of silicone lube on the isolators to get them to slide together easily. I installed the bottom bolts first.
Looks great hanging on the plane. It is amazing how compact this engine is!
Sunday, March 23, 2025
Engine mount part four!
You will need a long ball end 8mm allen key to get to the top left mount bolt. You have to look up the torque spec in the Rotax maintenance manual. That manual also calls out that the bolts must have medium loctite when installed.
Then you are asked to reconnect the lower coolant lines.
Subscribe to:
Posts (Atom)