Thursday, August 17, 2023

Fuselage center section #18 - Seat rib area prep

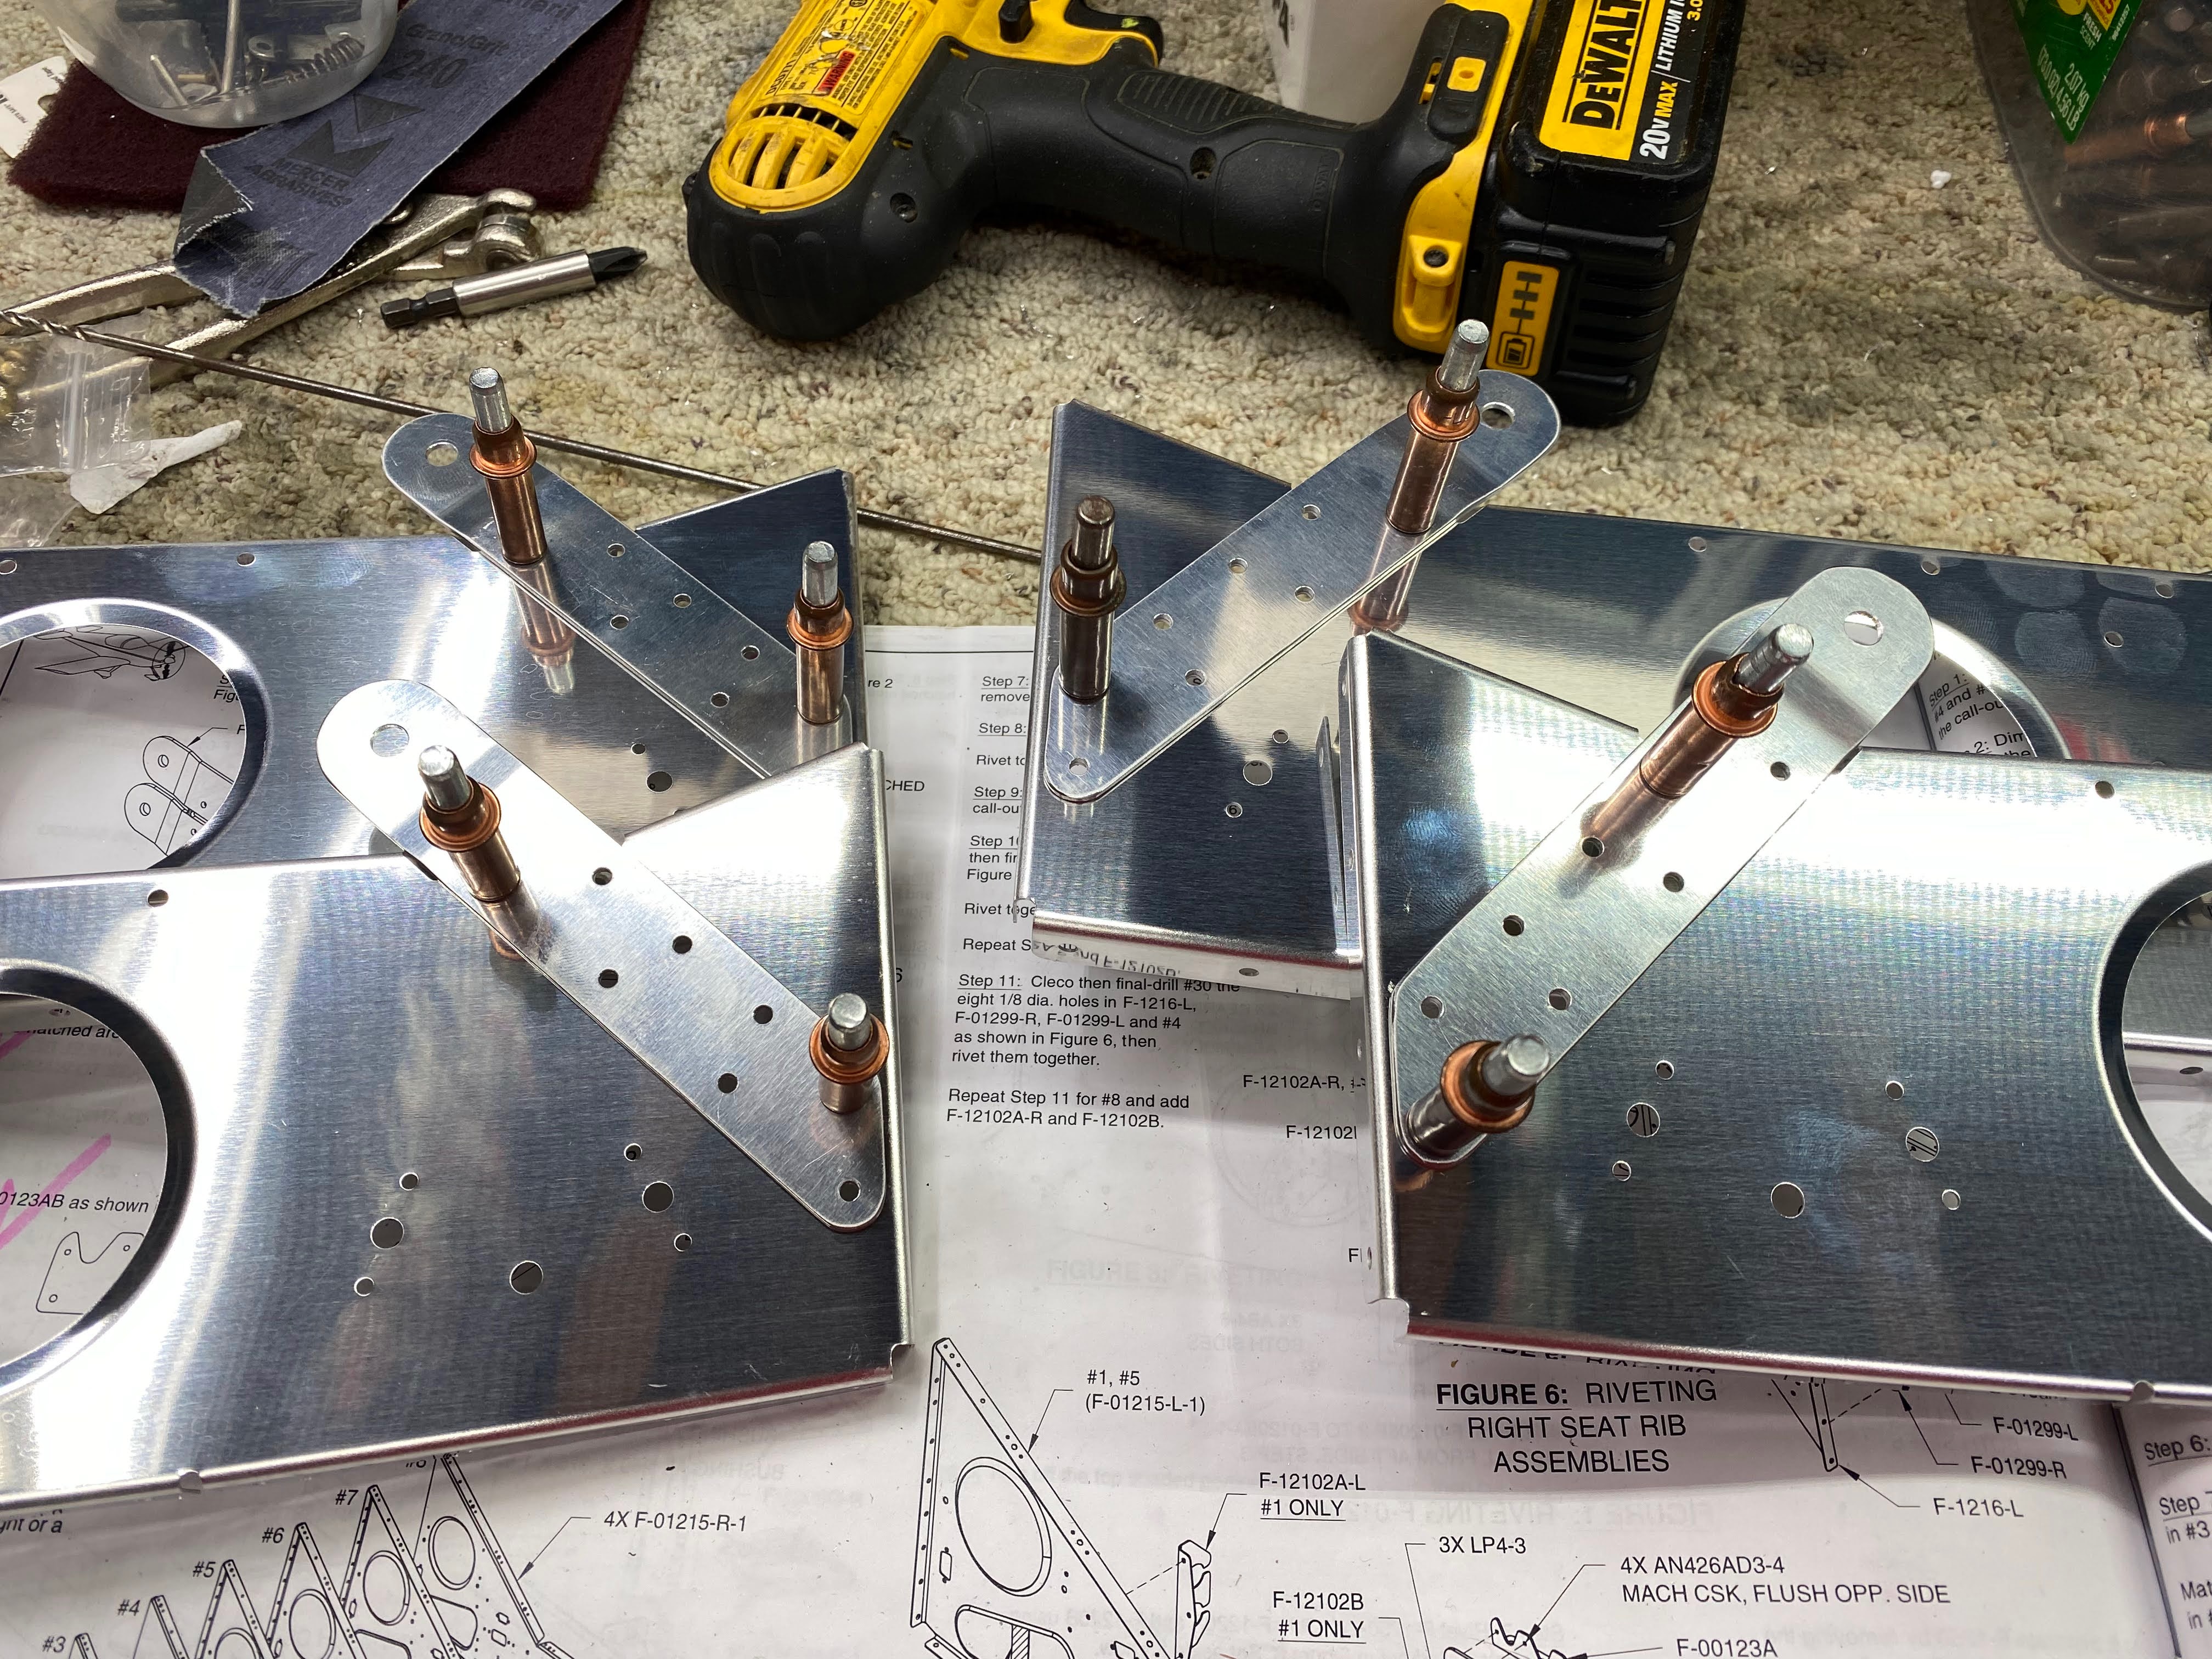
 Today I continued to work on seat rib area prep.  Lots of operations, nutplates and details around what holes to drill, dimple, etc.  This is complicated due to the fact that these ribs are all made the same and some of the holes will go unused.  Pay close attention here or otherwise you may end up drilling out or dimpling a hole incorrectly. Also, for some reason Van's pre-dimples many of the nutplate mount holes.  I don't know why but less work for me!

First I installed these nutplates on the center two ribs.

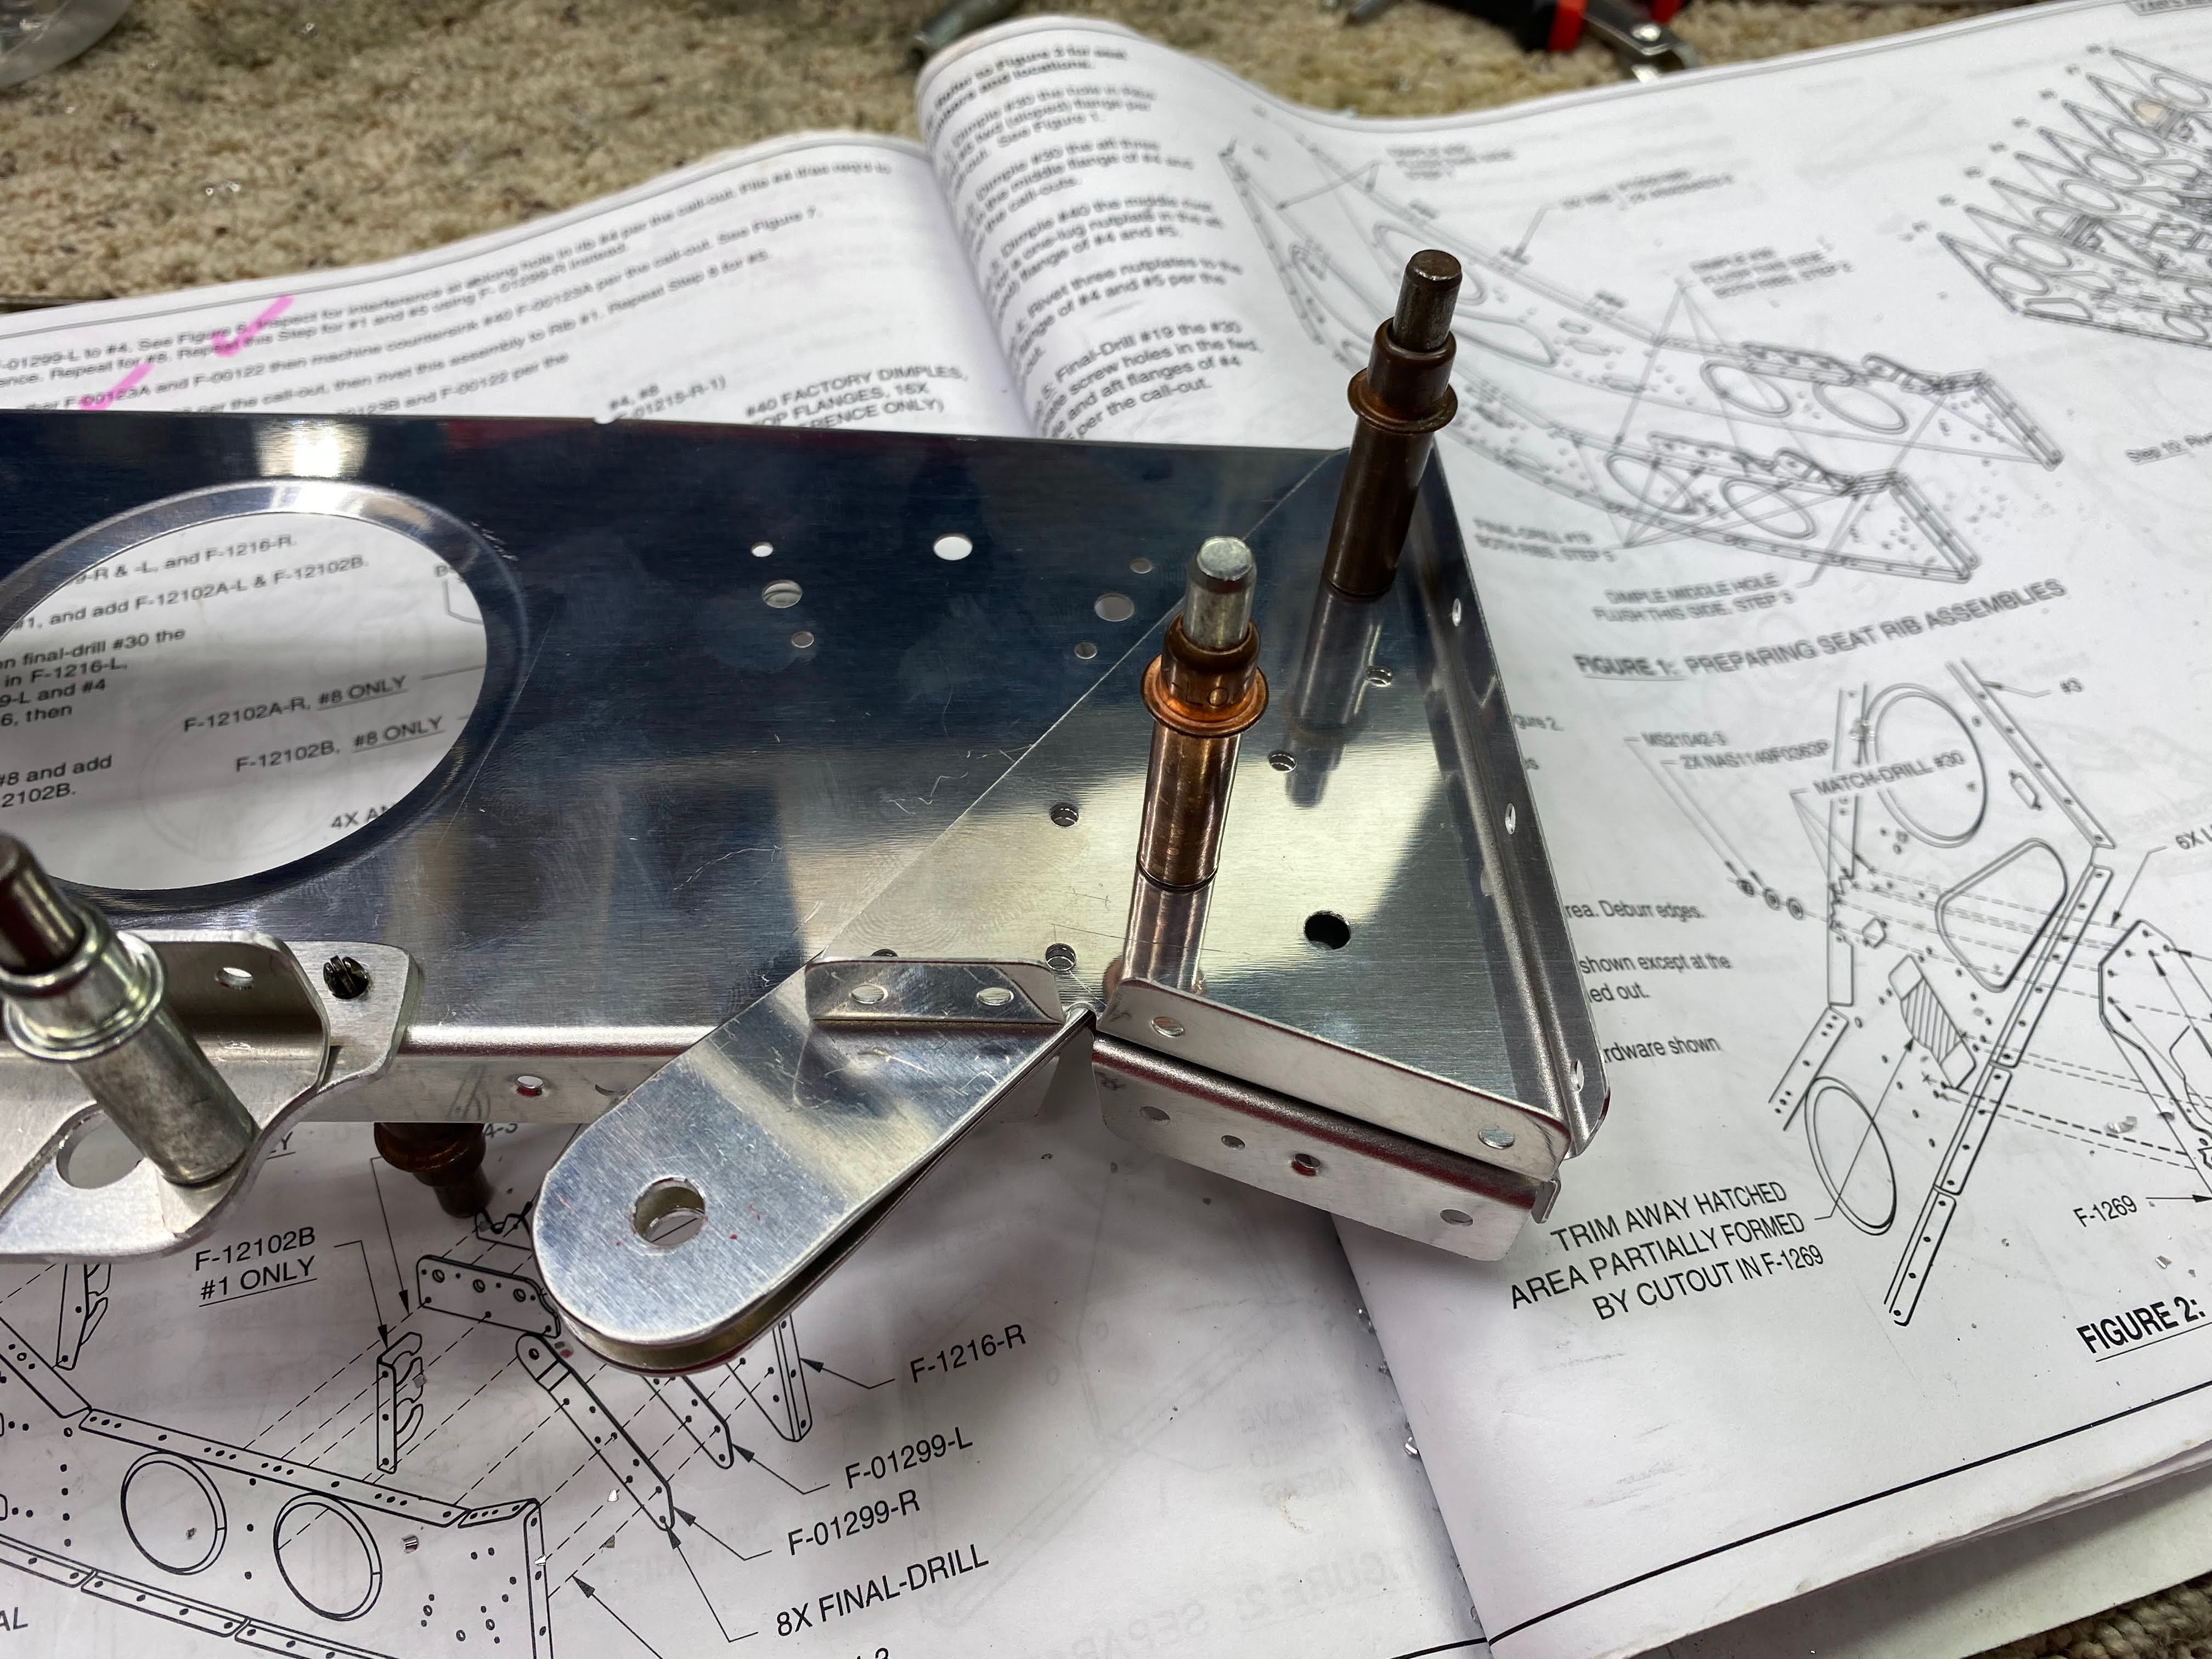
They then have you cut this weird hole out on rib #3 using this bracket as a template.  Not sure yet what that bracket does but I think it is a servo mount doubler.

Extended the lines and used the cutoff wheel to buzz this area out.

Lots of hand filing to get ease up on the lines.

Used the doubler to fine tune the cutout.

All done.

Match drill the #30 holes.

Match drill the #12 holes.

Installed these nutplates in the 2,3,6, & 7 ribs.

Tuesday, August 15, 2023

Fuselage center section #17 - Seat rib area prep

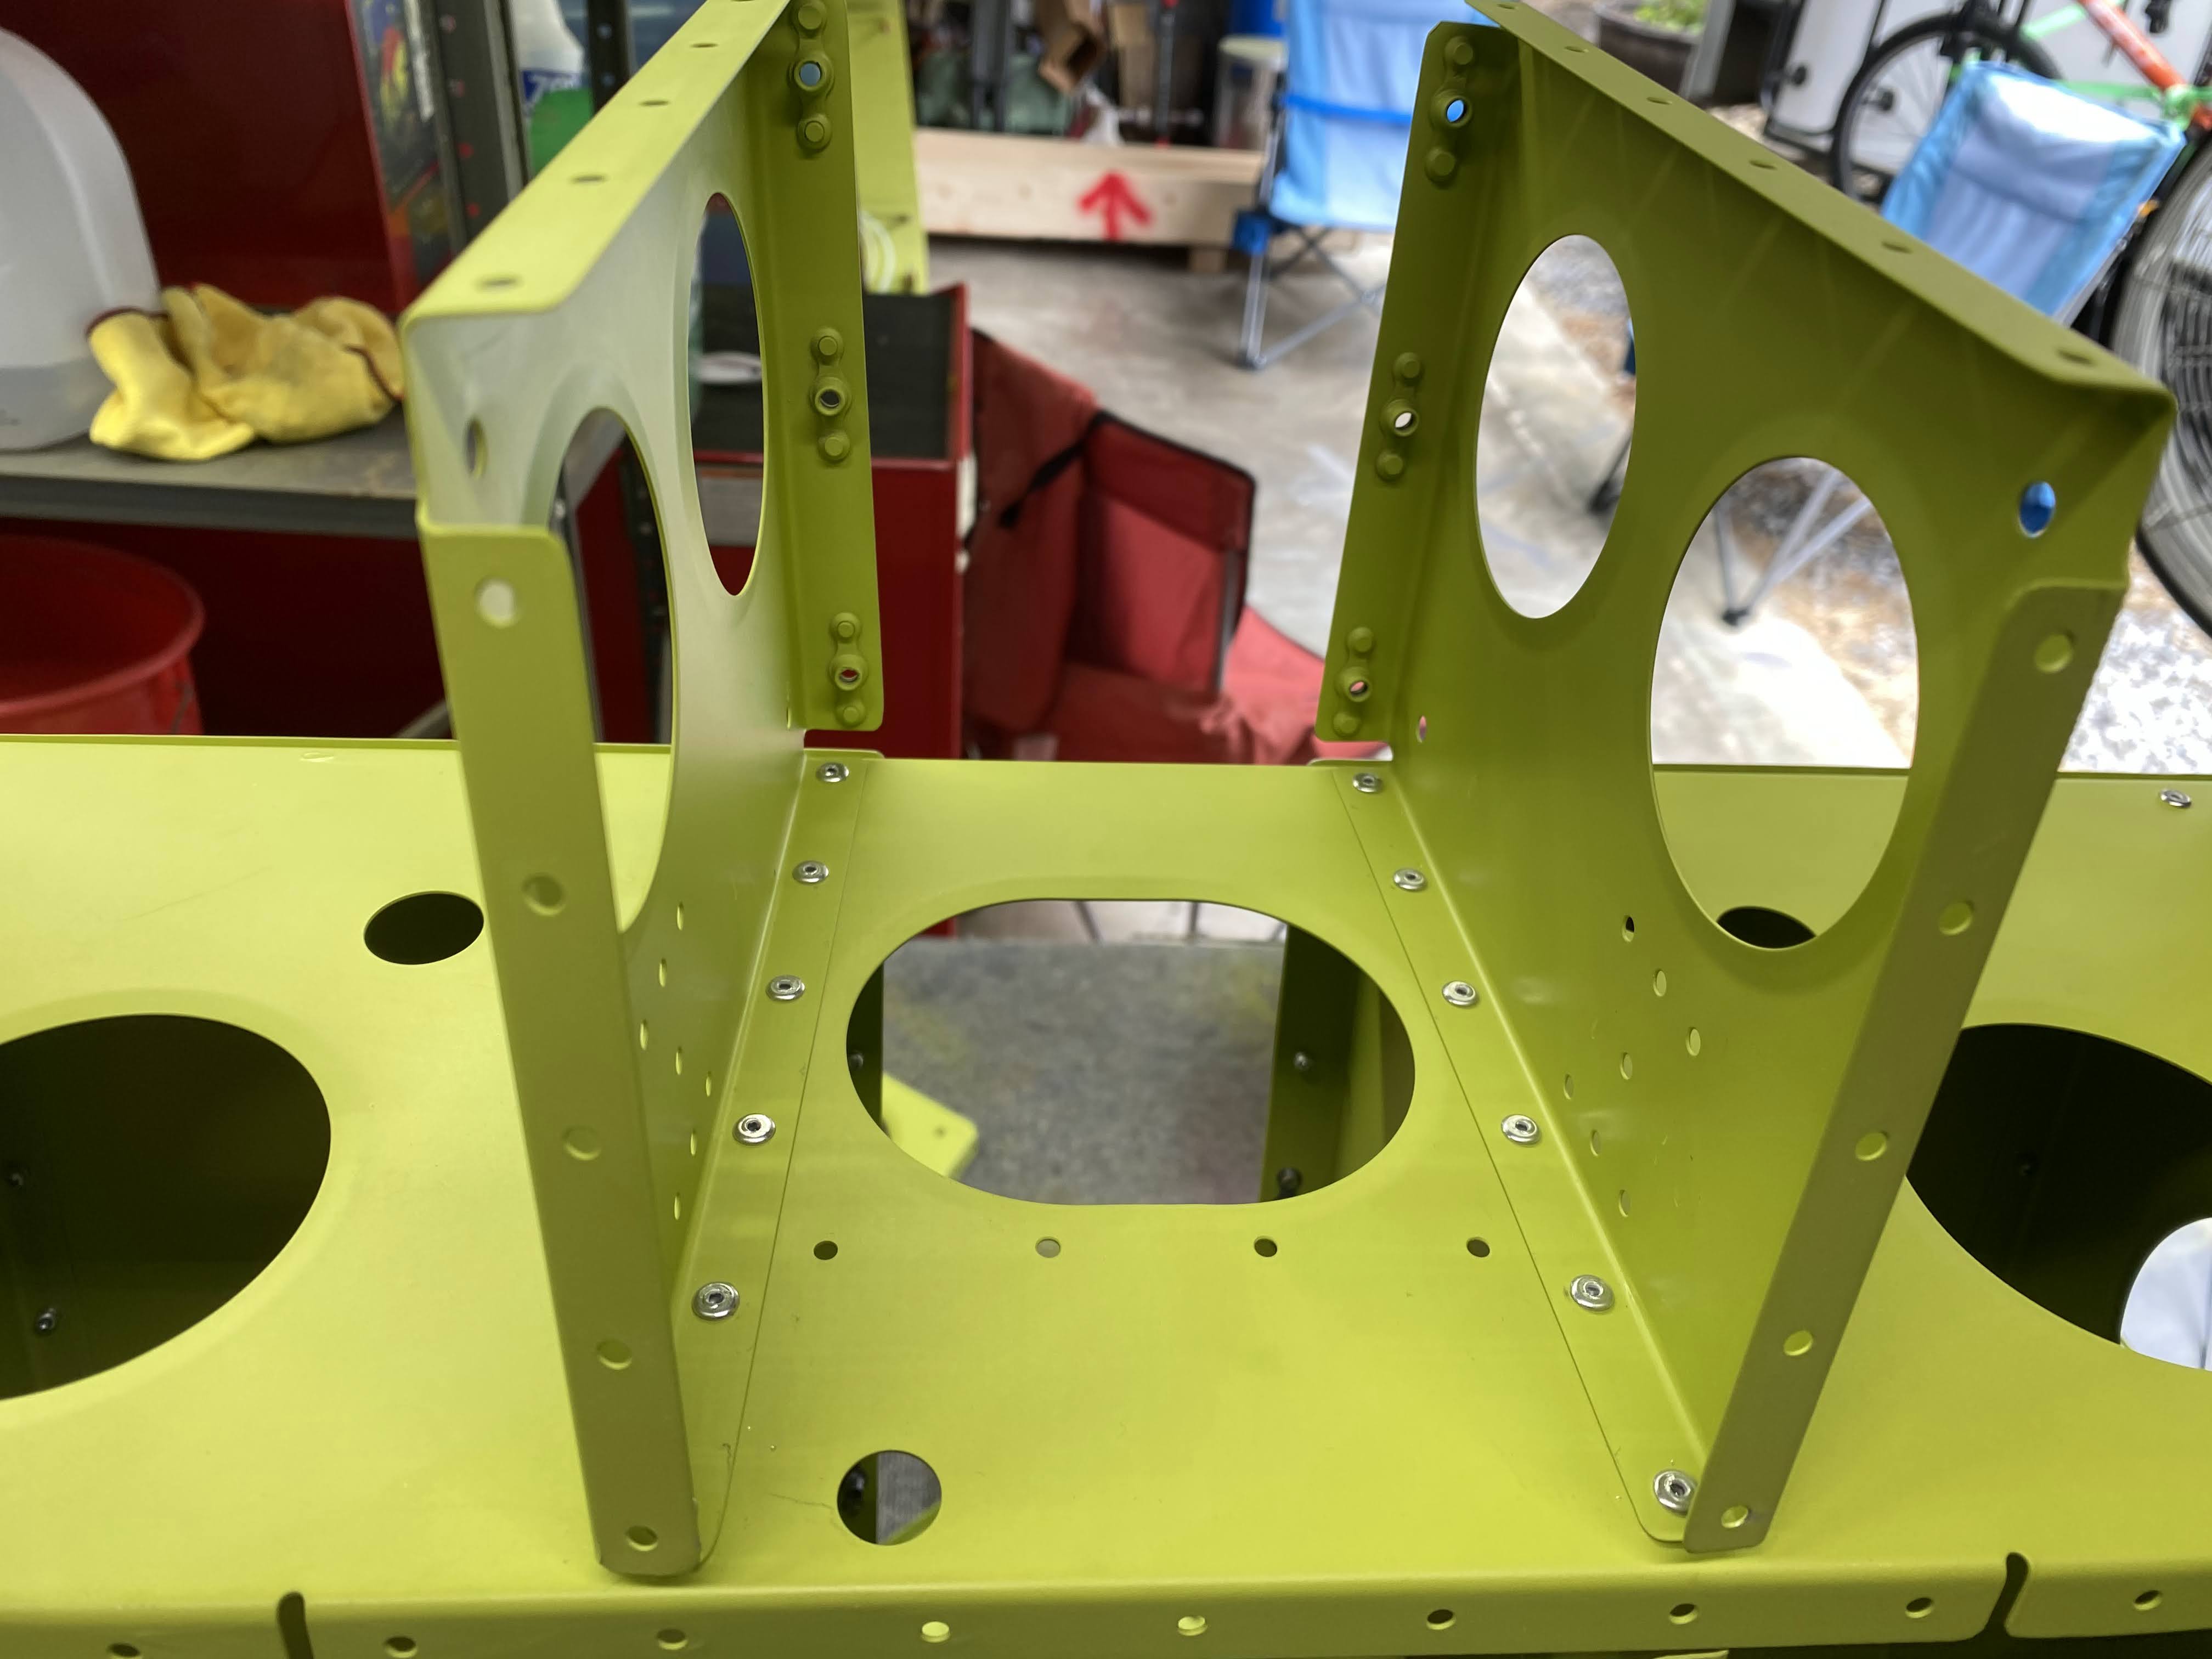
 Continued to work on prep of the seat rib area.  As soon as I get all the parts fitted, it will be a big priming session and then I get to rivet it all together.

They have you cut out these extra chunks of metal on all the ribs.

Removed...this gets some serious deburring later.

Then you have to check for interferance with the little notch in the ribs as it relates to the seatbelt brackets.

No issues with mine.

Then the parts of the seat back adjustment system get fitted.

And the rivet holes countersunk.

Mock everything up.

The seatbelt attach brackets and the rib doubler get cleco'ed together.

And then match reamed to full size.  I marked everything so I can get it back together properly.


Saturday, August 5, 2023

Fuselage center section #16 - Seat rib area prep

 After a week at Osh and another week of recovery at work and other stuff, I started back to work on the seat rib area of the fuselage last night.  Tons of little parts to cut apart and clean up on the wheel!

Cutting the seat belt anchor brackets apart.  These were steel on my RV7 so I am kinda wondering how much force these can take during an impact before ripping the bolt out.   HMMMMM.

Deburring them on the wheel.

More brackets to cut apart.

And clean up.

These are part of the seat back adjustment system.

Clean up on isle 7.

More of the seat back angle adjust latch mechanism.  These parts have been heat treated at the factory, much tougher than the other parts.

Deburr deburr deburr....


Sunday, July 30, 2023

Airventure (Oshkosh to us old timers) 2023 in the bag!

 The wife and I returned to Airventure this year.  It has been 3 years total since we have been.  First year was COVID and the convention was canceled.  The next two years were from burnout.

It was so great to see all my old friends and make some new ones!

This year we took the over the road RV and for my first time, we camped in Scholler.   We were in the far West 24hr generator area near the freeway but it was a great experience.  When we got there on Friday, the area we were in was sparsely populated but by the time we left on Thursday morning, it was full up!


A satellite image taken on Thursday.  This was a record breaking year for aircraft, campers, and people.  Click the image for a larger view.  The red circle in the middle toward the top is where we were camped.

Our Shower House.


The main "Big Red Barn" for groceries and camp supplies.

The campground by helicopter.

This thing is amazing!  It kept us cool the entire week!
They have 4 lanes for filling fresh water and dumping.  I think there were 8 fresh water stations and 4 dump stations.  Pro Tip:  Swing by here before selecting your spot to fill your fresh tank and empty anything you have accumulated on your trip too Osh.  There was no line Friday and Saturday before the show.  The line was backed up a bit when we left on Thursday morning but it kept moving and we got out pretty quickly all things considered.  There is a honor system pay box at each station.  They were asking for $5 for multiple tanks.  Our rig has 4 tanks so we gladly paid the $5.  Not sure what the ask is for fresh water.


They will also fill your fresh tank and pump your waste tanks for a price.  You must schedule early in the morning for same day service otherwise it will be the next day.


Saturday, July 15, 2023

Fuselage center section #16 - more baggage area part riveting

 Finished up riveting all the baggage area parts to date.  Also assembled a couple of sub assemblies that go in the area between the seat ribs.

Using those circle dots to cover the machined recesses for the bearings worked great.  Primer in here makes it very hard to insert the bearings.

Used the side grips to keep everything as tight as possible as I squeezed these flush rivets.


Next I riveted the bulkhead to the ribs.


And then the ribs to the bulkhead.


Then the ELT bracket assembly to to bulkhead.

Then the baggage compartment floor to the ribs in between the nutplates.

A couple of the nutplate rivets can't be squeezed so they have you install them with the nutplate rivets that get pulled. 

And then I installed the nutplates that get squeezed rivets.  The one in the corner has to be squeezed by inserting the yoke in the access hole.


Next I riveted the fabricated angles to this little plate.  I don't know what this guy does yet but I am sure I will find out.

Next I riveted these bearing brackets onto the ribs.  They get two different kinds of pulled rivets.  Be careful here to use the correct ones.  The flush rivets go against the web of the rib,


And then this one hole gets a nutplate.  Not sure why there is two holes but the KAI says on the one side gets one.

>3000 LP4-3 rivets have been consumed so far!

Pully bracket is assembled and riveted.

Next I riveted the flaperon mixer box together.

Installed the nutplates on one side of the arm.

And using the hardware called out in the KAI, I put this thing together.  I had to do some work to the aluminum tubes as they were too long from the factory.  I put them in the drill press and push them down on some coarse sandpaper to sand them down nicely.  This keeps them nice and square on the end and allows for some micro machining tolerances.  Just keep checking them with a set of calipers because if you go too far, the tube is scrap!  Also don't forget to grease the washers and bolts per the KAI.  Washer wrenches are your friend for stuff like this!  Keep making sure you are following the figures in the KAI closely and comparing what you are building with the drawings.  It would be easy to screw this thing up.

All done with the baggage compartment and a couple sub assemblies for the seat rib area.  This will likely be my last post before Osh!  We are taking the 5th wheel to Osh this year!  See you when we get back!