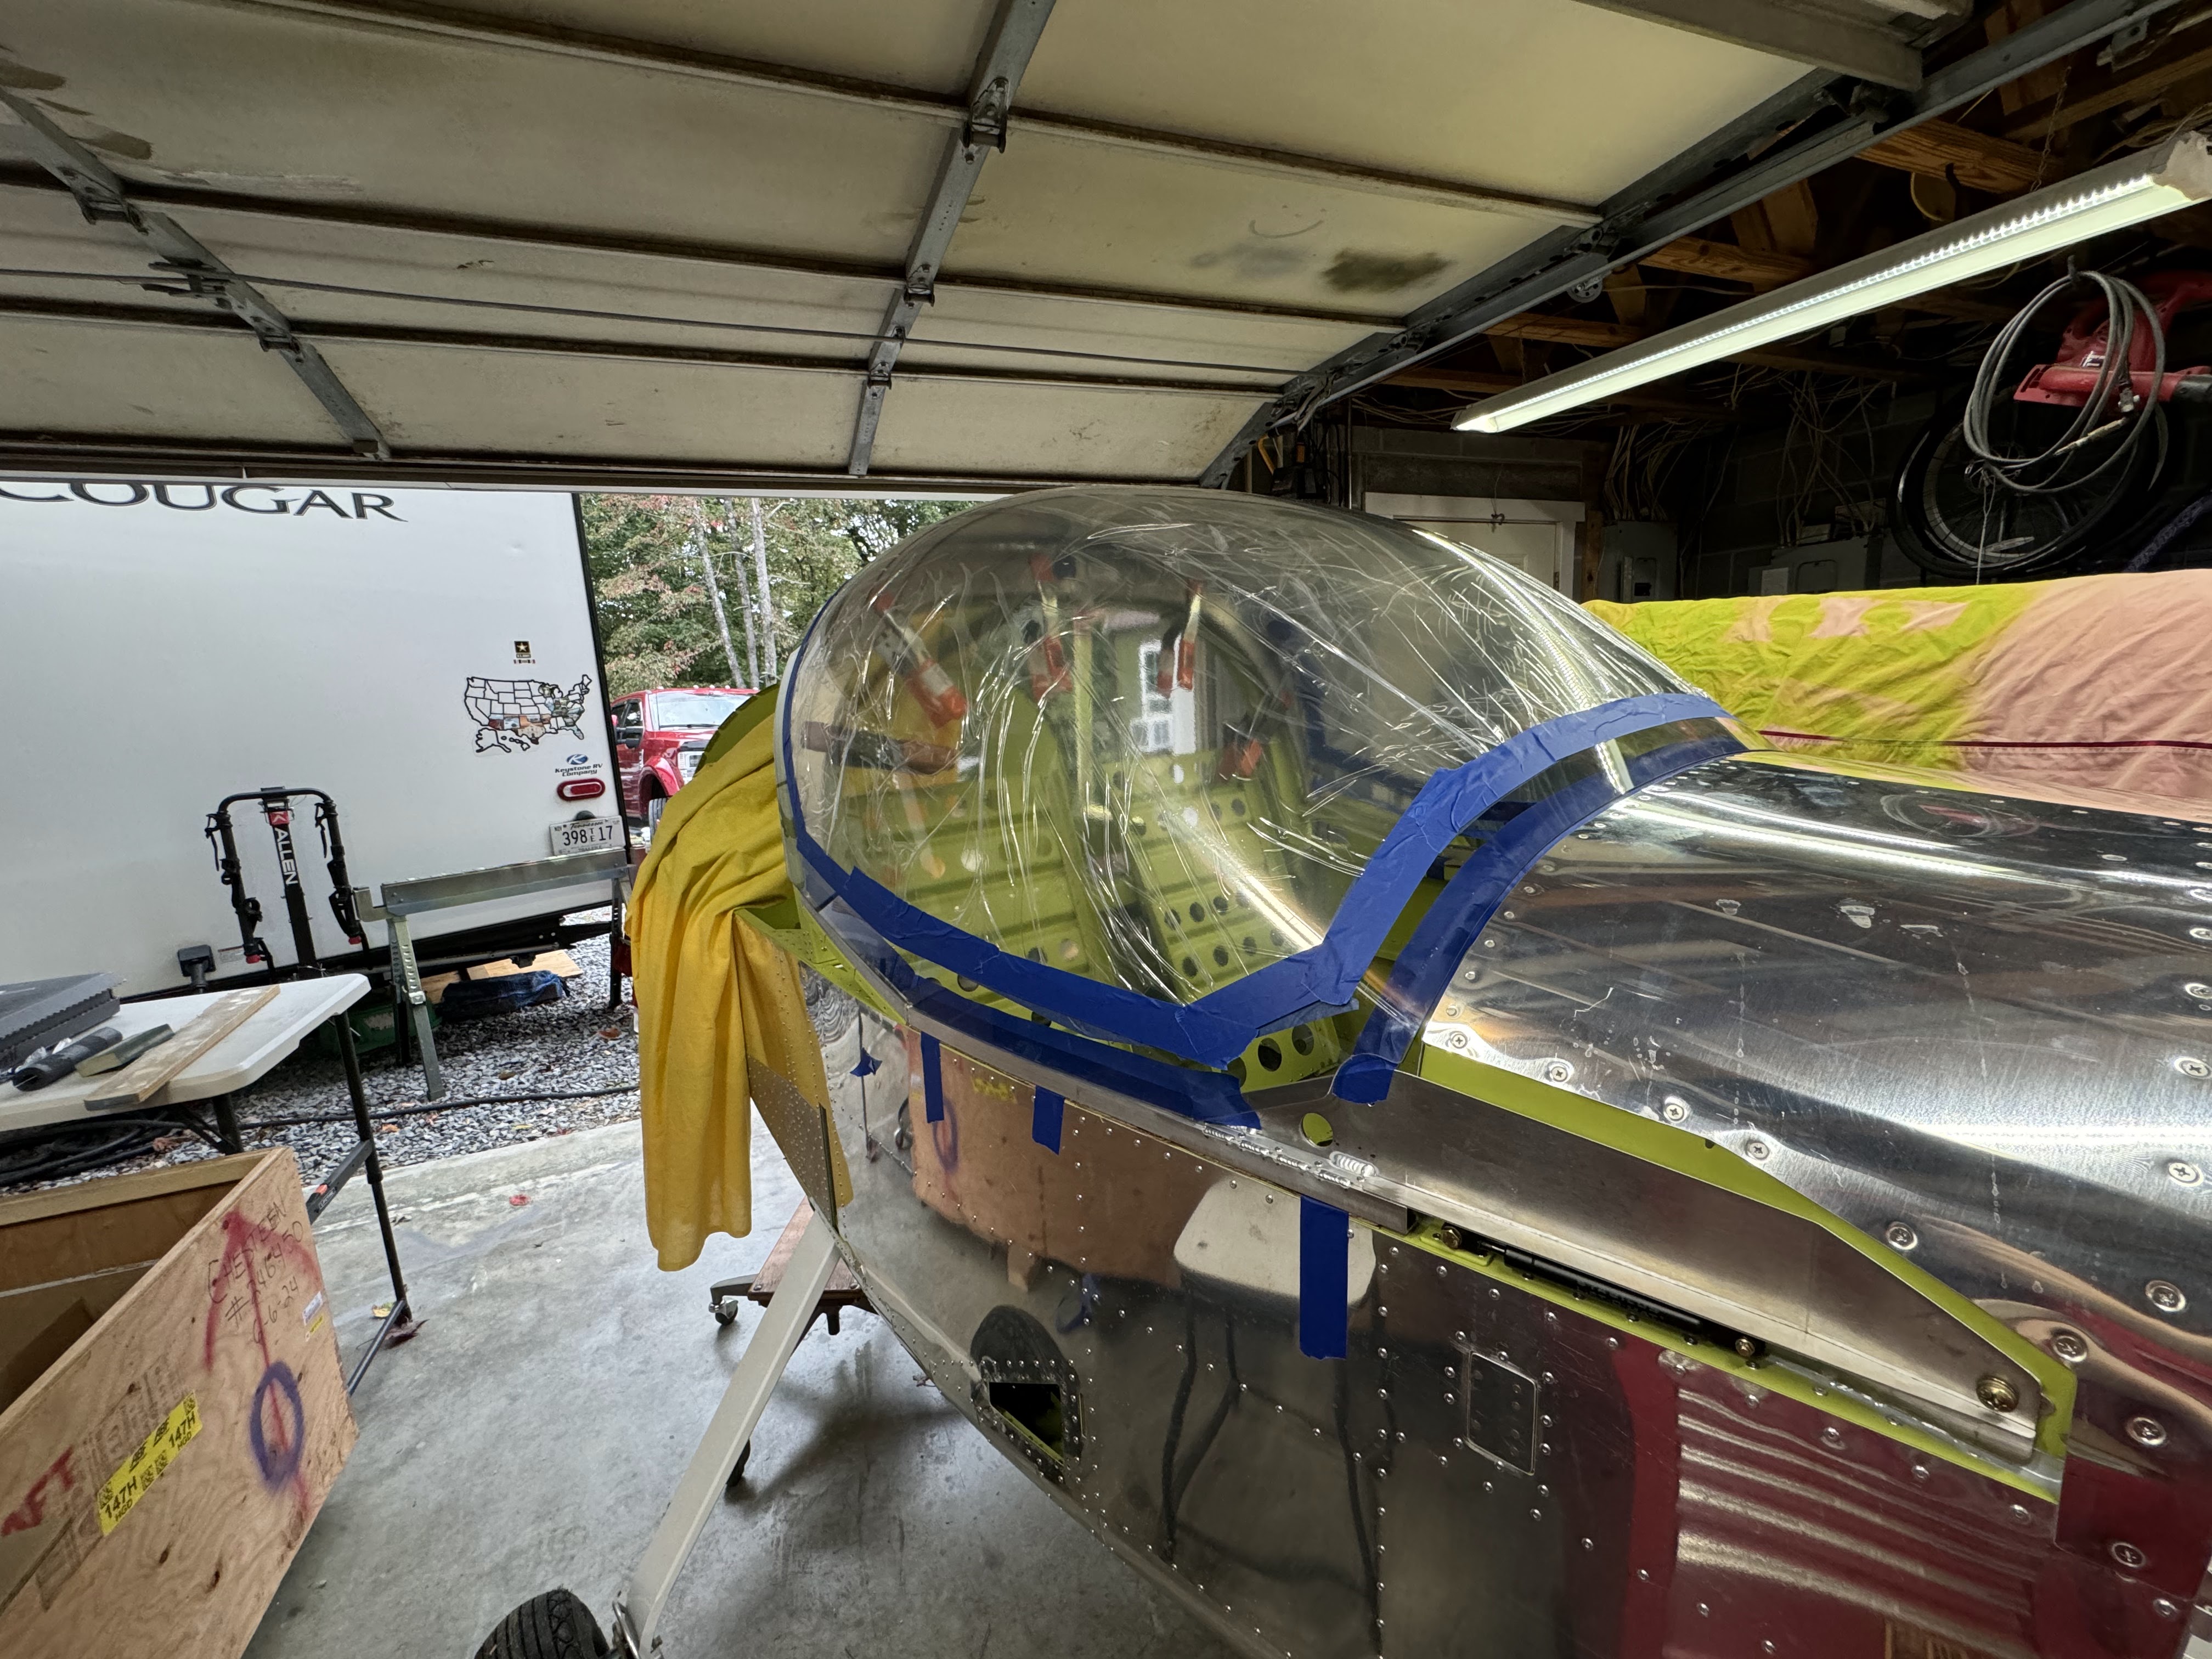
Now comes the fun stuff of working with the canopy bubble. Always a risk of cracking one of the most expensive parts of the kit. No pressure!
First is to remove about 3" of the protective film around the edges of both sides of the bubble. Then to tape what remains down so that it is protected as much as possible.
There was a blemish just to the side of the factory cut hole in the bubble. It kinda looks like that was supposed to be there as an indicator of where they should drill the hole. Hopefully it is not that far off!
Tape up the side rails to help prevent scratches.
This tape gets layed out but not pressed on to help indicate where the canopy contacts the frame.
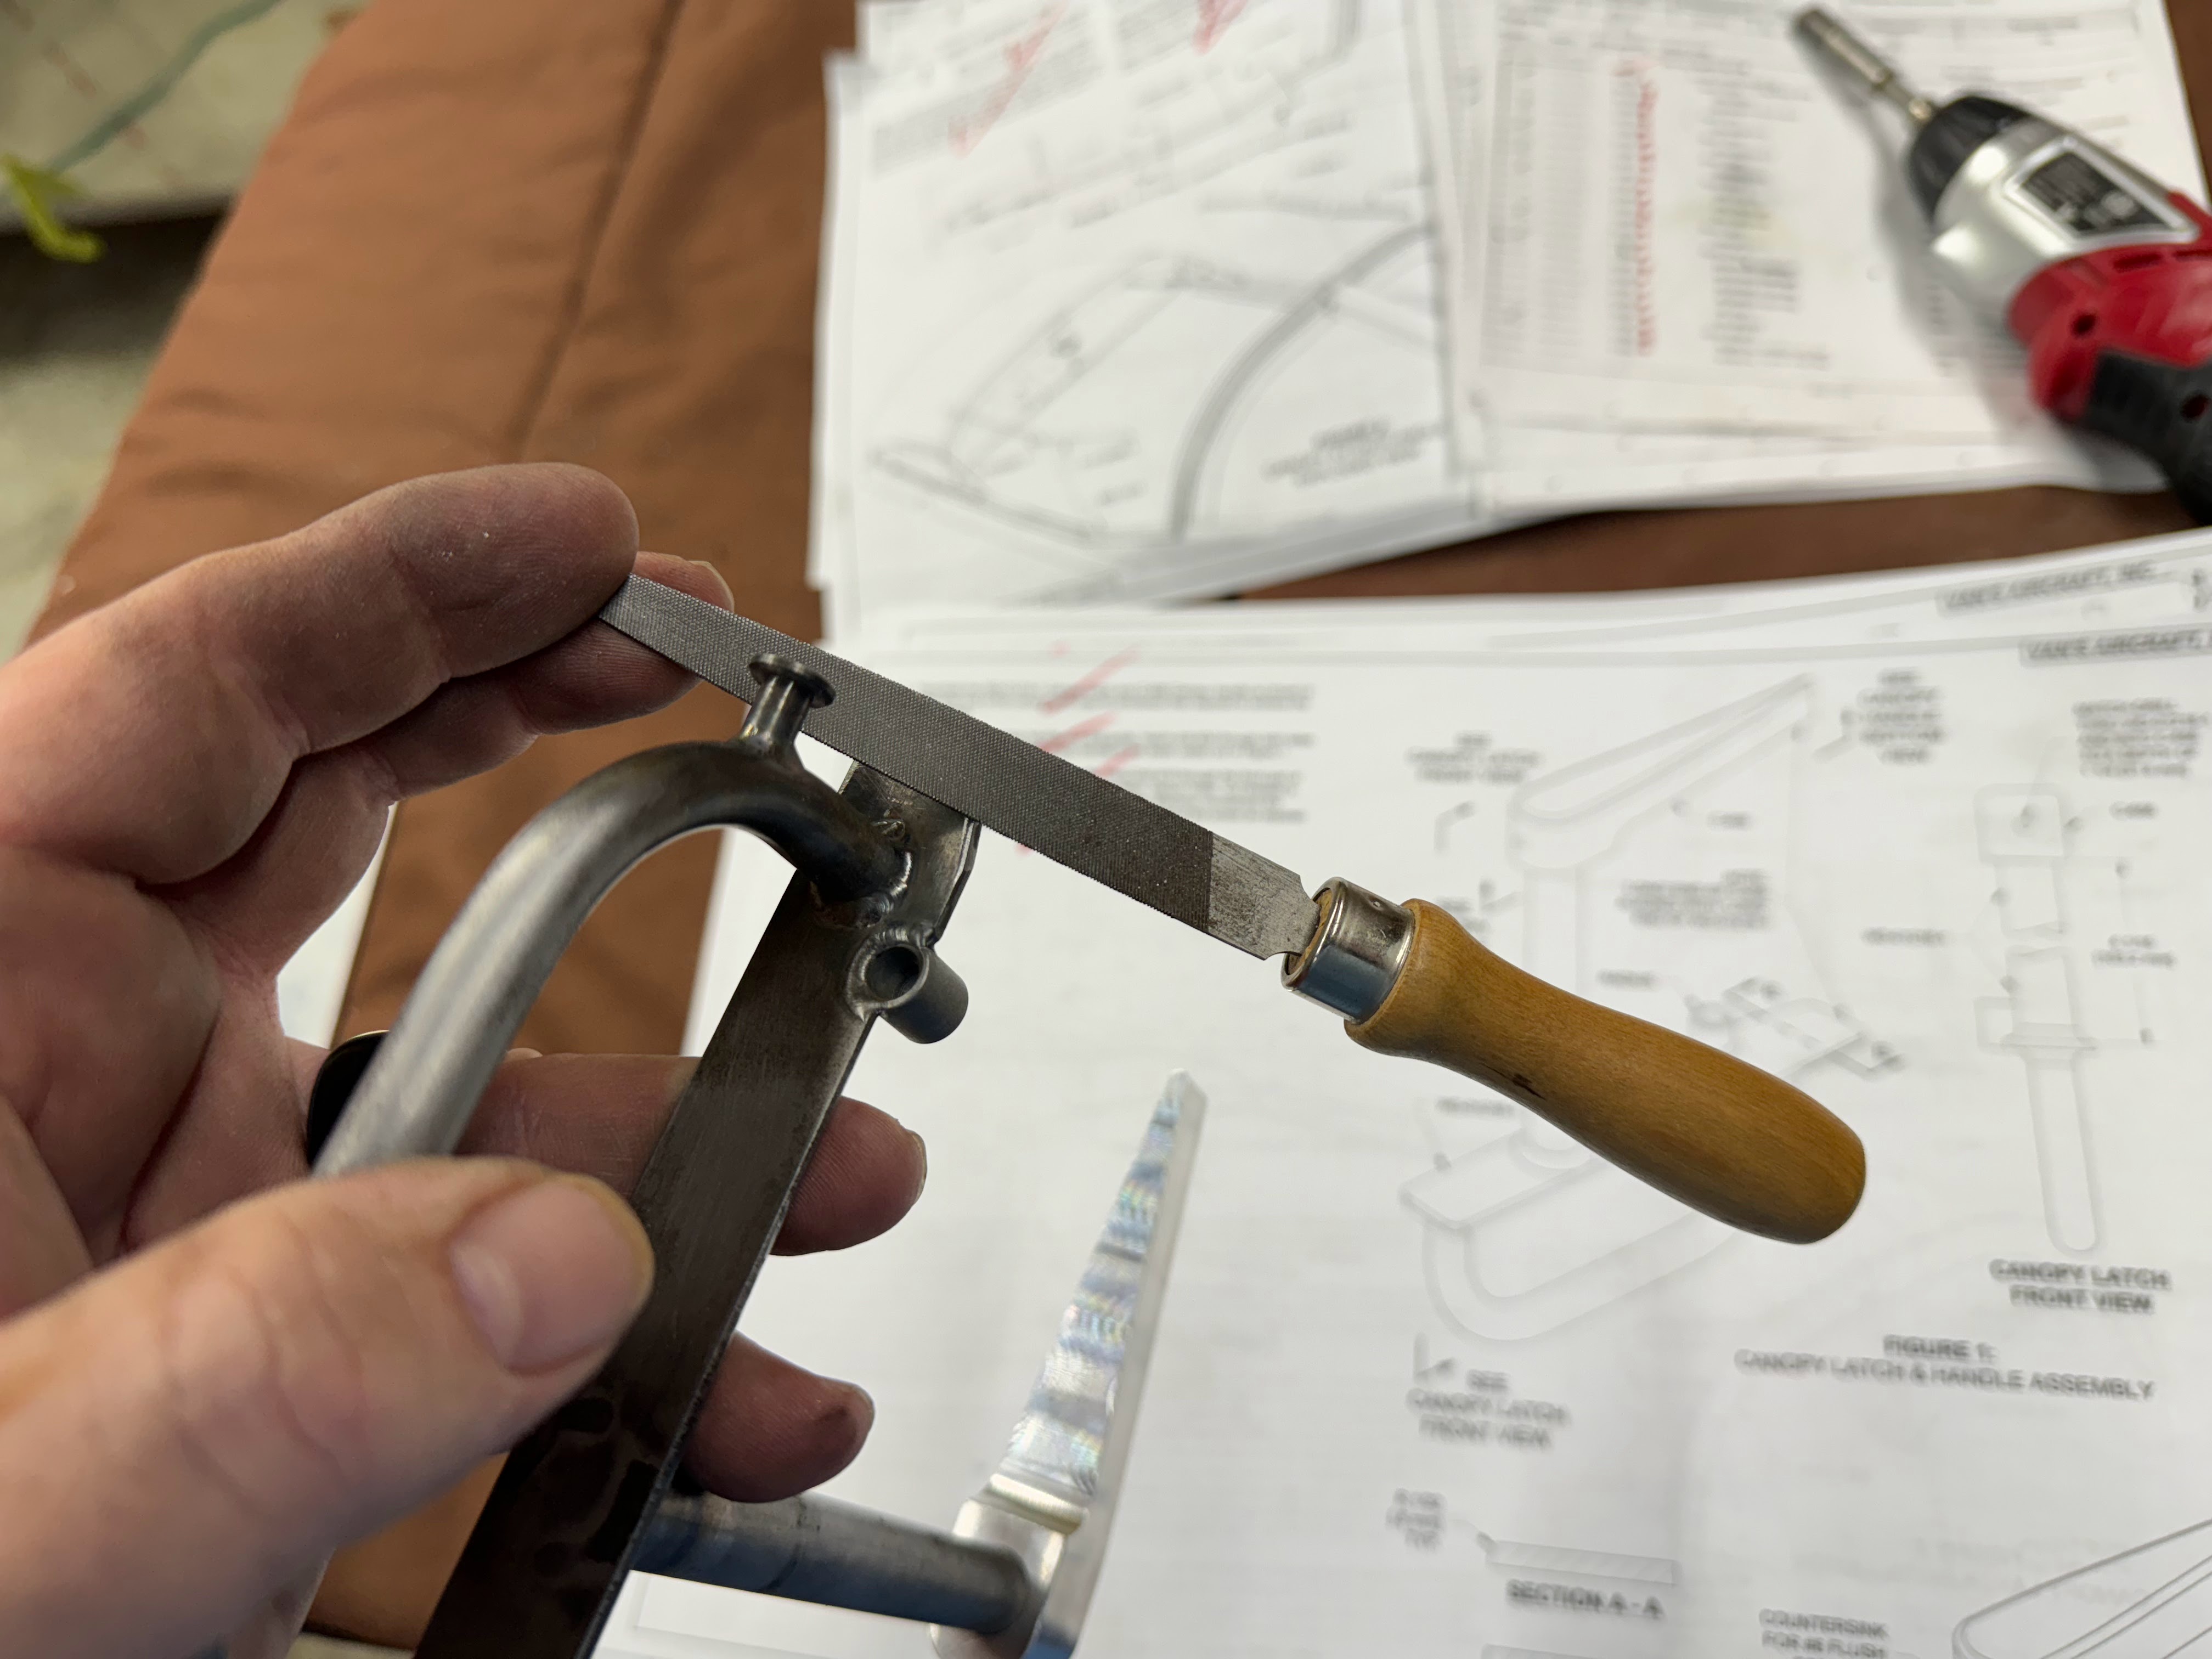
Tape up the canopy latch shaft hole that sticks up to help prevent scratches.
I noticed that the copilot side was sitting on the frame and it needs a minimum 1/8" gap. First cut was completed.
The front corners needed a little trimming to allow them to clear the frame. Easy peasy,
Then it was time to located the canopy and triple check all the measurements.
Ensuring the 1/8" gap between the front of the bubble and the top fwd skin.
Marking the latch hole to be able to make it more concentric with the shaft.
I made a Z shaped tool from a vinyl coated coat hanger that I used to press the blue tape down to the frame in the front. I stuck it under the bubble between it and the frame and worked it across the hoop. Worked great! I then marked the tape per the KAI's.