After returning from our week long glamping trip, I started working on the landing light for the right wing.
First I used painter's tape to totally cover up the acrylic lens to prevent scratches.
Then I centered the lens in the cutout opening and used tape to pull it forward while also reaching in thru the end rib holes to push on it to minimize any gap between it and the skin. The lens looks fairly symmetrical but it is not. One way it matches the skins better than the other. Try both ways and then keep up with which side is the top.
I then drilled the 1/8" pilot holes using a special bit that is made for acrylic. Cleco'ing as I went. I then marked the cutout on the lens all the way around the hole.
I then used the cutoff disk and the Dremel to cut the excess lens away, I just followed the KAI's here.
I then increased the size of the pilot holes to as close to #27 as I can get since I only have a 5/32" acrylic bit.
These acrylic bits have a specially ground point, 60° included tip angle, 0°rake angle, shoulder relieved, for drilling acrylic sheet to prevent fractures, chipping or cracking.
Next I used the screw backer strips to mark the radius for the corners of the lens. Once this was done, I carefully sanded the entire circumference of the lens making the edges smooth and rounded. I used many different grits and a sanding drum like this one to get the job done. The smoother they are the less likely they are to crack.....
Then I upsized the holes in the skin to #27.
And dimpled the skins for #6 screws.
Then I countersunk the backer strip for the nutplate attach rivets.
And then riveted on the nutplates.
Increased the size of one of the tooling holes to 3/8" for a snap bushing in the landing light attach ribs.
Then I cut the ribs apart.
Riveted on the doublers for the ribs. Also cleaned up the slot to ensure the bolt can slide freely.
Installed the two snap bushings.
AeroLED supplies a more robust connector for their landing lights now. I had to cut the pre-installed pin off of the factory wiring and install the pins that come with the landing light. Here is the ground wire installed in the connector.
The ground wire gets connected to the landing light mount rib with a screw, washer and nut.
Here are the other three wires with pins crimped and then installed in the connector.
I then riveted the landing light mount ribs to the wing skins per the KAI's.
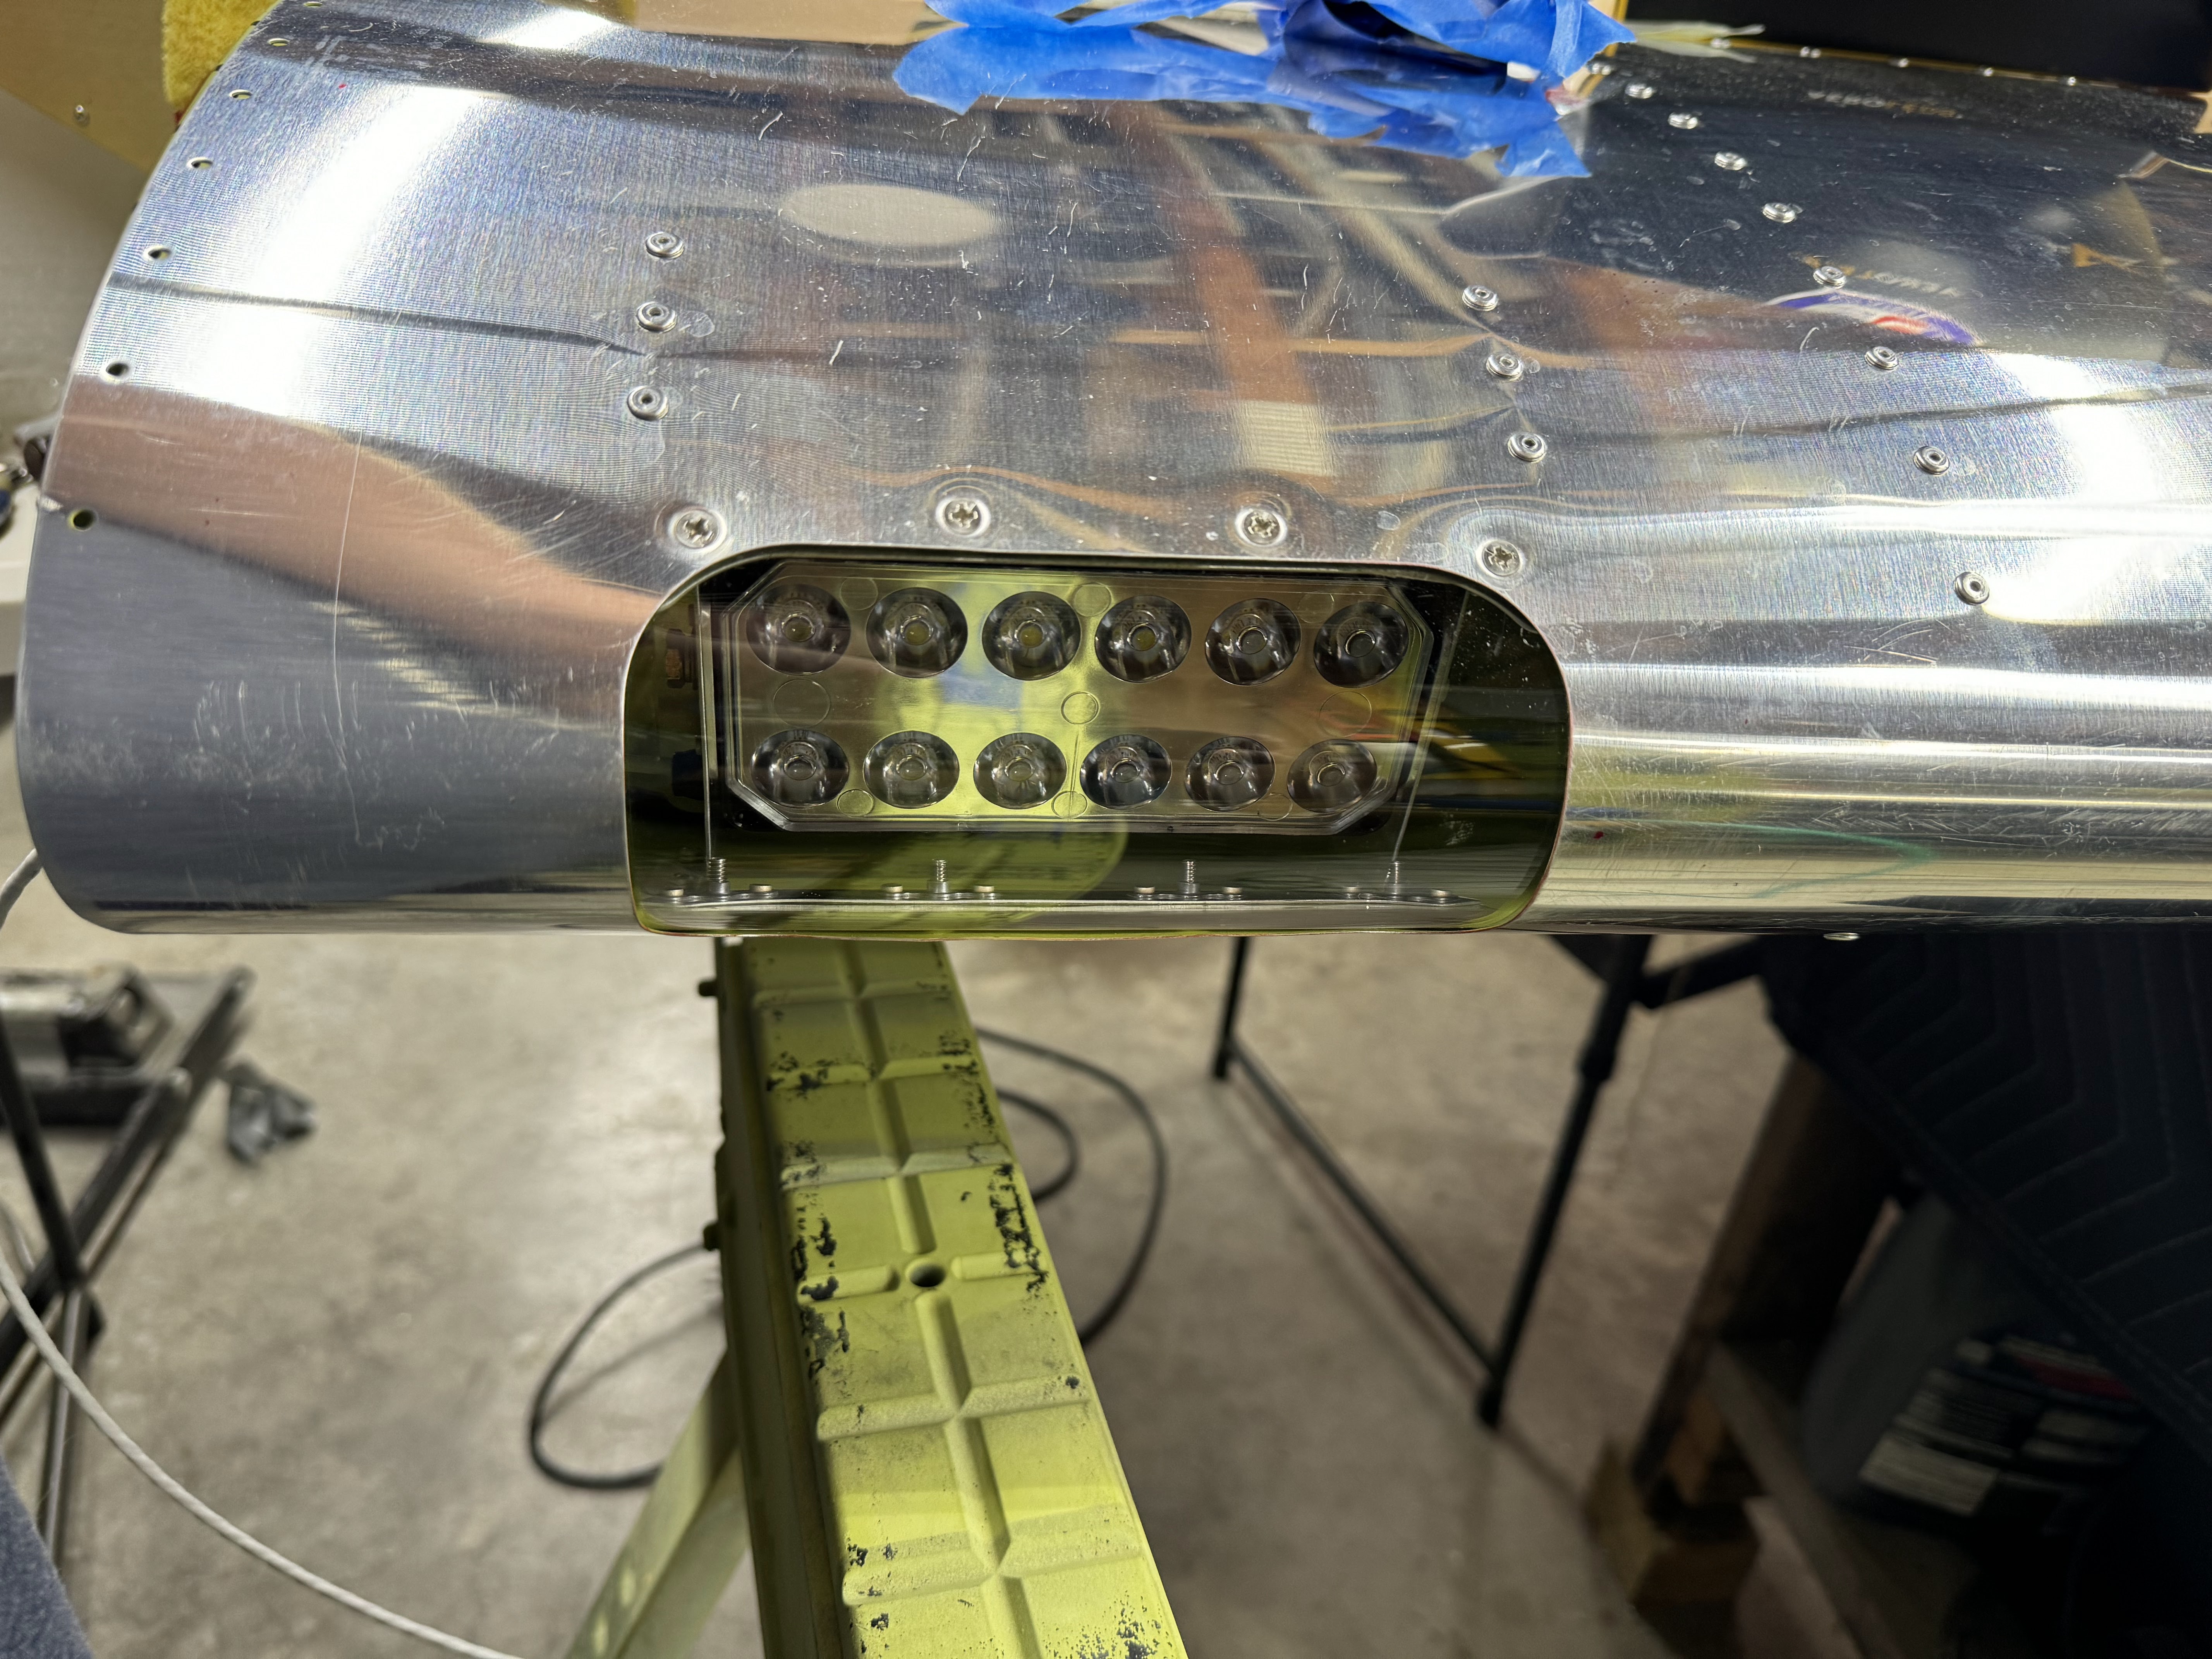
Here is the landing light all mounted and aimed per the KAI's. Do yourself a favor and loosely assemble this assembly before riveting it in. I also had to use an additional washer on the pivot bolt because the bolt bottomed out in the light housing before it tightened up on the rib and doubler.
Here is the assembly from the backside. I added some spiral wrap to protect the wires from rubbing on the skin.
I then spent a very frustrating 2-3 hours trying to get that lens to fit in the hole after the light is all installed. Gave up and decided to sleep on it after reaching out to the Interwebs for advice.