Saturday, June 7, 2025

Cowl Fitting Part 14

Started today by cutting out the oil door.


Centered and taped in place.

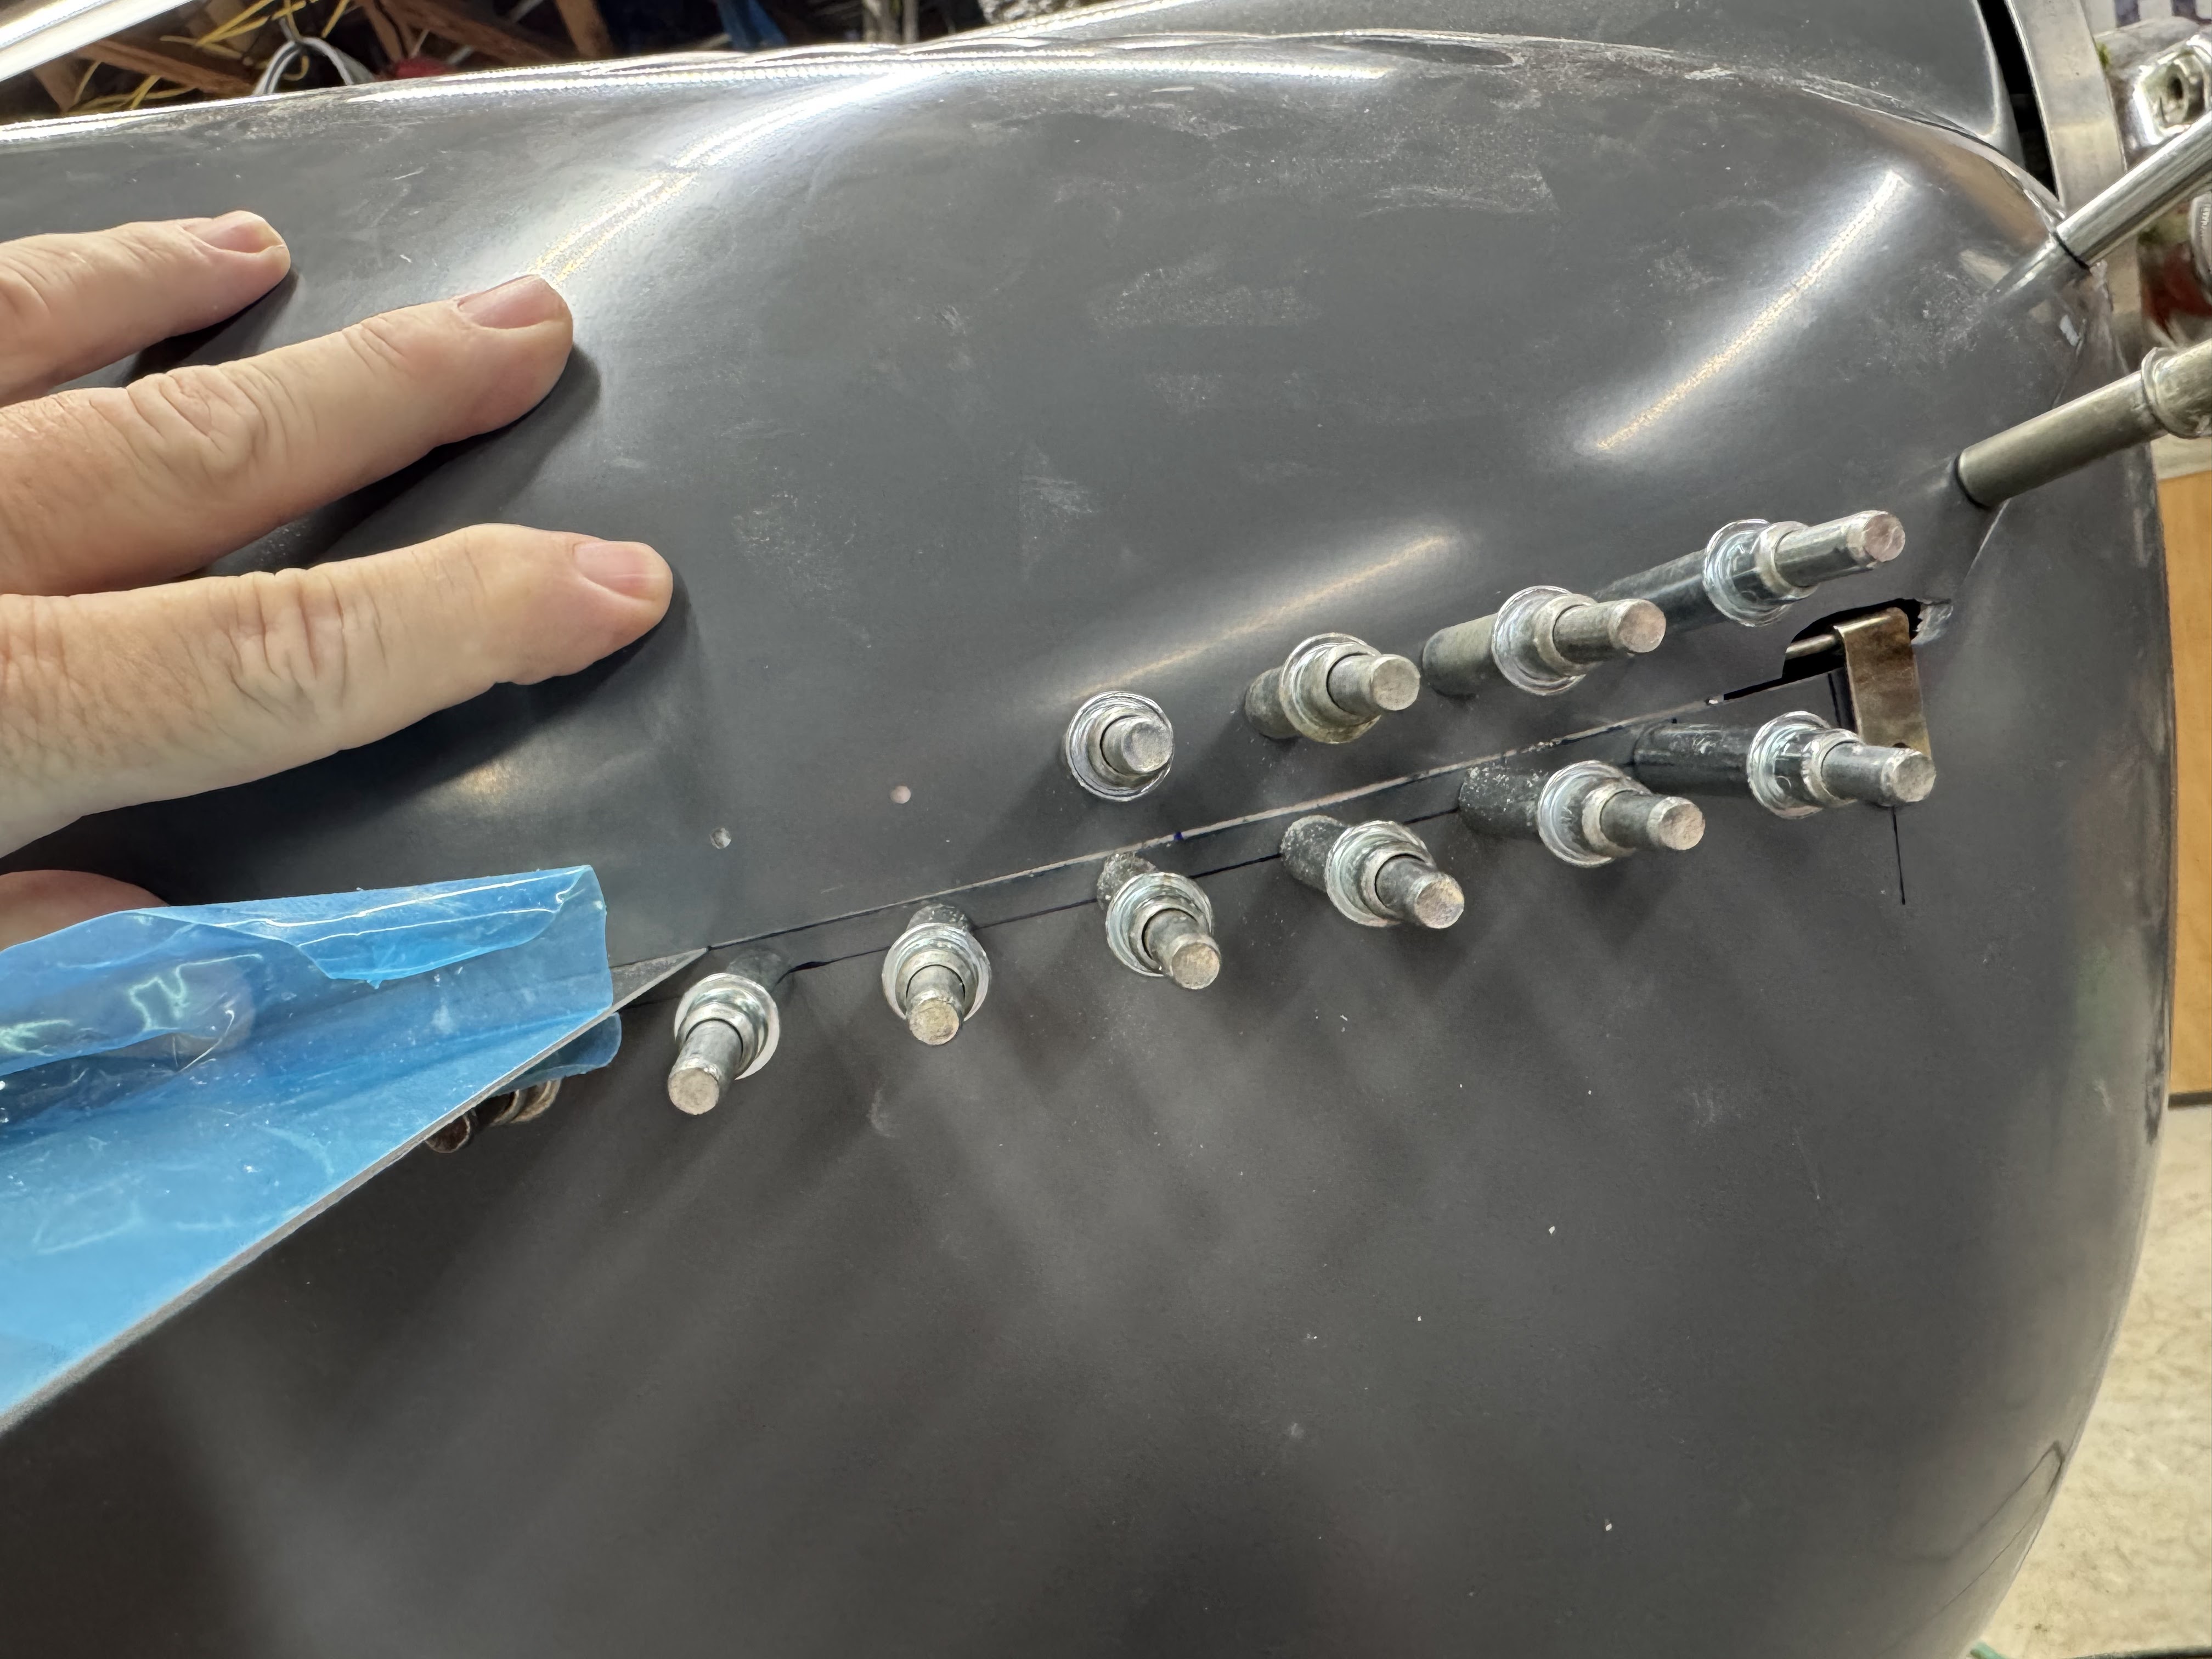
Match drilled the holes for the quarter turn fasteners.


Temp installed the quarter turn fasteners.  Push the thumb screw in relative to the body to make it easier to get thru the hole.

Match drilled the quarter turn fastener rivet holes.

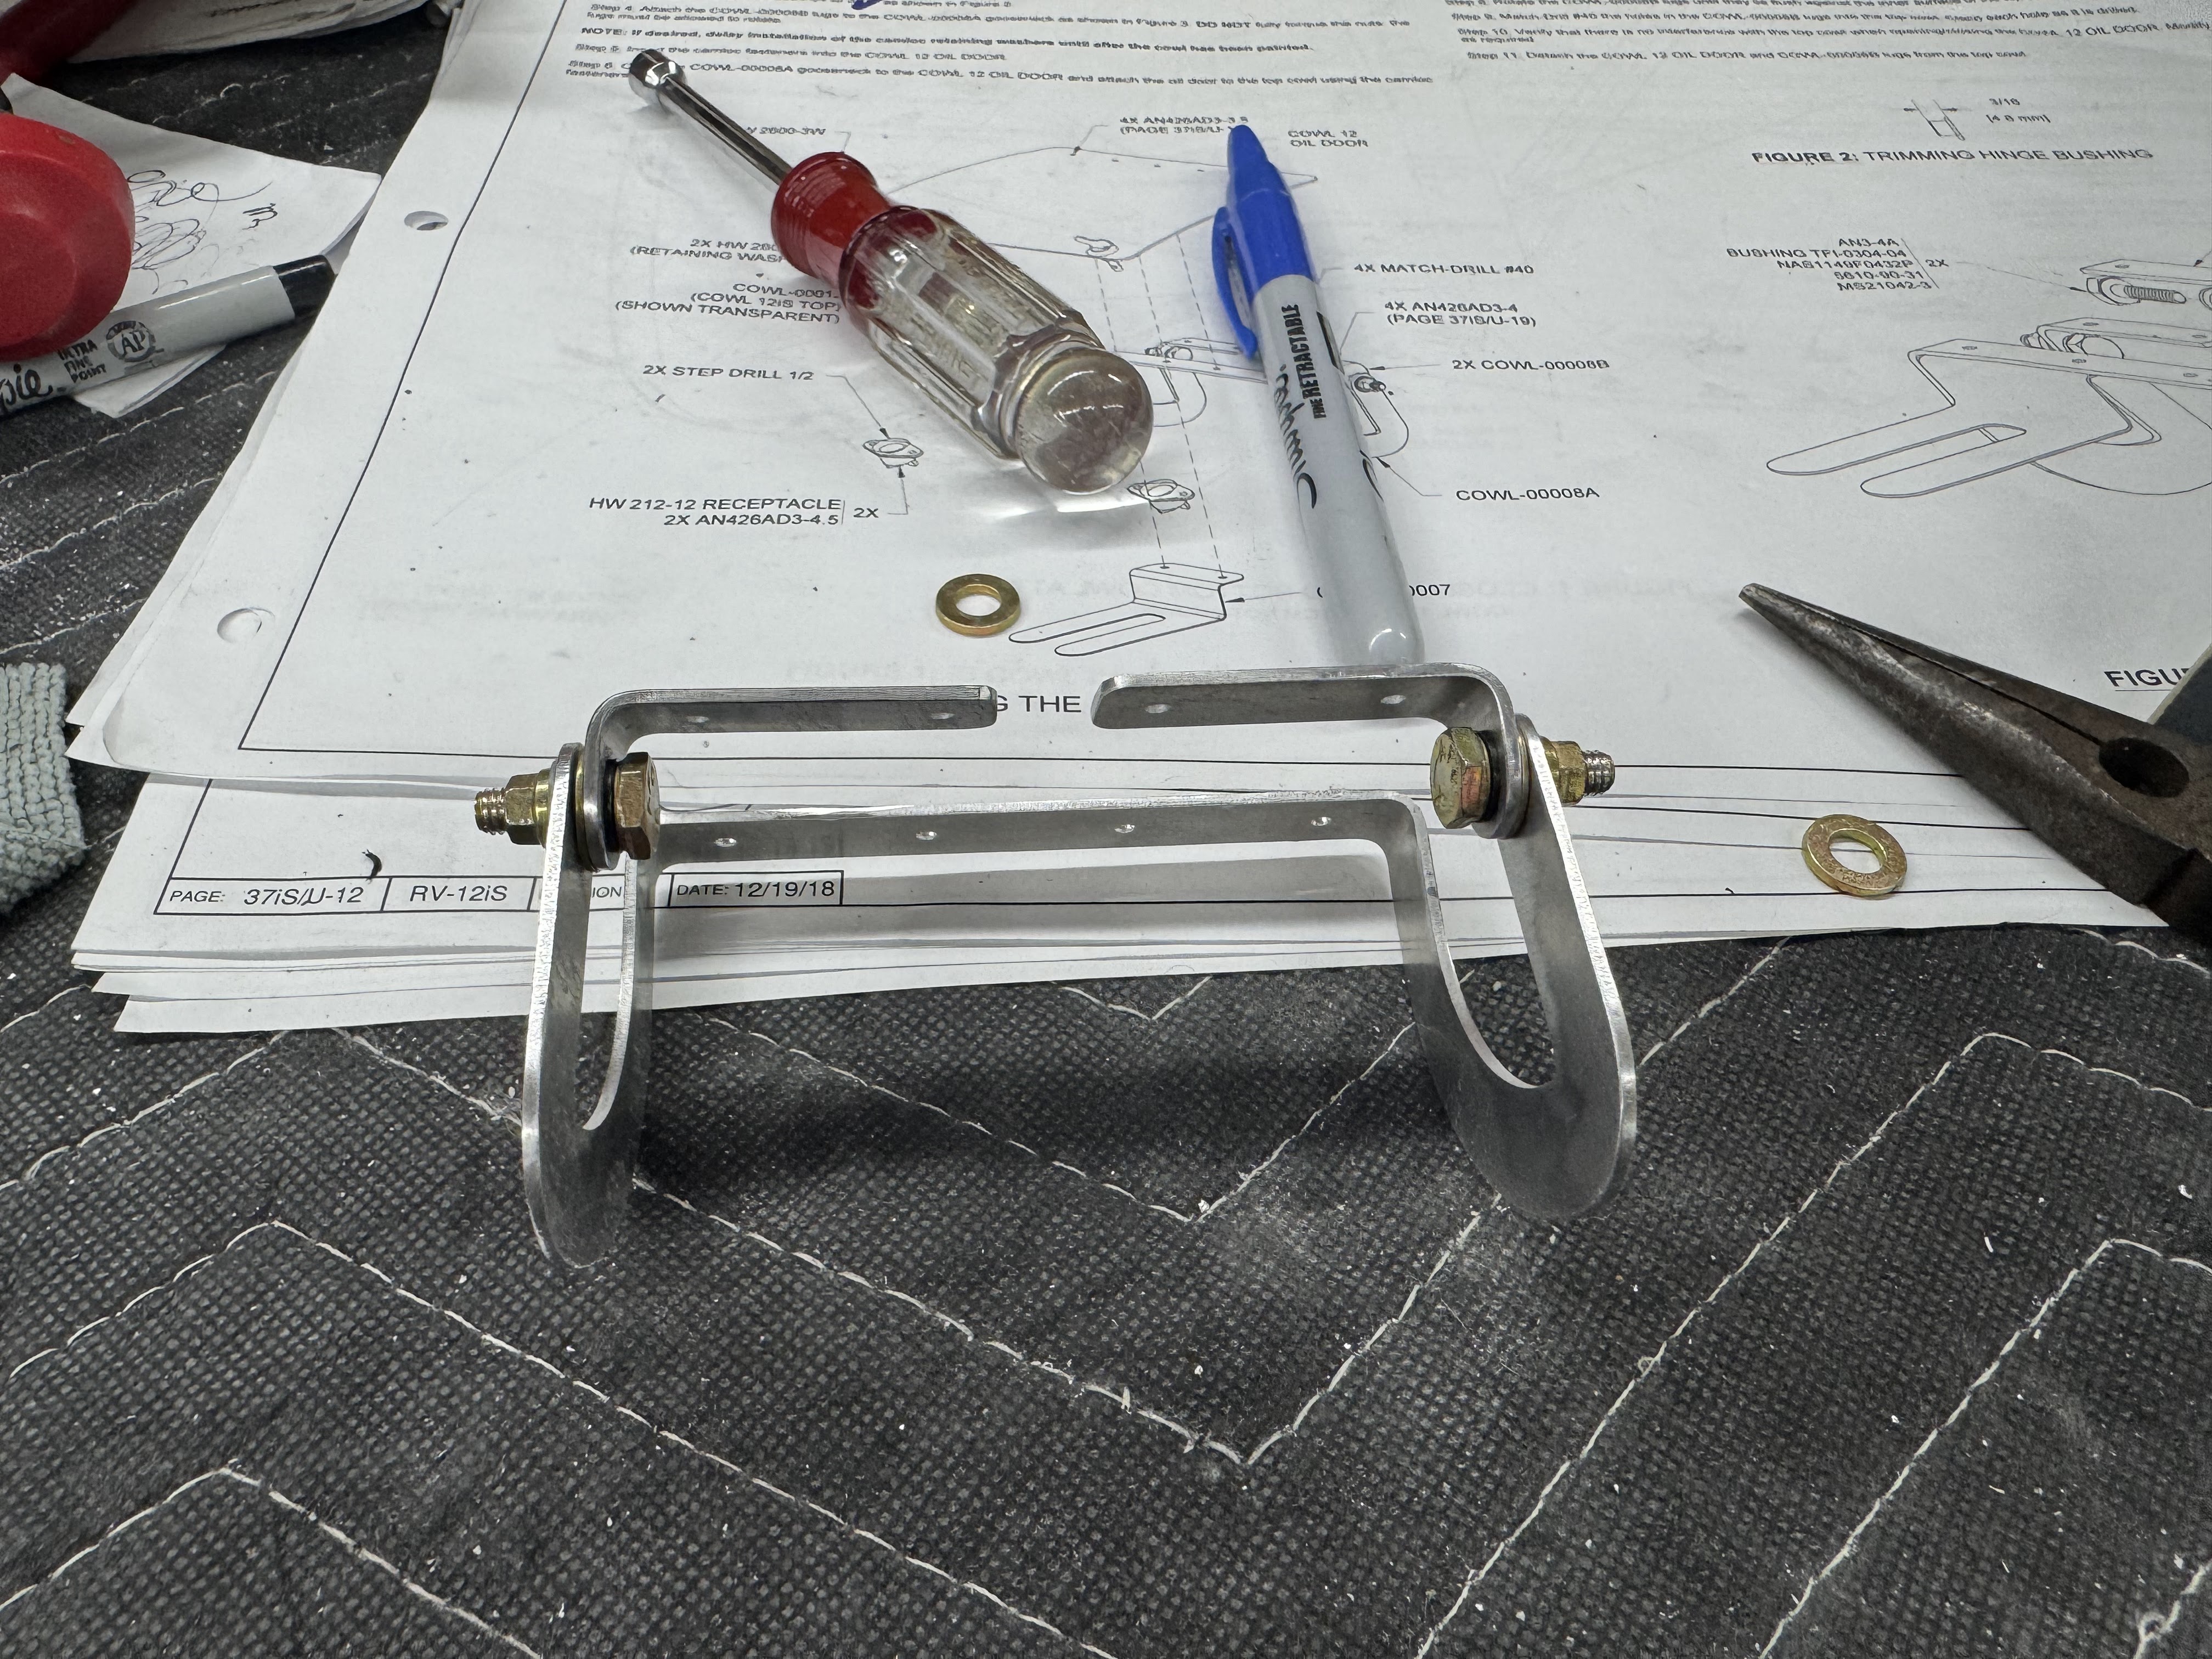
Cut the oil door hinge brackets apart.

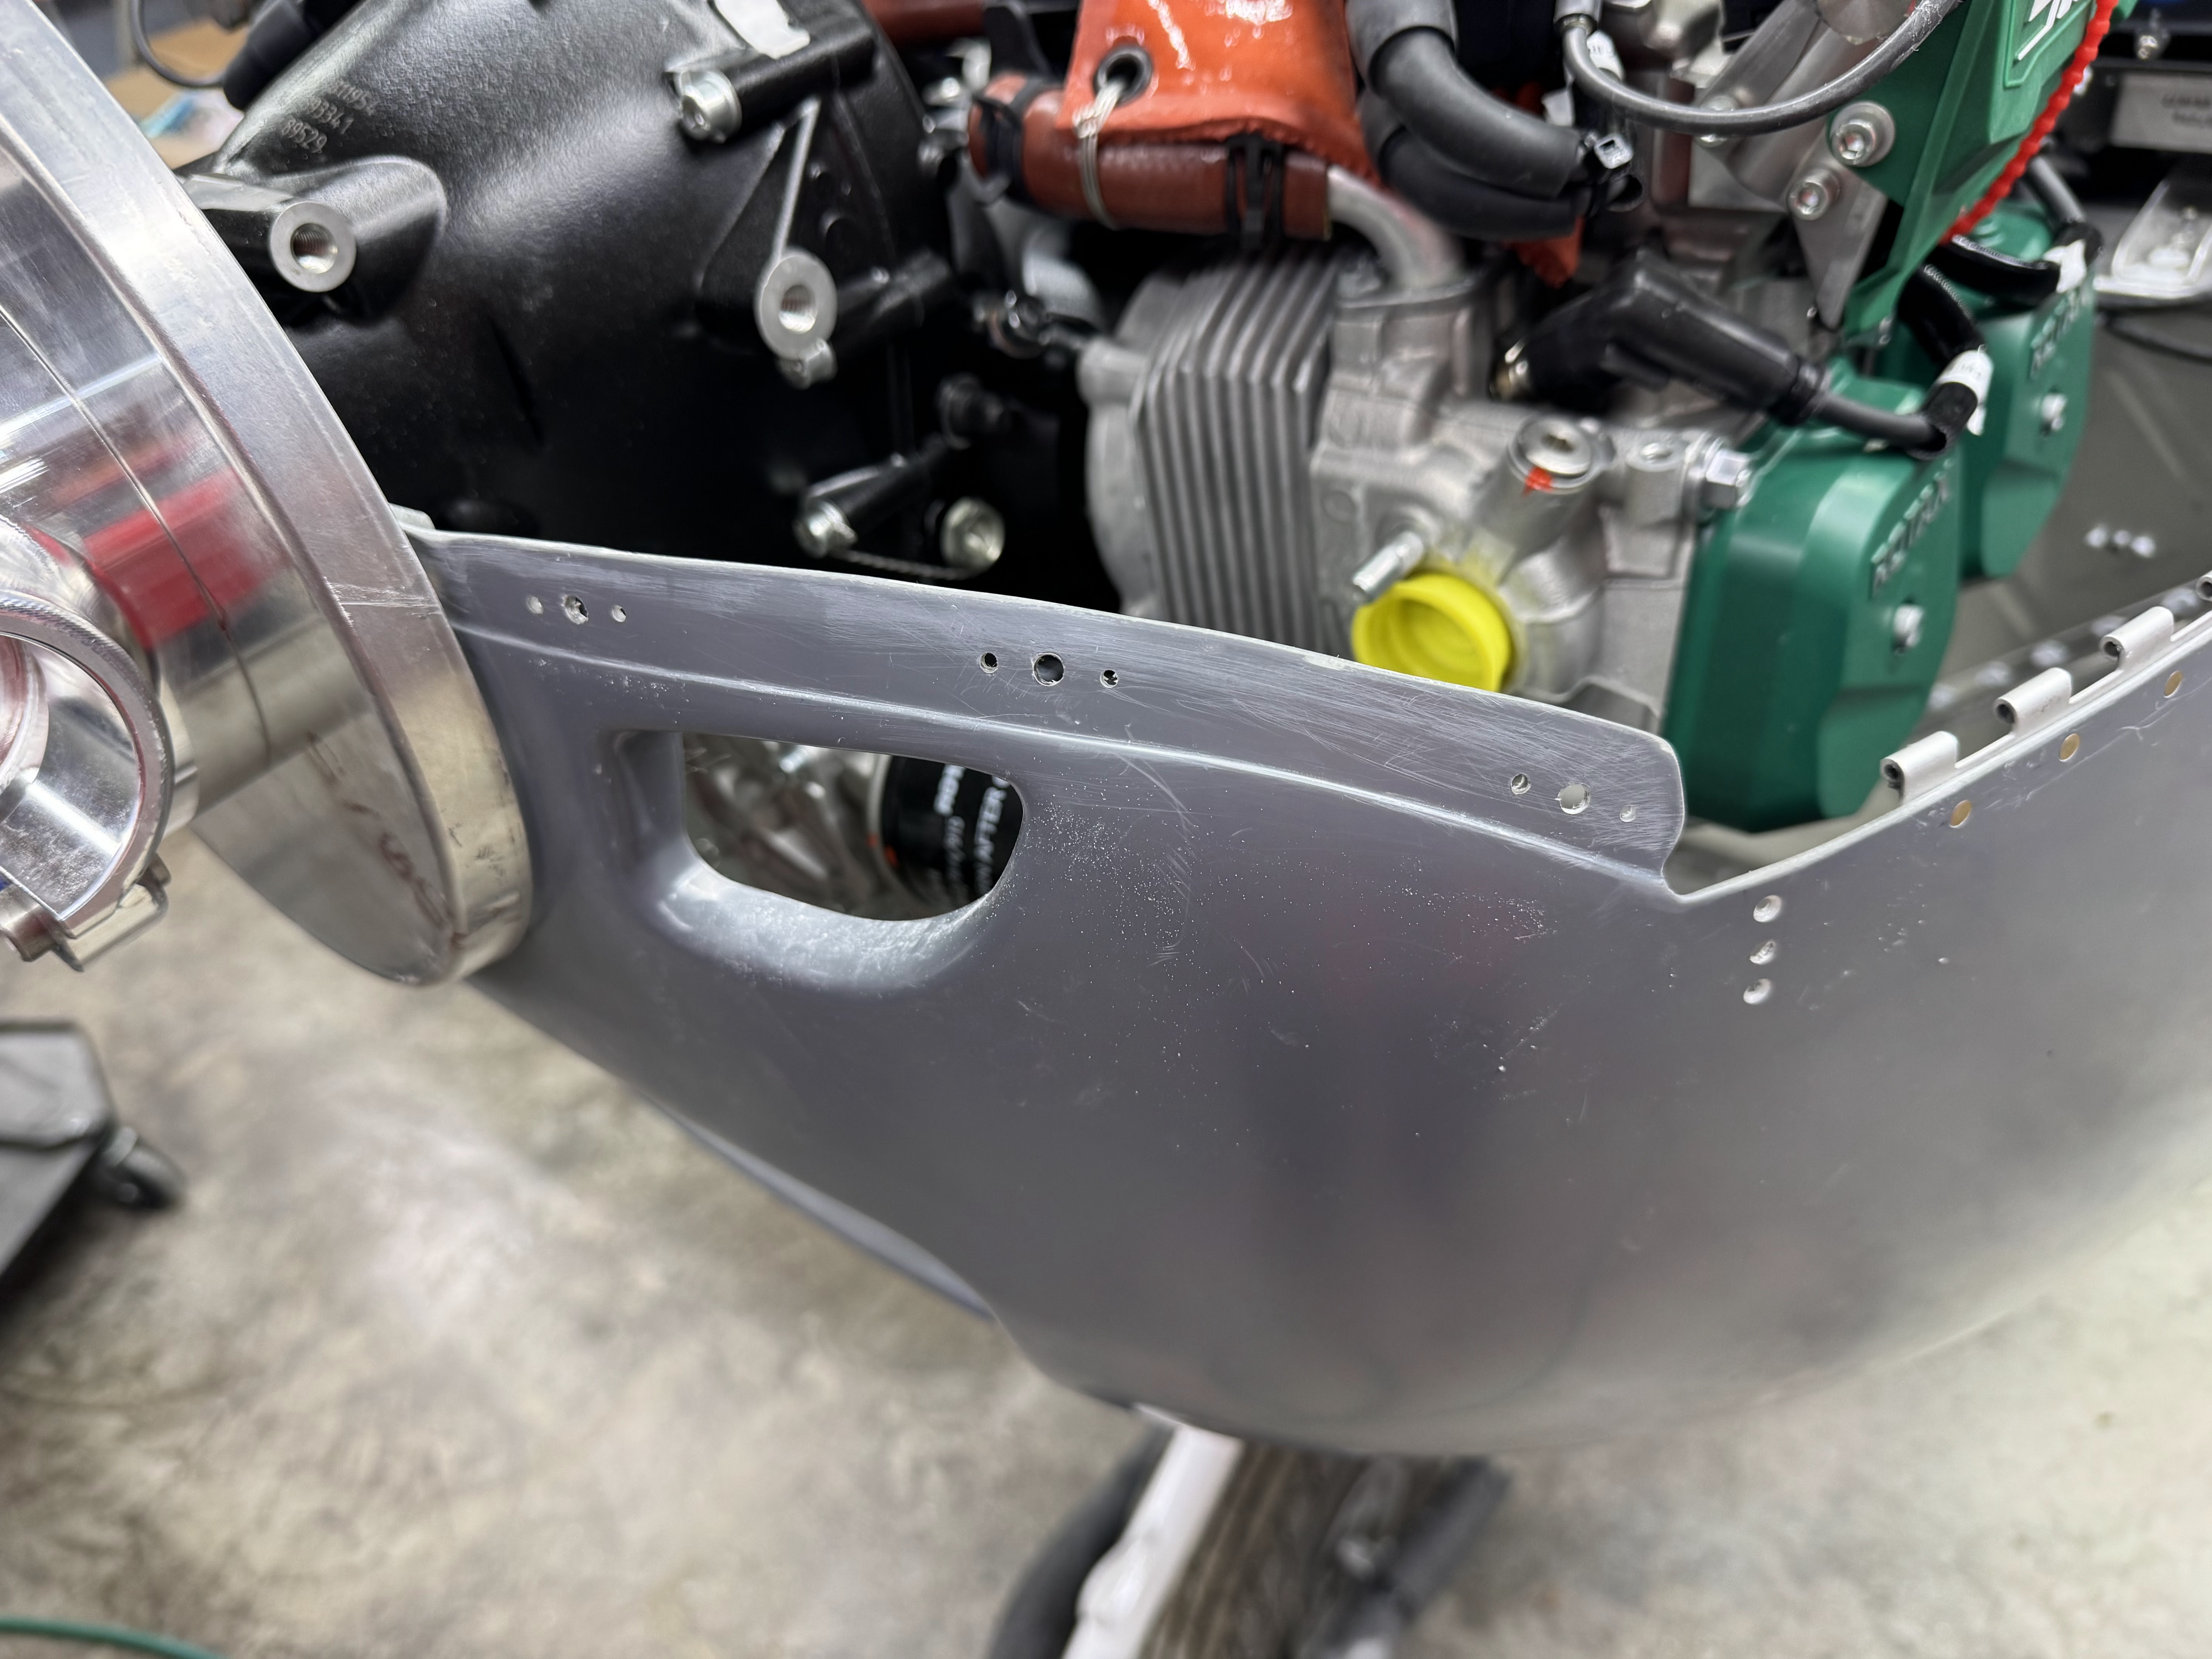
Enlarging the top cowl oil door quarter turn fastener socket holes to full size.

Seems like a huge hole but it works!

Then have to temp assemble the oil door hinge

And then match drill it to the oil door.

Everything mocked up.

Drilling the hinge to the top cowl.  I used a straightedge to keep the ears aligned.

Had to notch the edge to provide clearance.

Random distraction....Countersinking the nutplate rivet holes for the cowl exit brace.  This thing is stainless so use a cutter that you are willing to sacrifice.

Here is where that thing mounts.


Tuesday, June 3, 2025

Cowl Fitting Part 13

Drilled the screw hole for the cowl side hinge pin.


Drilled the front cowl seam screw holes to final size.

Drilled the bottom cowl for the screw nutplates.  The nutplate jig makes this easy peasy!
All drilled.


Monday, June 2, 2025

Cowl Fitting Part 12

Today was riveting on the hinges to the lower cowl.  Started by countersinking the rivet holes.

One side done.
The other side done!


Sunday, June 1, 2025

Cowl Fitting Part 11

Started this session countersinking the top cowl hinge rivet holes.


And then riveting the top hinge to the top cowl.

One side done!
The other side done!


Tuesday, May 27, 2025

Cowl Fitting Part Ten!

Then the rivet holes for the top cowl are located by drawing a line up on the top cowl centered on the holes.


Then after fine tuning the necessary gap between the top and bottom sides (to allow for paint and not get chipping on the edges), I marked the holes

And drilled them.

Then I reinstalled the top cowl and used a piece of scrap to help me maintain a consistent gap all along the hinge line.

This ended up working perfectly and the gap looks great!  I can't say that about many of the RV12's I have seen at Osh.  Very few took the time to make this look as good as possible.  The gaps must be adjusted at this stage because you can't really tweak them once the hinges are riveted on.  I will be taking similar pains on the aft side of the top and bottom to ensure nice clean, consistent and straight gaps.


All drilled!


Sunday, May 18, 2025

Cowl Fitting Part Nine!

Next the KAI's have you install and bend the side hinge pin so that the retainer tab sits flush against the bottom cowl.


This requires the pin to be bent on two planes.

Left done.

Right done.

Next the top cowl must be notched to allow the pin to come out without hitting the cowl and scratching the paint.  This requires a bigger notch than one might thing.  Van's has always used this crude method and it looks crappy but it works.  I will most likely 3D print a badge that will cover this notch and the tab similar to some of the aluminum ones that are commercially available but they require a ton of mods to the top cowl.  Mine will just sit on top of the fiberglass and be held in place by the screw that secures the pin.


Saturday, May 17, 2025

Cowl Fitting Part Eight!

Where the top cowl overlapped the bottom cowl, it is marked and then trimmed.


Next the lower cowl's aft hinges get marked for drilling.


Once all the holes are marked, the bottom cowl gets tapped to the fuse all the way down both sides.  It is critical that the fiberglass is even with the fuse skins.


Then the hinges are drilled and cleco'ed.


Next the side parting line hinges are located.  They are intentionally clamped slightly higher so that the necessary gap between the top and the bottom is less noticeable.


Then they are marked using the flexible ruler.

And then drilled.