Saturday, December 28, 2024

Flight Controls part 6


Prepped these seat pan extensions for nuplates and priming.  Nothing new, just follow the directions.


Thursday, December 26, 2024

Flight controls part 5

It is my birthday today.  Hard to compete with Jesus your entire life but it is what it is.  LOL :)


Sometime over the Christmas holiday days, I cut out these flaperon mixer brackets and prepped them for priming.


Also did the same for the flap control weldment.  For some reason this did not come powder coated.  I prepped, primed and painted the weldment.
  
Next Van's has you mark and clip the corners off of this flap weldment mount blocks.

Used the band saw to get the job done.  Might have saved a few grams of weight.

I then bolted in the flap weldment and the mixer brackets.

It was a circus act getting that bolt down thru the mixer arm, top mixer bracket, flap pushrod, bottom mixer bracket and then finally thru a washer before the bolt threaded into the bottom mixer arm's nutplate.  I used double sided scotch tape to hold the thin washer on top of the bottom mixer arm while I juggled the rest of the stackup.  Be careful as the top and bottom mixer bracket plates are different and the orientation is critical.


Monday, December 23, 2024

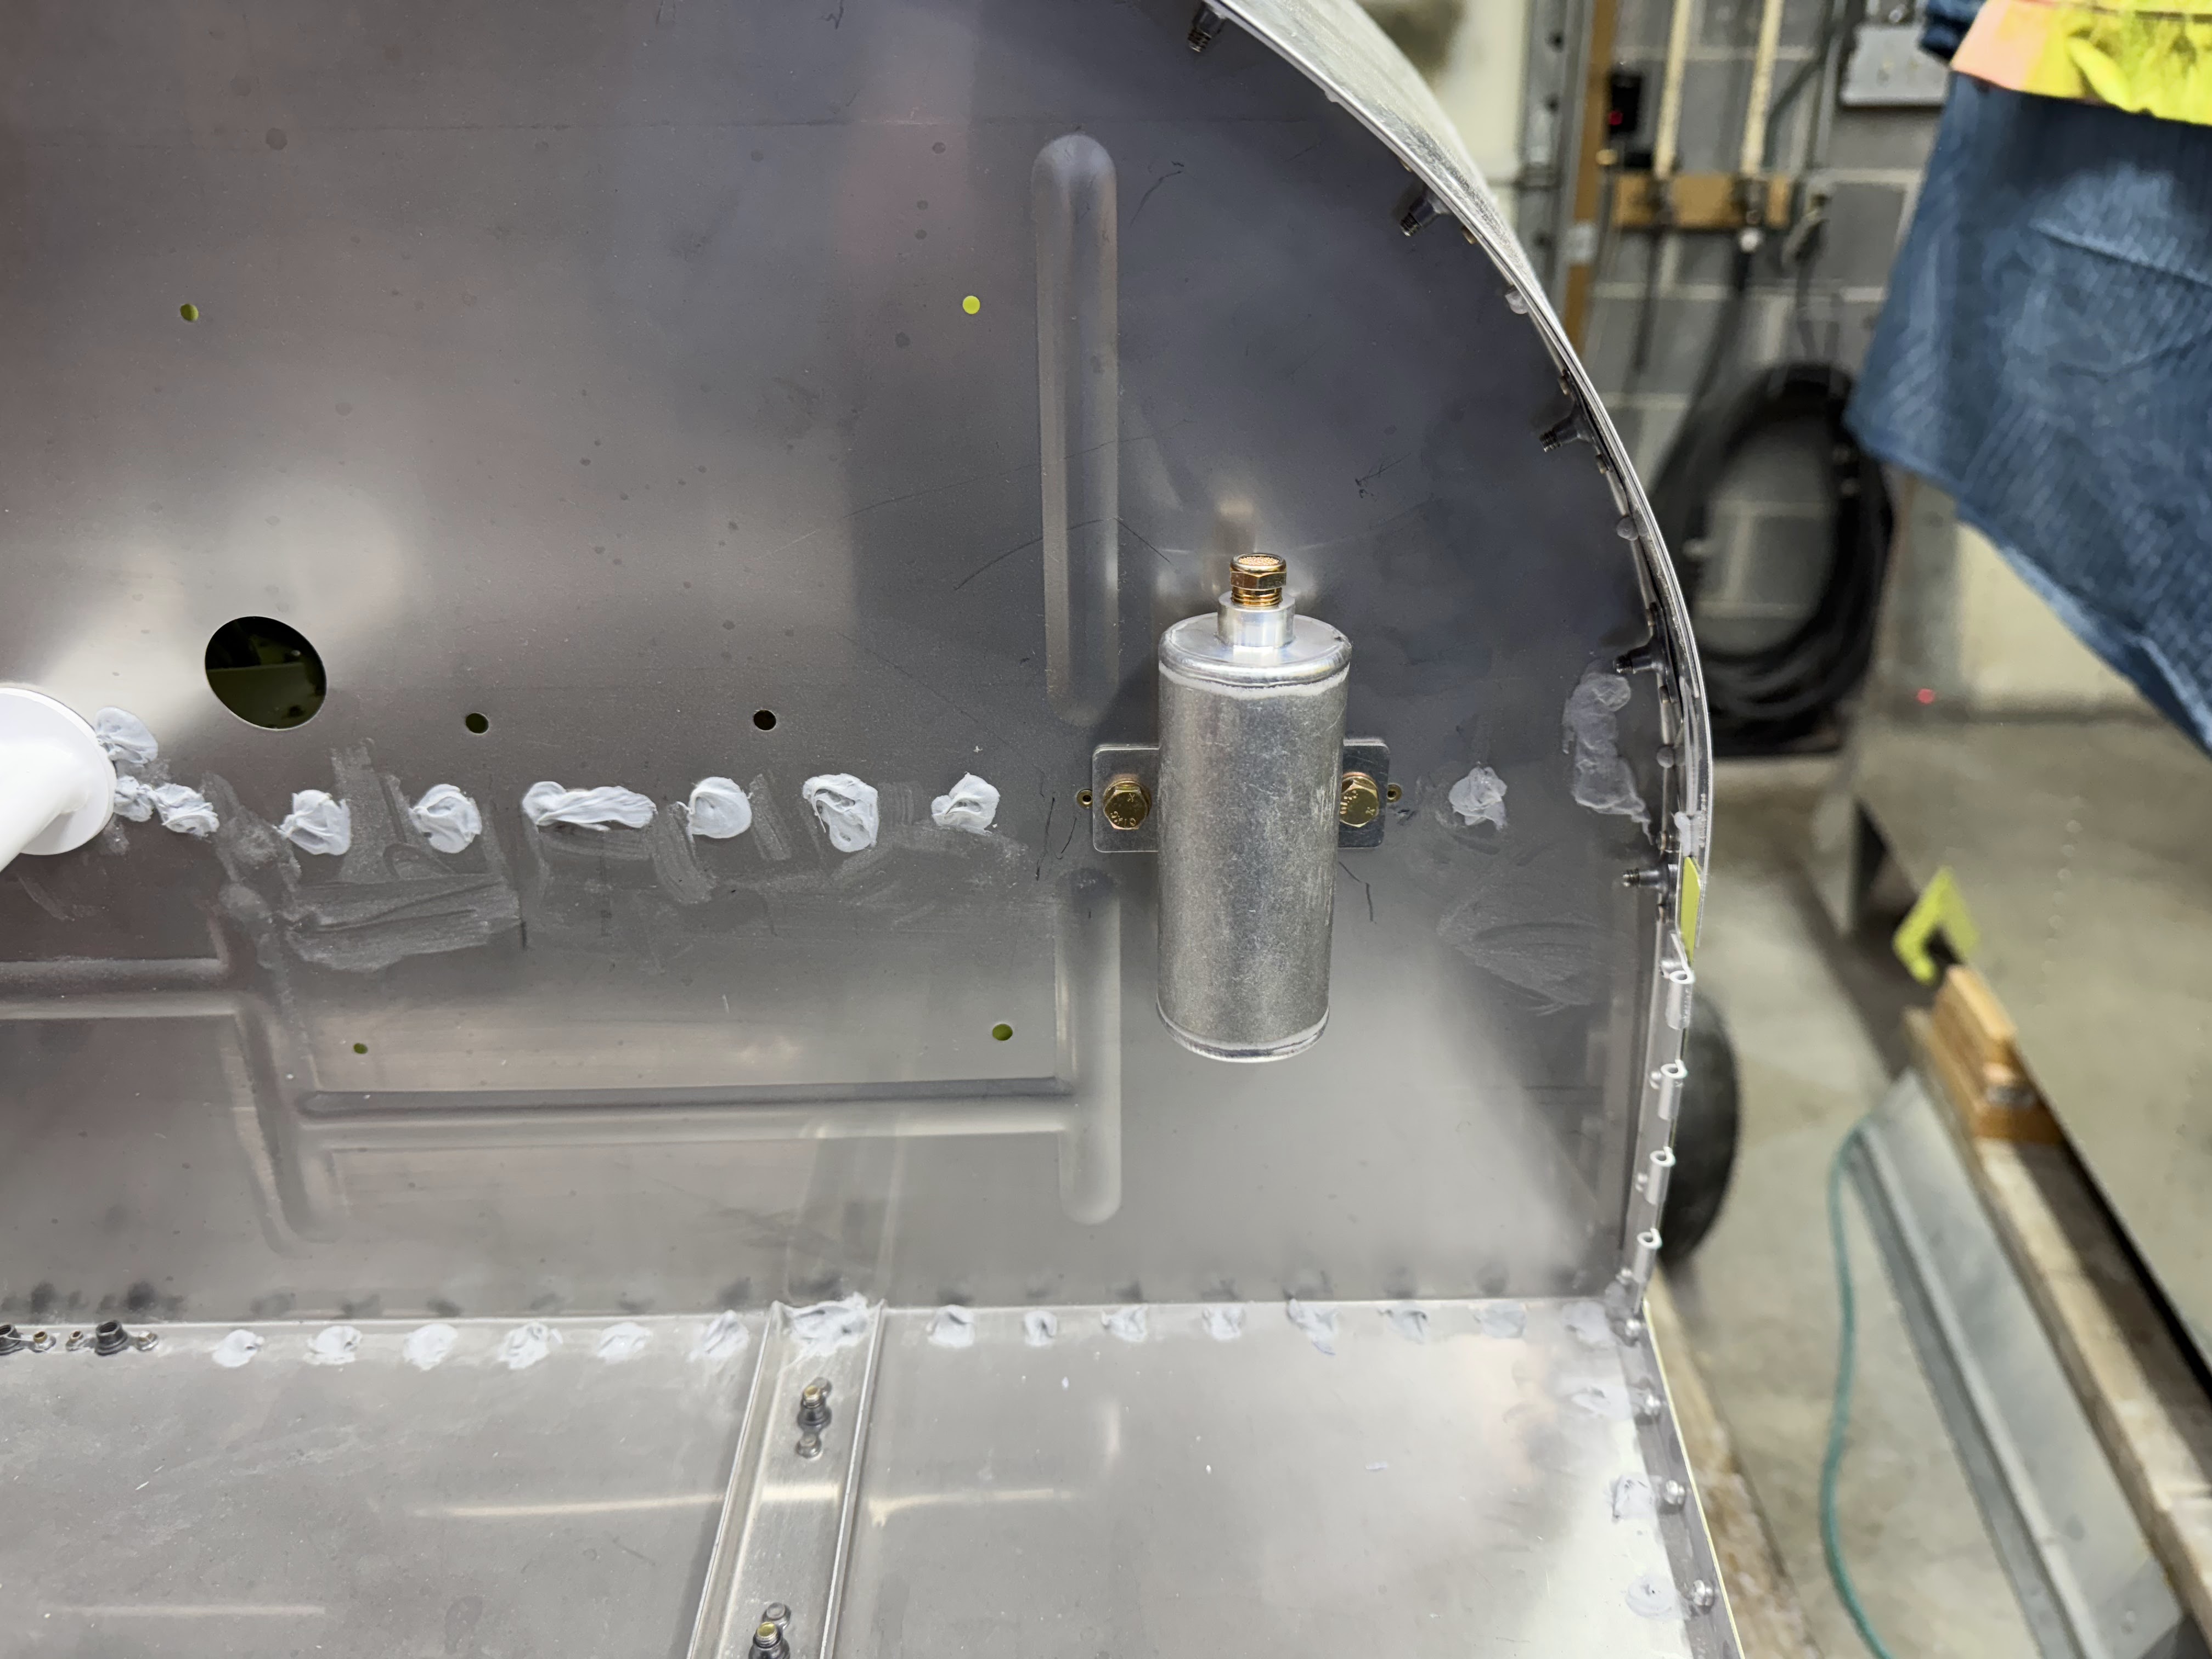
Flight controls part 4


Next I installed the rudder cables per the KAI's.


Then I installed these 6 adel clamps.  I hate installing these but they sure look great when the job is done!  

Then I installed this cable retention bushing.  It ends up riding really close to the elevator control cable pulley groves to help keep the cables in the groove.

The rudder end of the cables gets the plastic sleeve safety wired to it.

Then the rudder cables are stored for the future.

I then installed the elevator control cables and bolted in the elevator control cable pulleys.  Be aware that there are two different length cables.  Make sure to get the correct one on the top and bottom.  Also make sure that the lines do not cross each other or the rudder cables.  This is a royal pain in the rear as you can't see most of them without a flashlight and a mirror and to install them with big hands and forearms is a real treat.  I hung clamps off the aft end of the cables to serve as weights to pull them taught while I was inspecting.  Made it easier.


Saturday, December 21, 2024

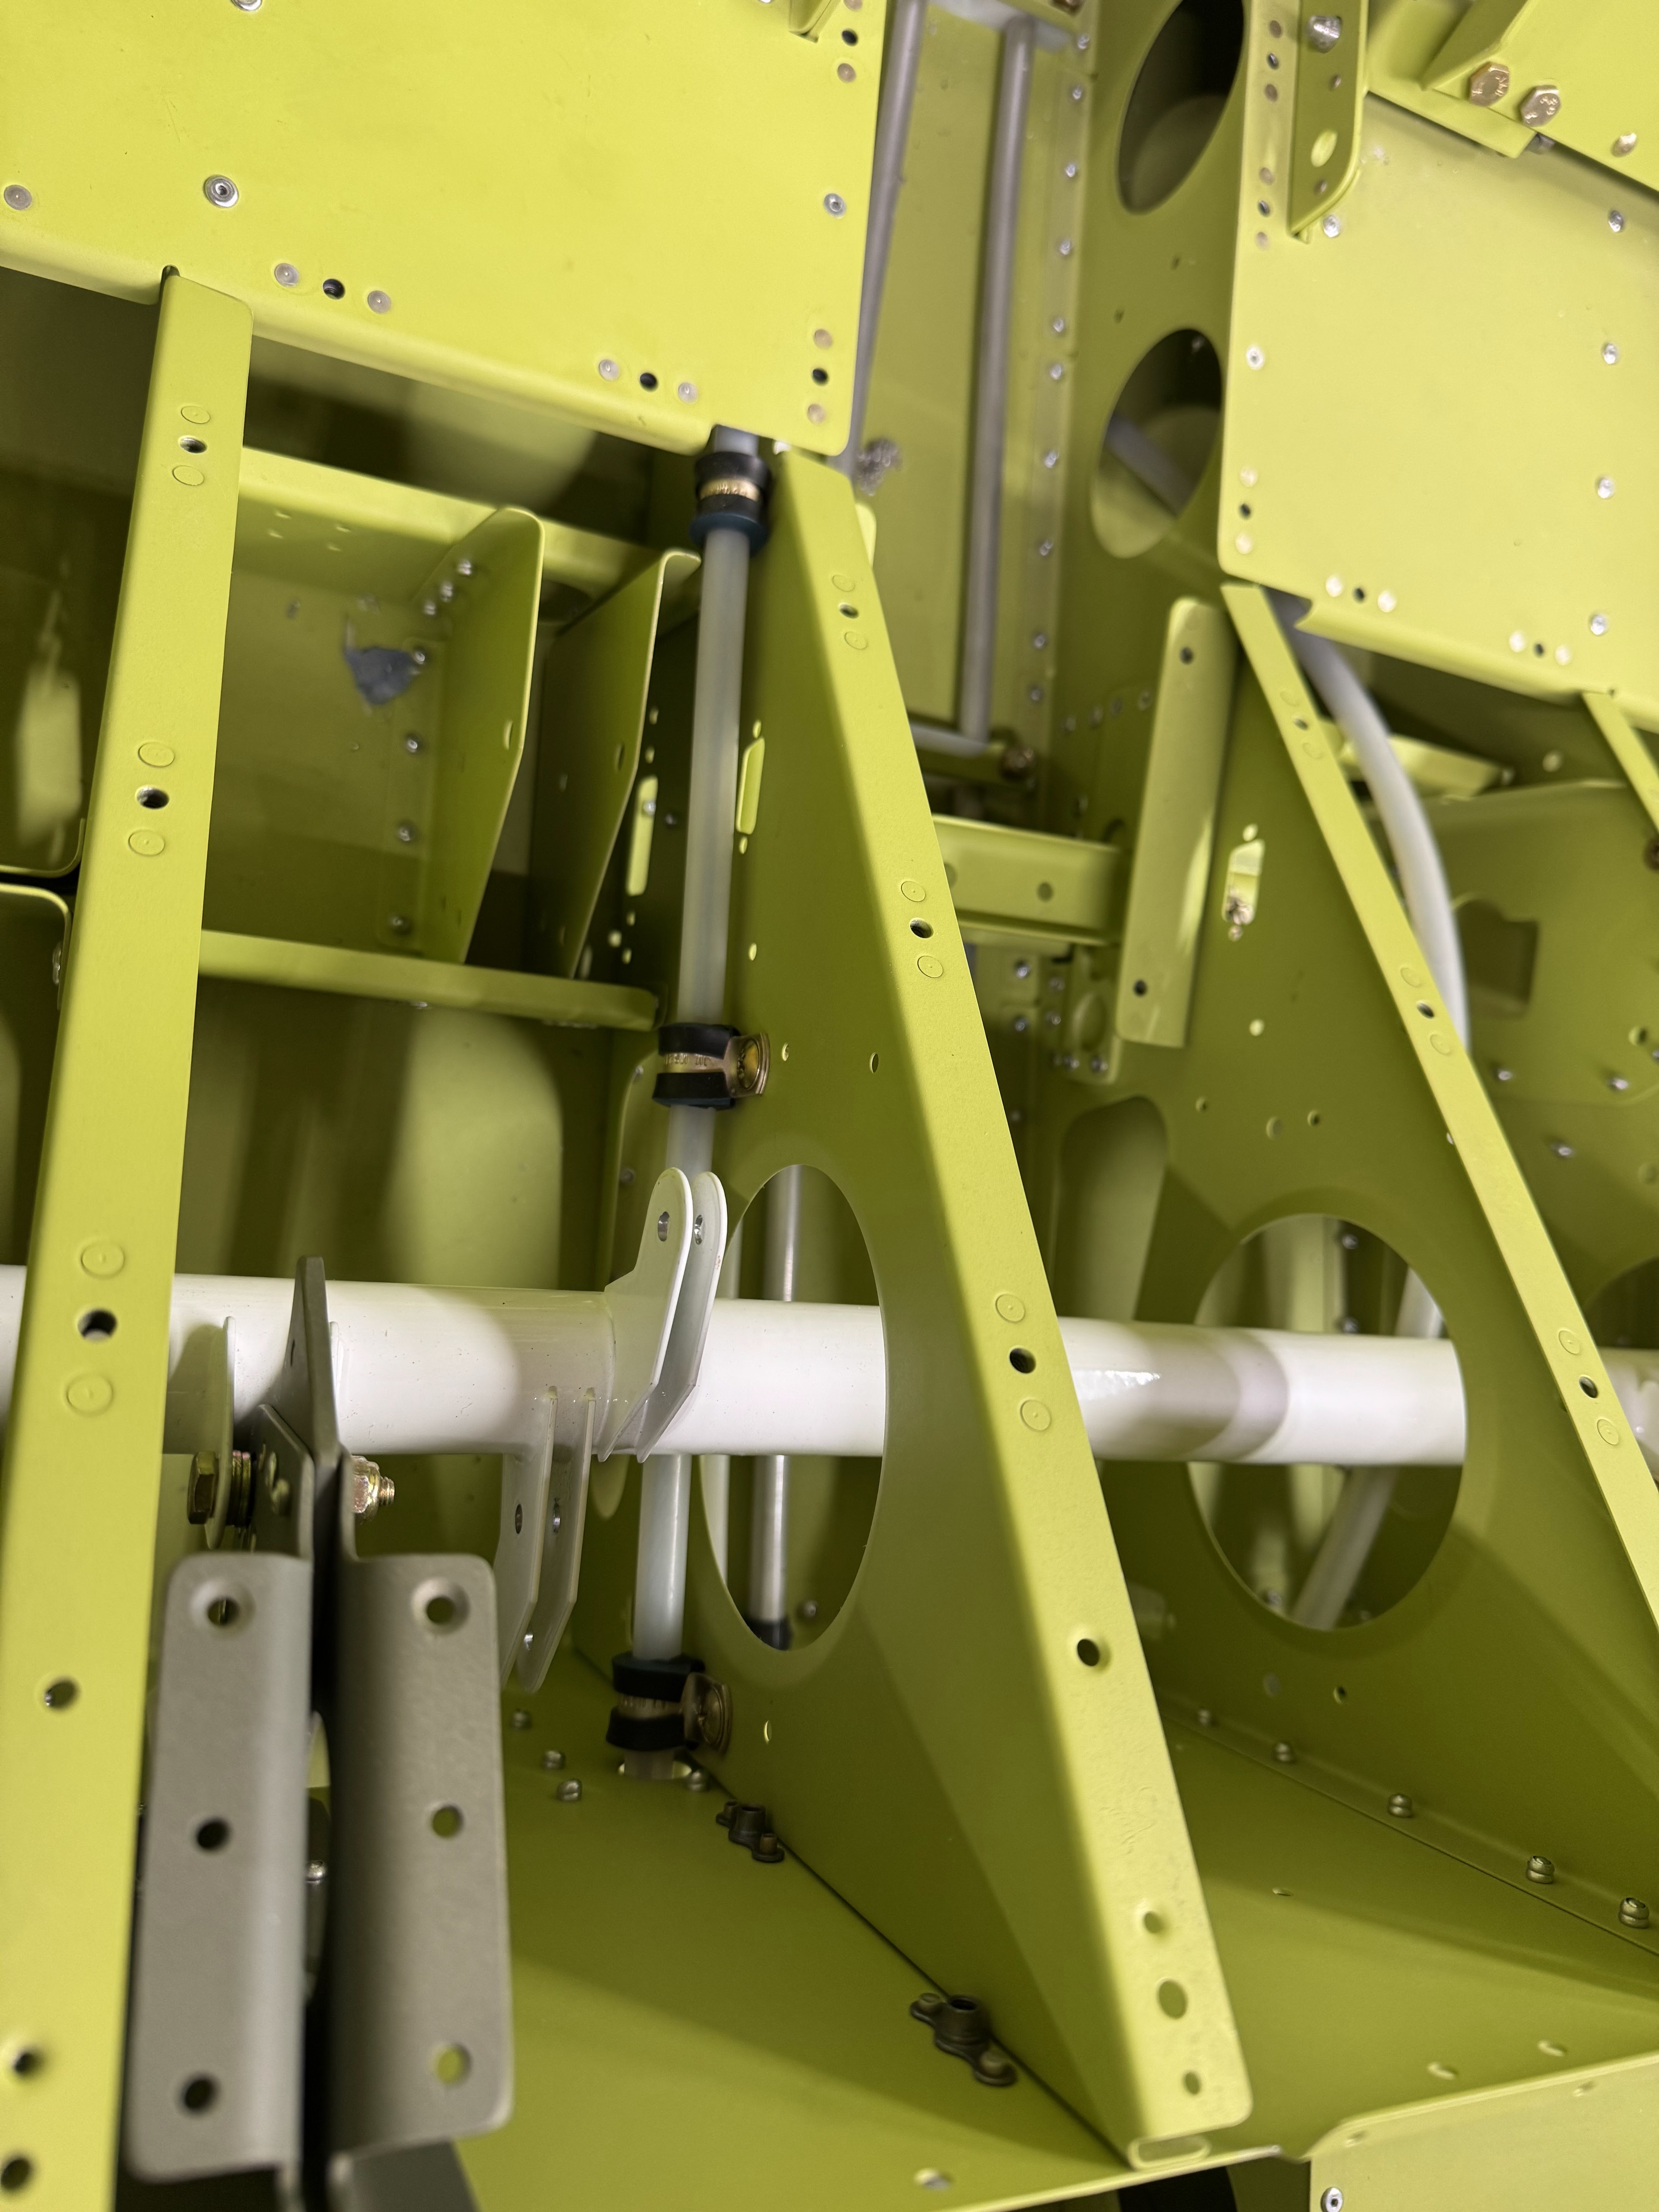
Flight controls part 3

Riveted the brackets together along with their associated bearings.  There is a top and bottom to the spacer that gets sandwiched.  Make sure you put the extra hole at the top!

Then I riveted these into the fuse.

Next I cleaned all the holes on the control column weldment.

And then snaked the control column into the fuse.  There is a right and left to this so pay attention.  Also you have to find the magic combination in order to get this in.  Tip is to rotate it as you go to find the place where the tabs will slip thru the lightening holes in the ribs.


Then the control column gets bolted to the brackets.  This takes figuring out what combination of thick and thin washers puts the least side load on the bearings when torqued down.  Trial and error!


If you don't have a set of washer wrenches,  get them now!  You will thank me! 

Thursday, December 19, 2024

Flight controls part 2

Prepped the brackets that will end up holding the center control column in place.

These brackets get a bearing in between them that is tight tolerance.  I covered up that machined area before priming using these colored dots I swiped from my wife.  Worked better than great!

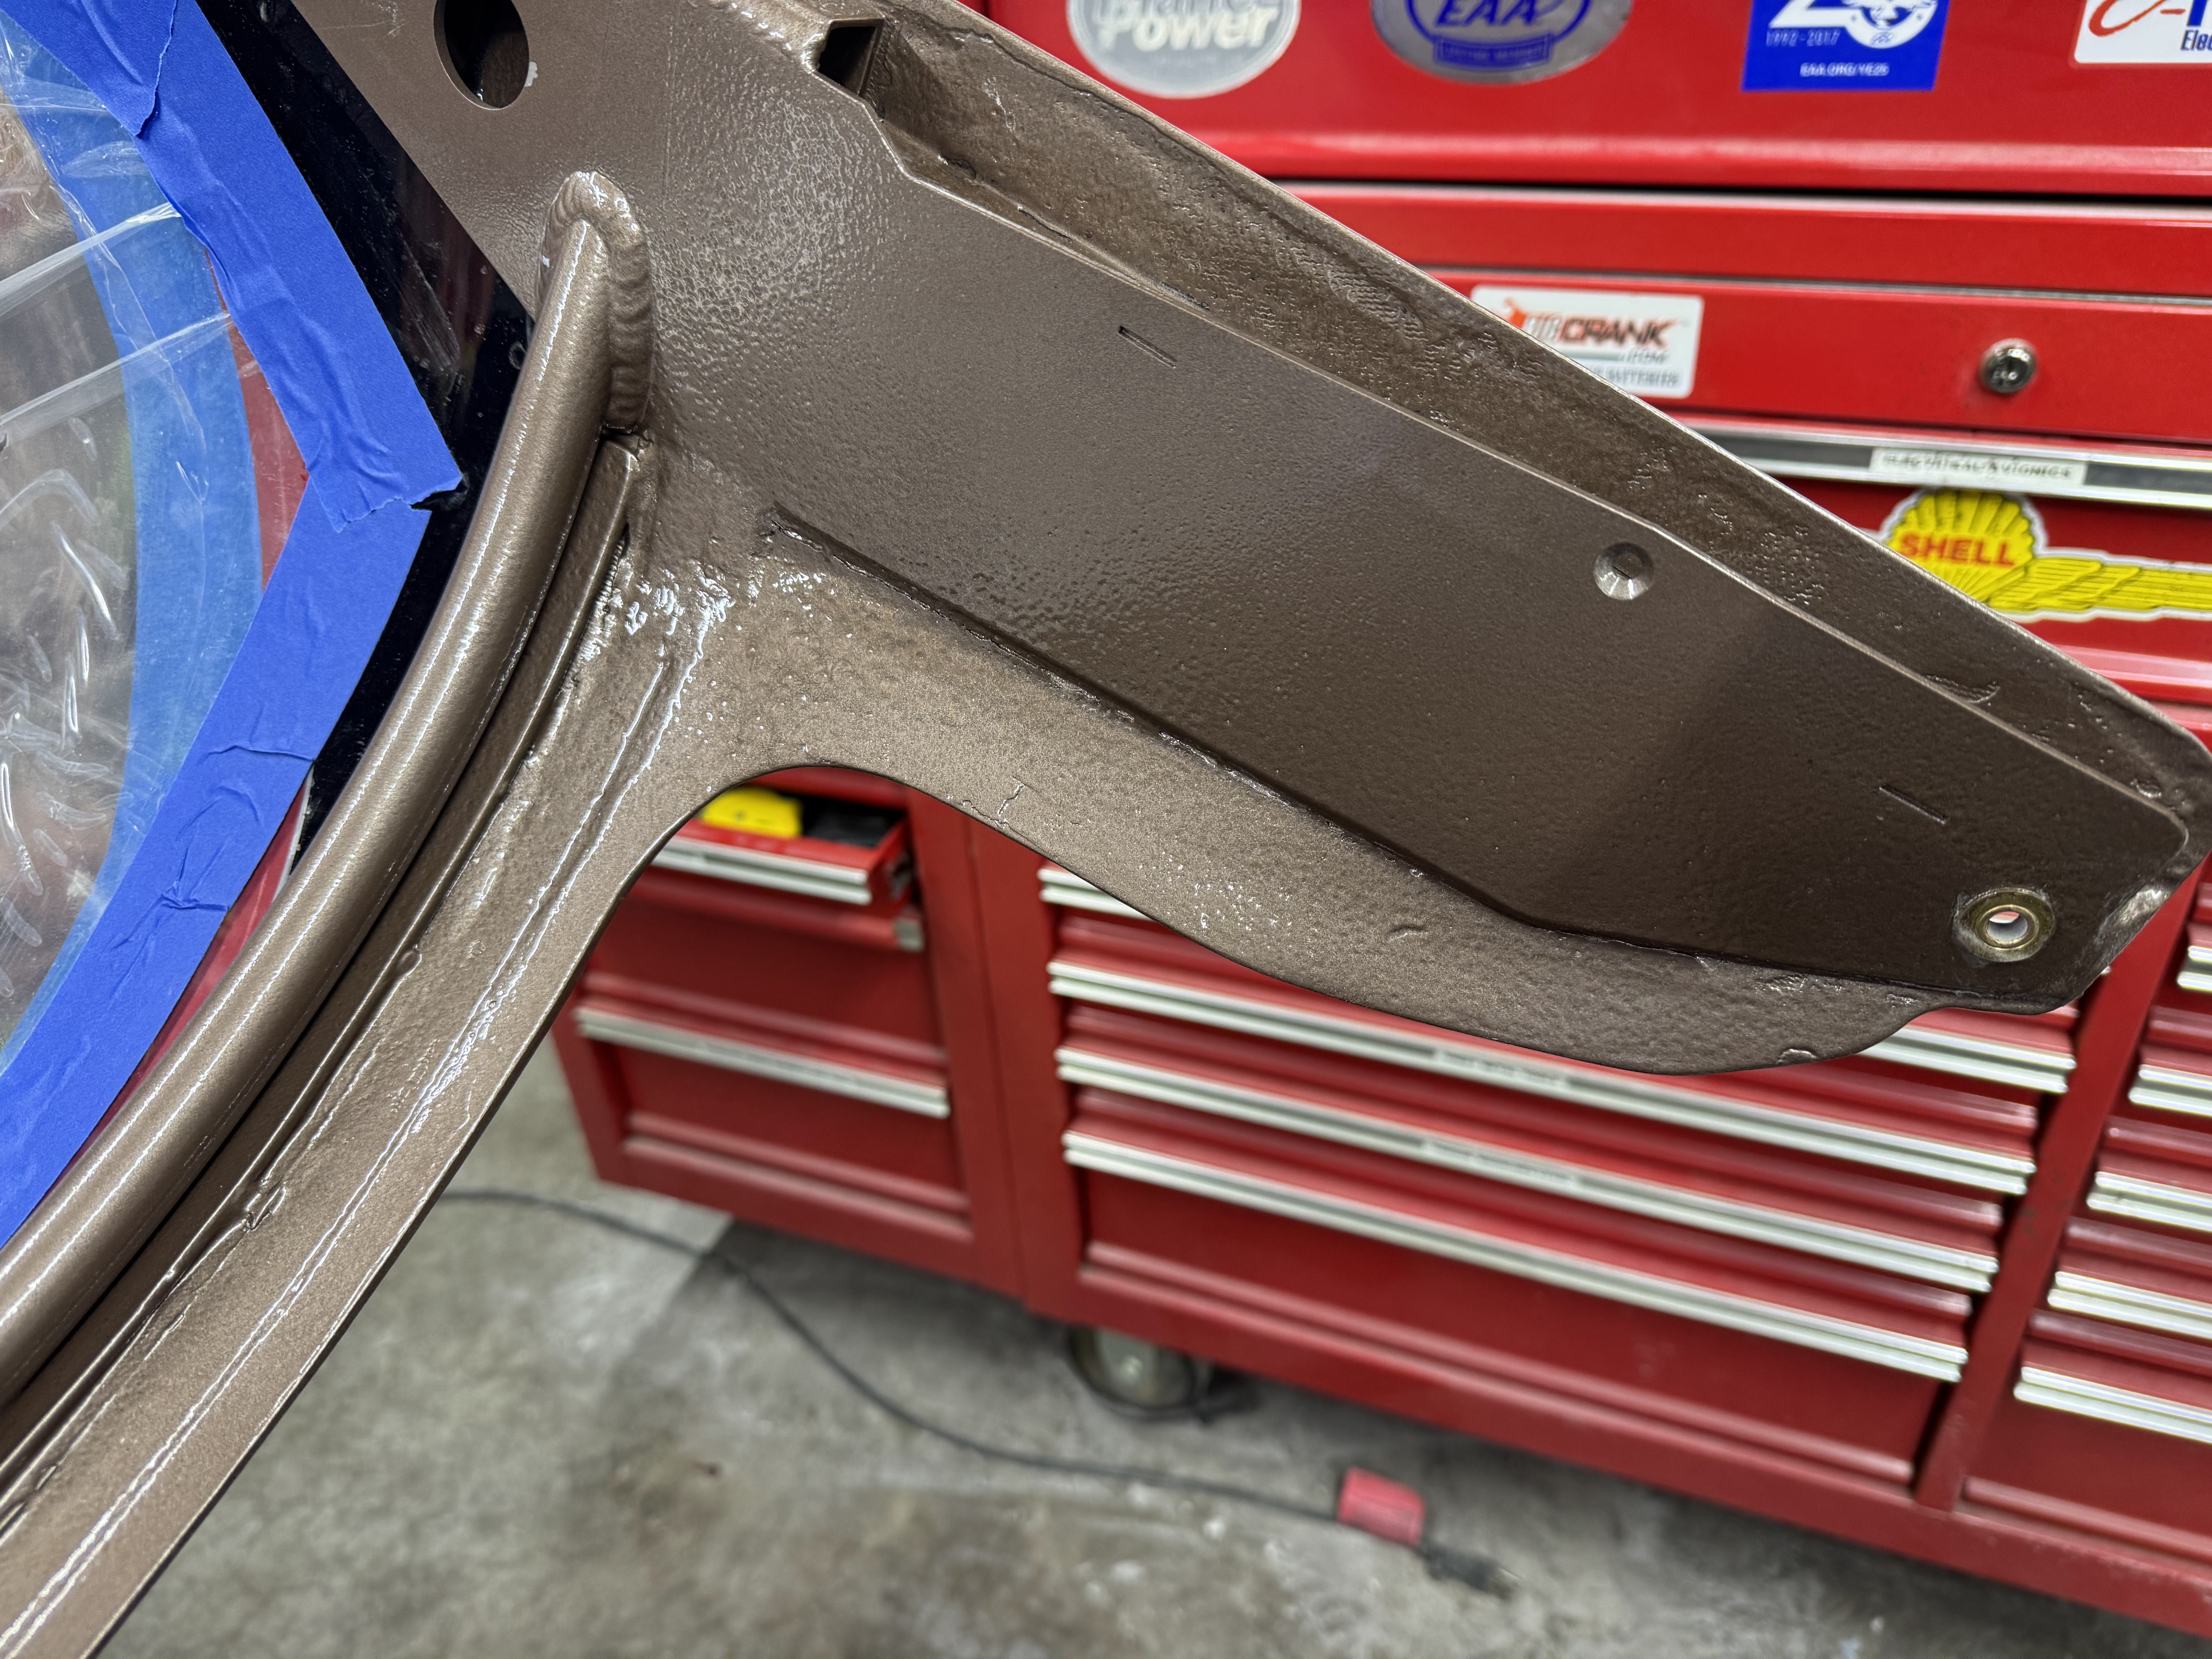
Primed the parts using self etching rattle can.  Its too nasty outside to prime with the waterborne epoxy.

Wednesday, December 18, 2024

Flight controls part 1

Started the flight controls section by installing the brake fluid reservoir.
 
The two lines from the reservoir to the master cylinders.

This was a pain in the rear to install!

Looks much cleaner with that adel clamp in place.


Monday, December 16, 2024

Canopy fairing part 18


Final sanded the inside of the canopy fairing so I could paint it with the same Rustoleum Hammered paint that I am using on the rest of the interior.

Masked off the areas that I don't want painted.


Turned out pretty nice considering it is seen very little once the plane is finished.  Mostly only visible when the canopy is open.  The hammered finish hides some of the imperfections.