Wednesday, December 11, 2024

Canopy fairing part 14


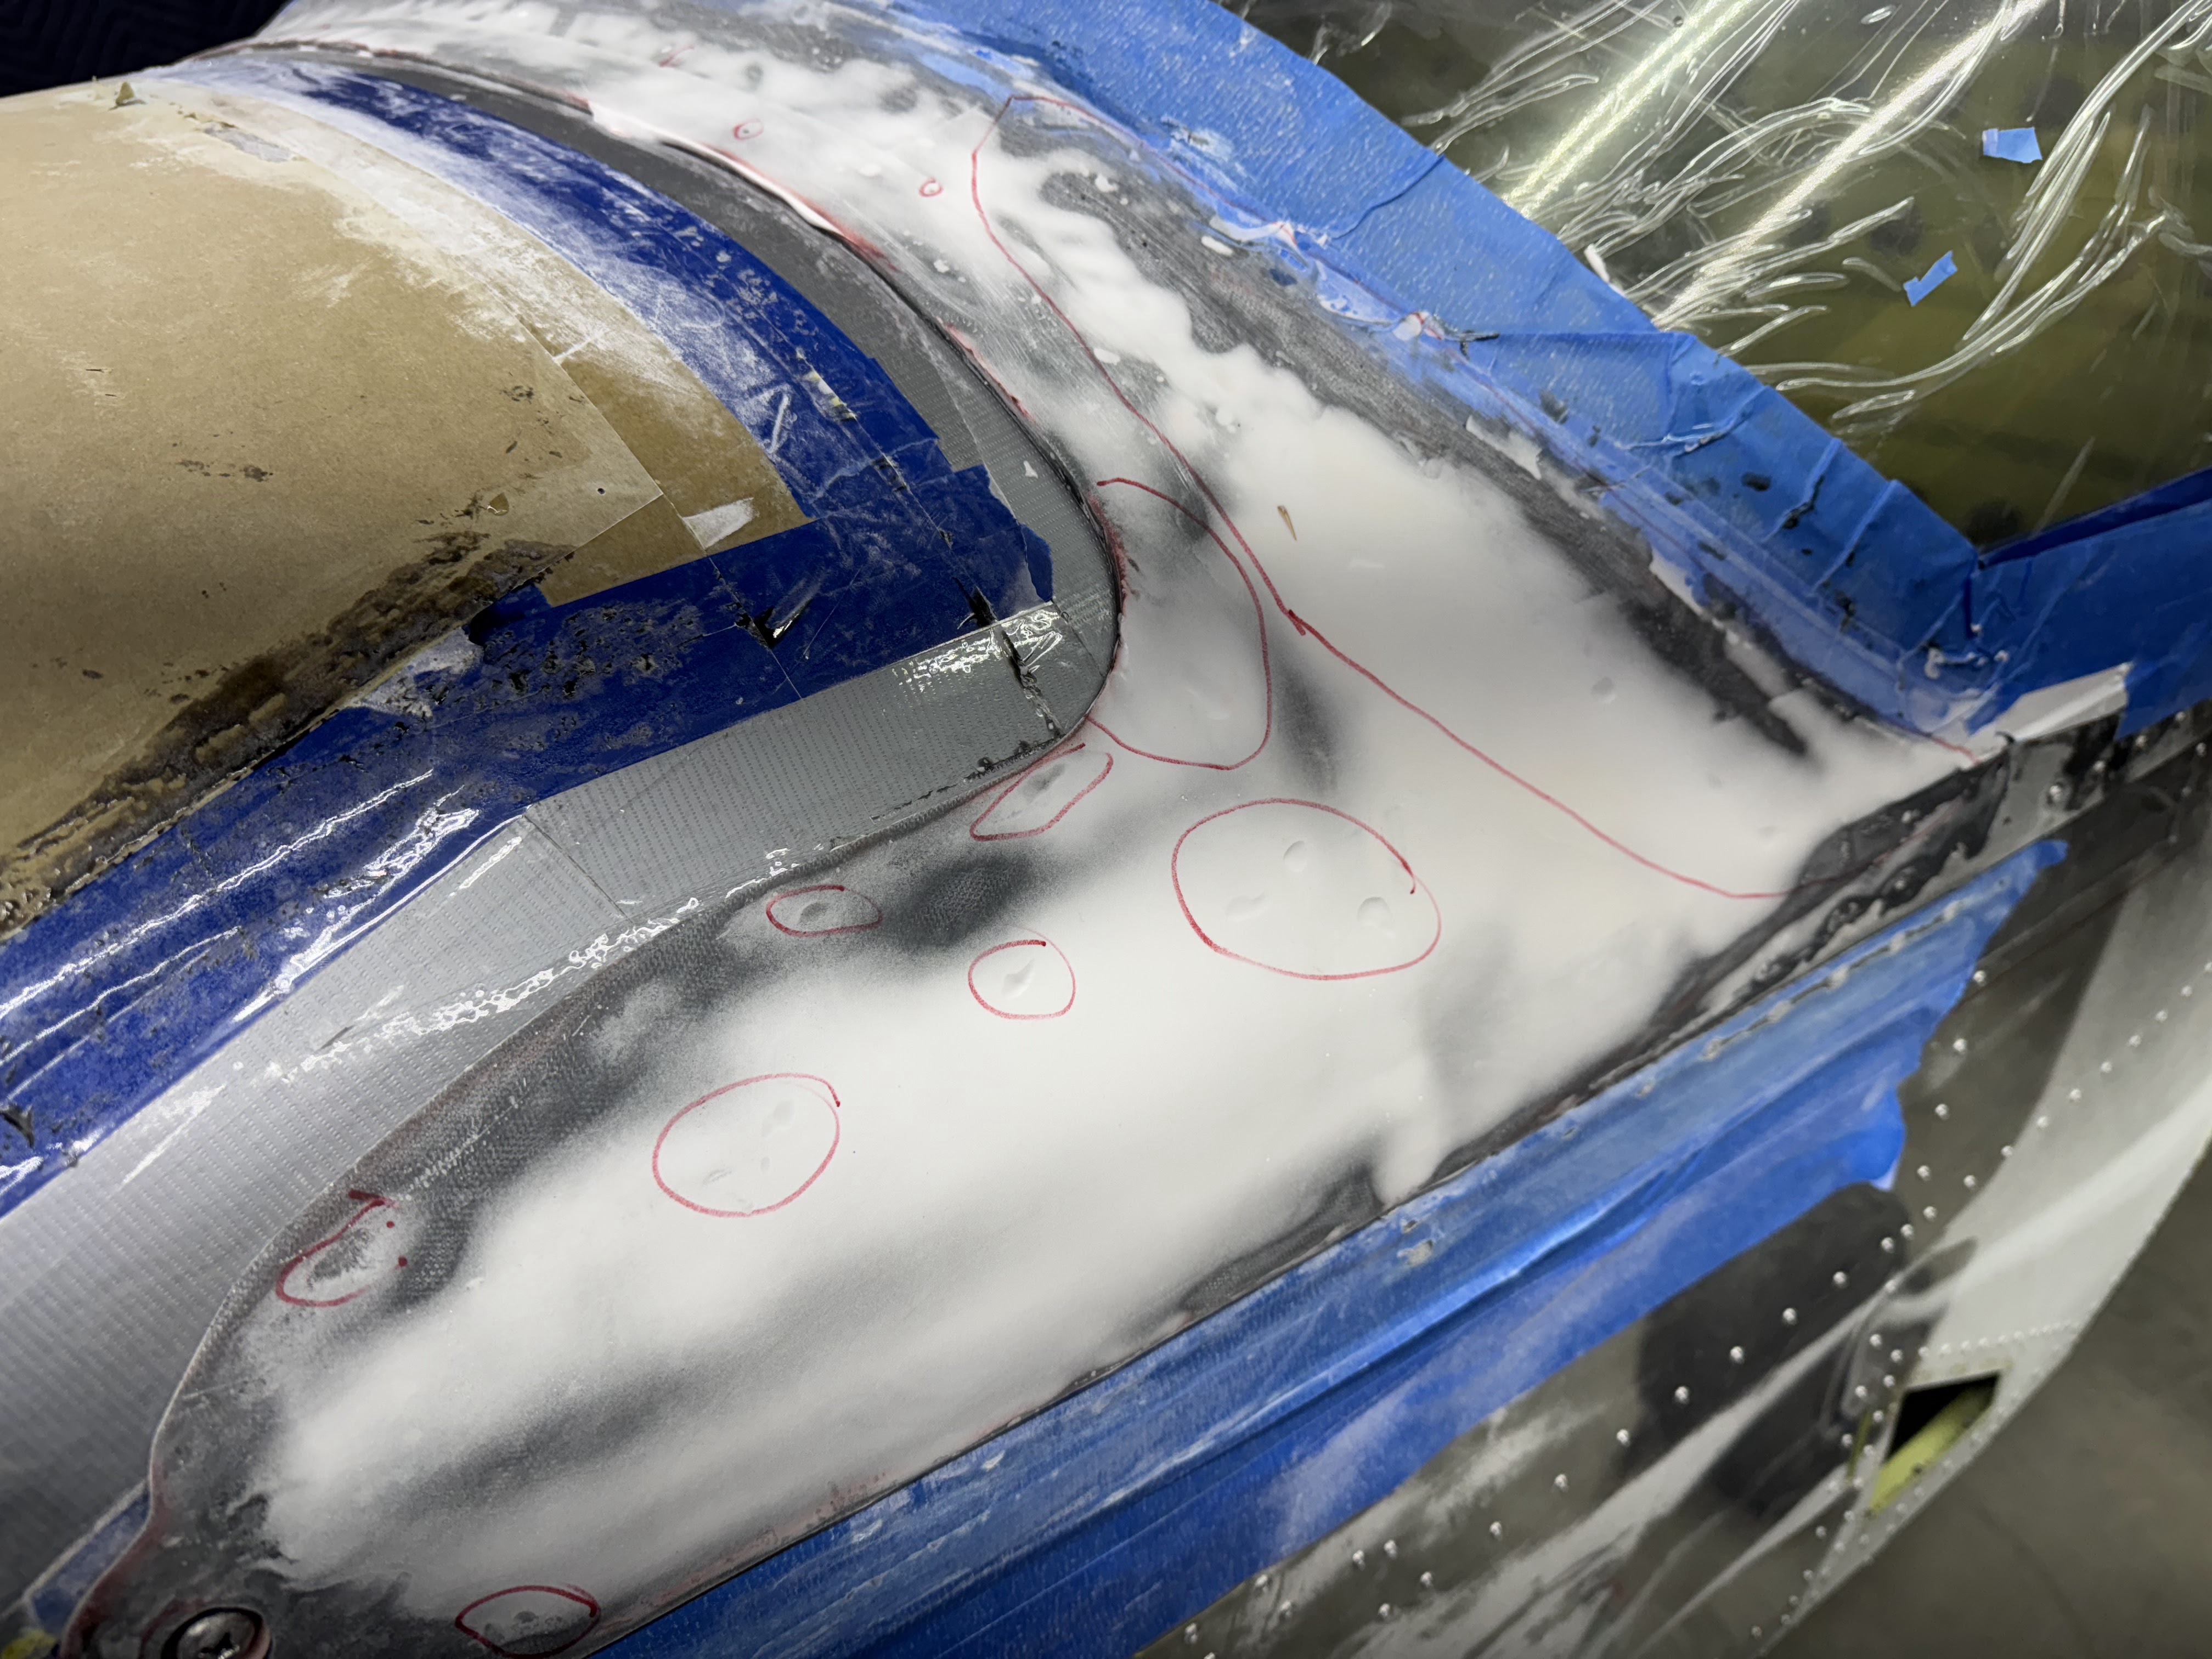
This is what I mean when I said it helps ID low spots.  I sanded the resin coat until just breaking thru the high spots and this leaves shiny spots which are the low spots.  I marked them and then roughed up the shiny areas for good adhesion.

Then filled the low spots with more filler.


This is definitely an iterative process.  Required for the best results with less wasted time.


Monday, December 9, 2024

Canopy fairing part 13

At this point I put down a heavy coat of black dyed resin.


This does a few things....it helps seal the pores of the glass and also will show the low spots instantly when sanded in the next step.

Saturday, December 7, 2024

Canopy fairing part 12

Now time to start shaping this canopy fairing.

Just a few of my tools to get this surface ready for primer.

After rough shaping I marked any obvious low spots that will need more filler.

You can see that the filler is doing its job flattening the waves.

The key takeaway here is to always use a sanding block or tool when doing this to prevent extra work.  You don't want to sand all the high spots down so much that you eliminate your low spots.  This will thin the glass to a point where it will be weak.  Once you start sanding into the weave, stop and add more filler in the lows.

Scott's video on the Van's Youtube channel mentions this as well.  Sand to a shape not to a finish.  


Wednesday, December 4, 2024

Canopy fairing part 11

Put the canopy back on the airplane to slather a layer of epoxy and micro as filler.  Went thick on the areas I knew were low spots.


Tuesday, December 3, 2024

Canopy fairing part 10

Flipped the canopy over and started cleaning up the glass and the relief for the seal.


Had a few places that needed some filler due to voids and such.


Monday, December 2, 2024

Canopy Fairing Part 9

Today I marked the cutline for the fairing using the template supplied.  The design has changed since this template was last updated because the forward hole on the template does not exist on the canopy side rails.


Sides marked...plenty of overhang left over which is good.

I connected the lines from one side to the other in order to mark the front edge of the fairing.

I then used the Dremel to surgically trim up to about 1/16 away from the edge of the line.

If you don't have one of these diamond cuttoff wheels, GET ONE!  They work very well on this fiberglass.  Hardly any wear on it and it does not heat up the epoxy like the reinforced fiber ones do.

I then used a larger diameter sanding drum in the drill to get the large radius corner.  I used a sanding block to sand the long straight edges to the line.

I used a small diameter sanding drum to get the small radius corner to comply.


Saturday, November 30, 2024

Canopy Fairing Part 8

Deviating a bit from the KAI's order of operations.

Used a ball magnet to locate the hinge screw.

I did not trust that the magnet was in the exact center of the screw so I just drilled a small hole in the middle of the circle I drew around the magnet.  Good thing I did because the screw was offset from the circle.  I just enlarged the hole I made to compensate till it was big enough to get the screw out.

I then popped the canopy off the fuse.  Thankfully the packing tape and wax did its job as the canopy released without breaking anything.

Where the spacer strip over hung the top forward skin on the sides, it caused the glass layup to pooch out and when I started sanding the fwd arm layups, it was clear that I was going to sand thru the glass layers at this point.  So I added some epoxy and flox to this area.  I will smooth this out and provide a little relief for the seal.  Since the seal ends up sitting on top of the foam block that gets added later, the depth of the seam relief should not be critical here as the foam seal can compress a bit.

Same thing on the other side.

I also covered the exposed pink structural foam at the front end of the arms per the KAI's.


After trimming the lower edge of the fairing to within about 1/4" of the line that extends from the bottom of the canopy side skirts, I then used a long flat sanding block to sand them down to about 1/8" away from the line.  I want to ensure I don't shorten them too much as I want them to overhang the fwd fuse sides similar to how the canopy side skirts do.  I have seem some 12's where the builder cut them too short and they have an ugly gap visible.  Once the canopy is back on the airplane, I can fine tune them.  Much easier to sand them a little more than it is to extend them later.