Tuesday, July 1, 2025

Finishing the fuel system part 2

They have you remove the fuel pump assembly from the Rotax provided stainless steel box.  Not sure if this voids the warranty or not but it has to be done.


Next I assembled the Rotax fuel filter to the fuel pressure transducer adapter block.  Van's provides a washer that has a vulcanized seal attached to the ID of the washer.  The ID of the washer is bigger than the fitting that goes into the fuel filter.  This means you have to somehow center the washer on the fitting while torqueing the filter to the fitting.  What a pain in the rear!  I just had to hope I got it good enough.  

Then they have you drill this 1/4" hole a 1/4" from the end of the fuel shutoff valve lever.


And install the valve with these fittings in the valve bracket.  They also have you rivet the bracket that will hold the fuel shutoff valve actuation cable to the valve bracket.


Next was loosely assembling these banjo bolt fittings.  They use the same kind of washer with a built in seal.  Rotax provides copper crush washers for this but apparently Vans found these washer better for this application.  These fit this side much better than the inlet side.


Monday, June 30, 2025

Finishing the fuel system

Started working on the fuel pump area to finish off the fuel system.

First I assembled the low point drain block and temporarily installed a Schrader valve to be able to pressure check the system when I am finished.


Next I assembled the fuel pressure transmitter adapter block along with a check valve.  Be mindful of the arrow direction!


Saturday, June 28, 2025

Cowl Fitting Part 24

Next was finalizing the fit of the oil door to the top cowl.  (the corners are a bit non-symmetrical) Then rivet the door to the hinge and the hinge to the cowl.


Next is to apply this peel and stick reflective heat barrier to the bottom cowl.  They don't give you a template so I just made it look like the picture as best as I could.  I then sealed the edges with a thin layer of epoxy.


Friday, June 20, 2025

Cowl Fitting Part 23

Then the KAI's have you epoxy the NACA duct and the airbox to the lower cowl with an epoxy/flock mixture.  


There is a valley formed on the lower part of the opening of the airbox.  The plans ask that this be filled with the epoxy/flock mixture.


Thursday, June 19, 2025

Cowl Fitting Part 22

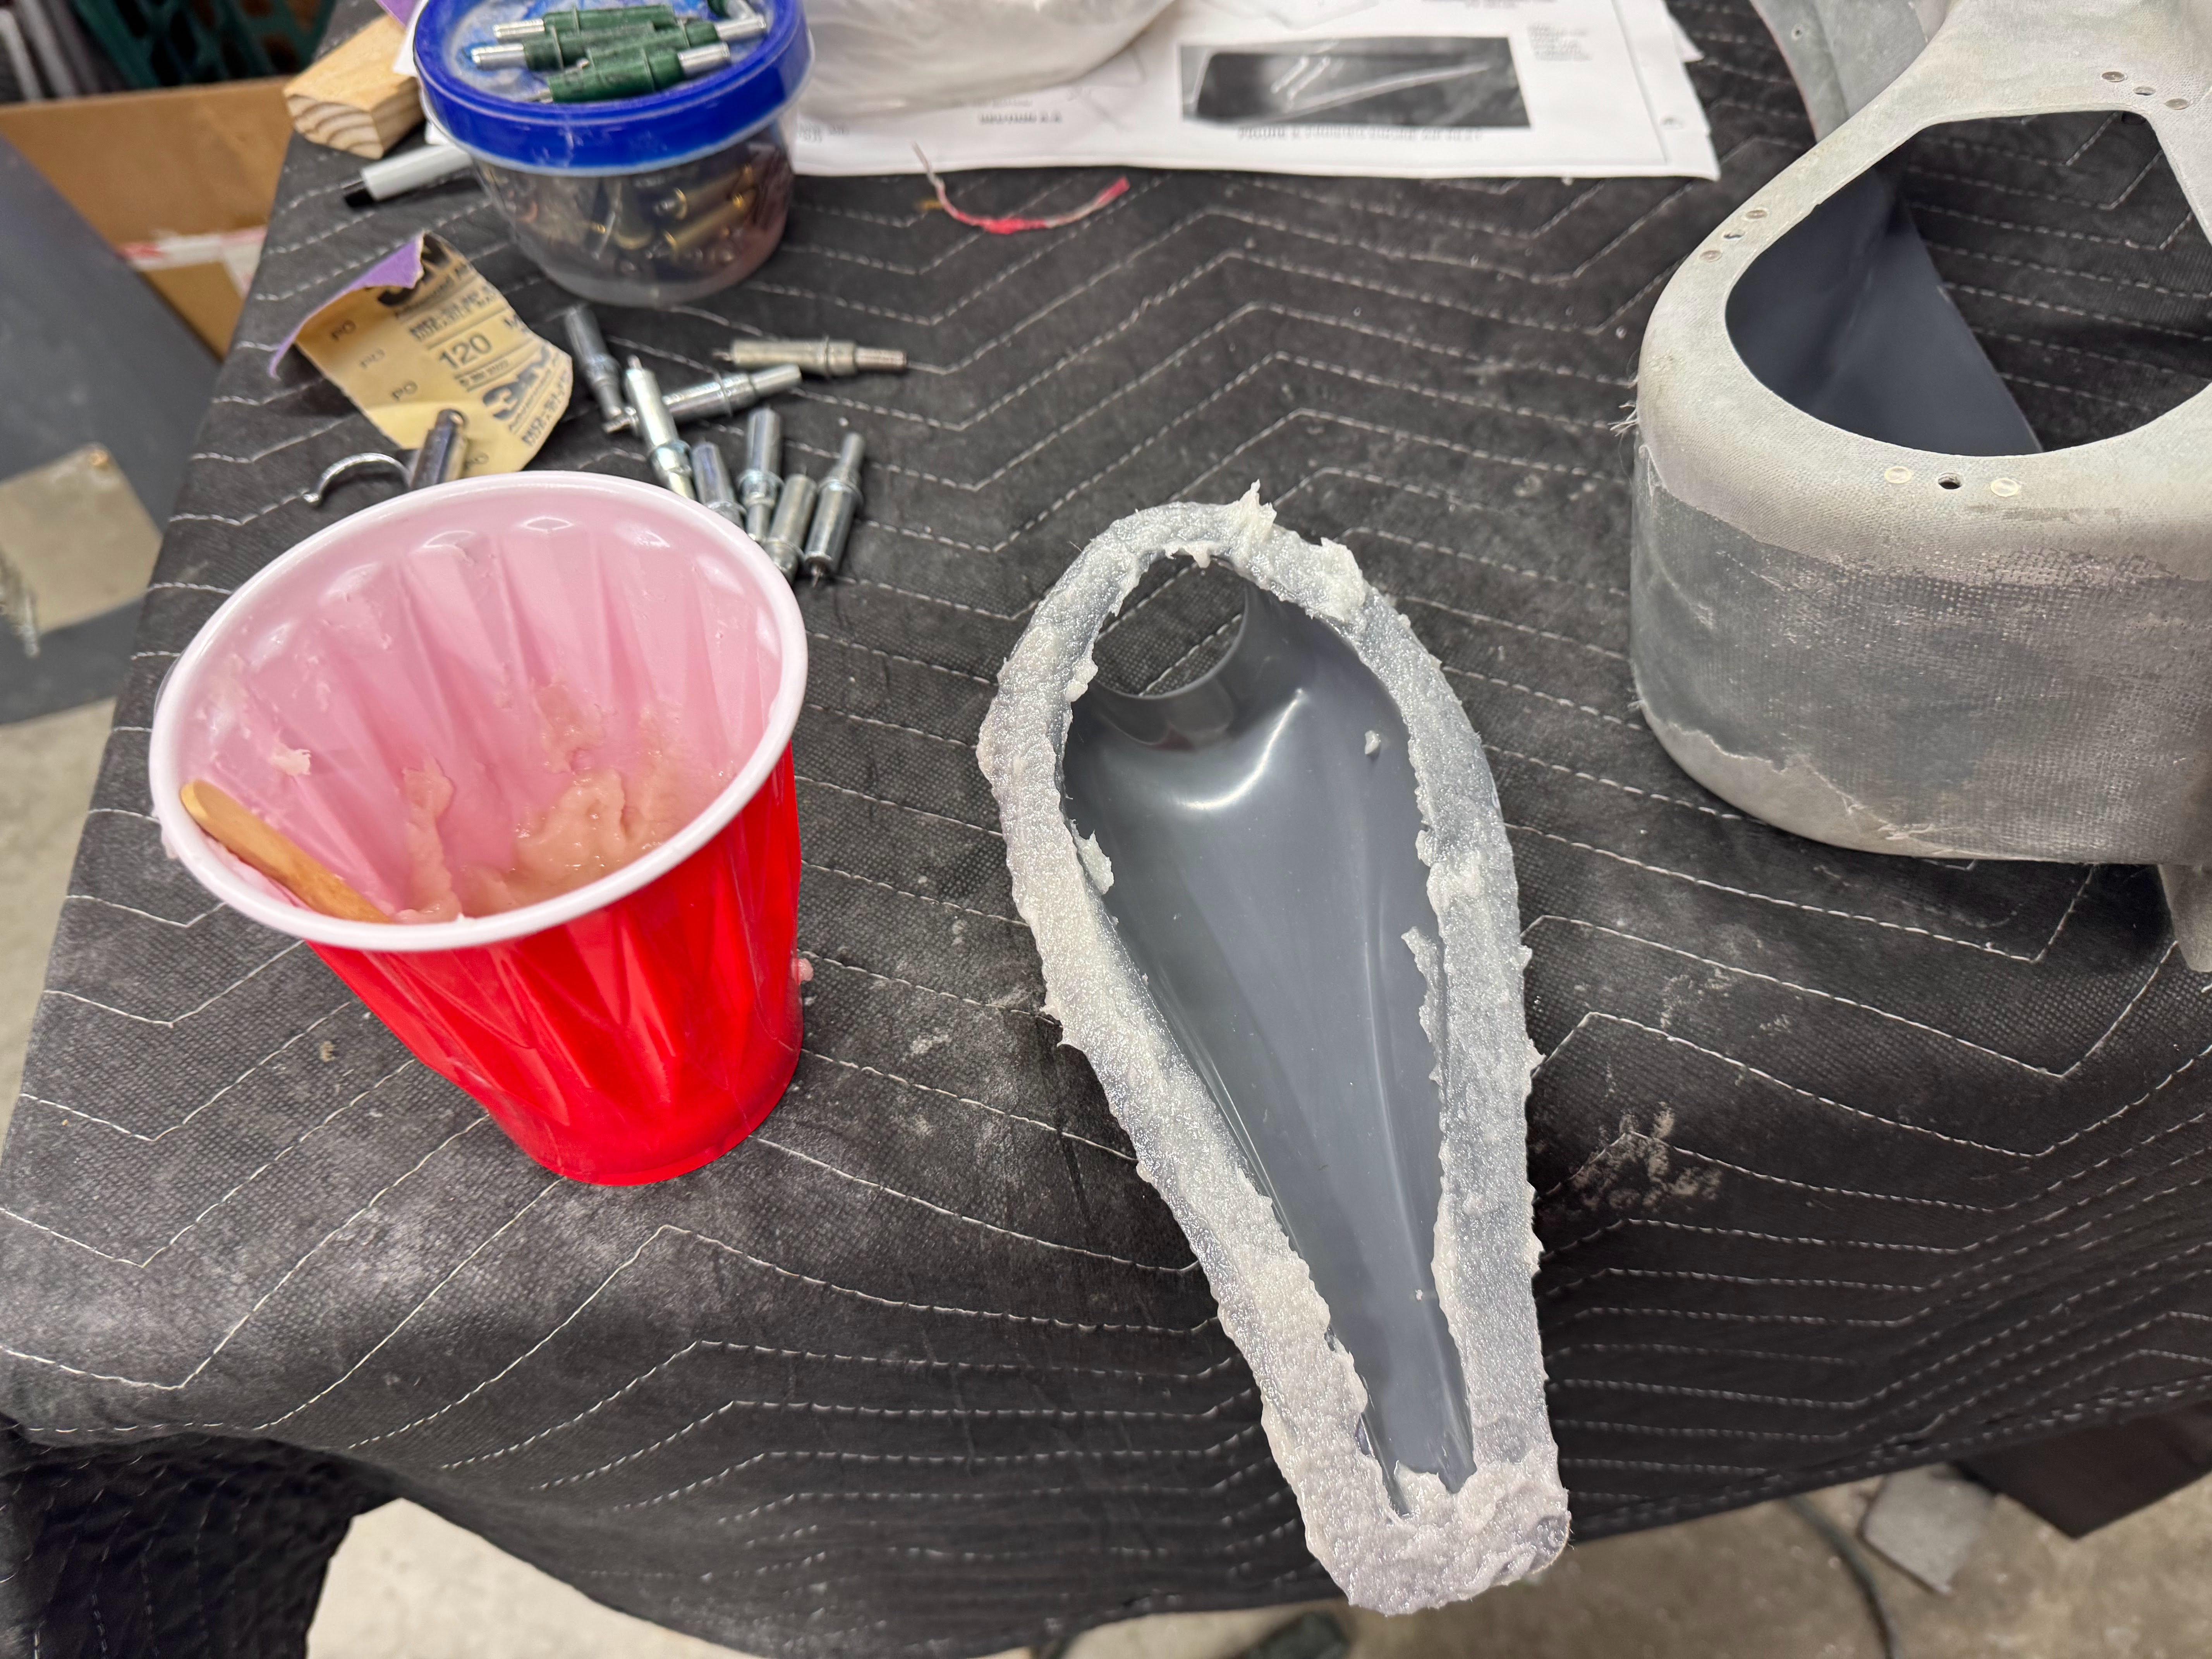
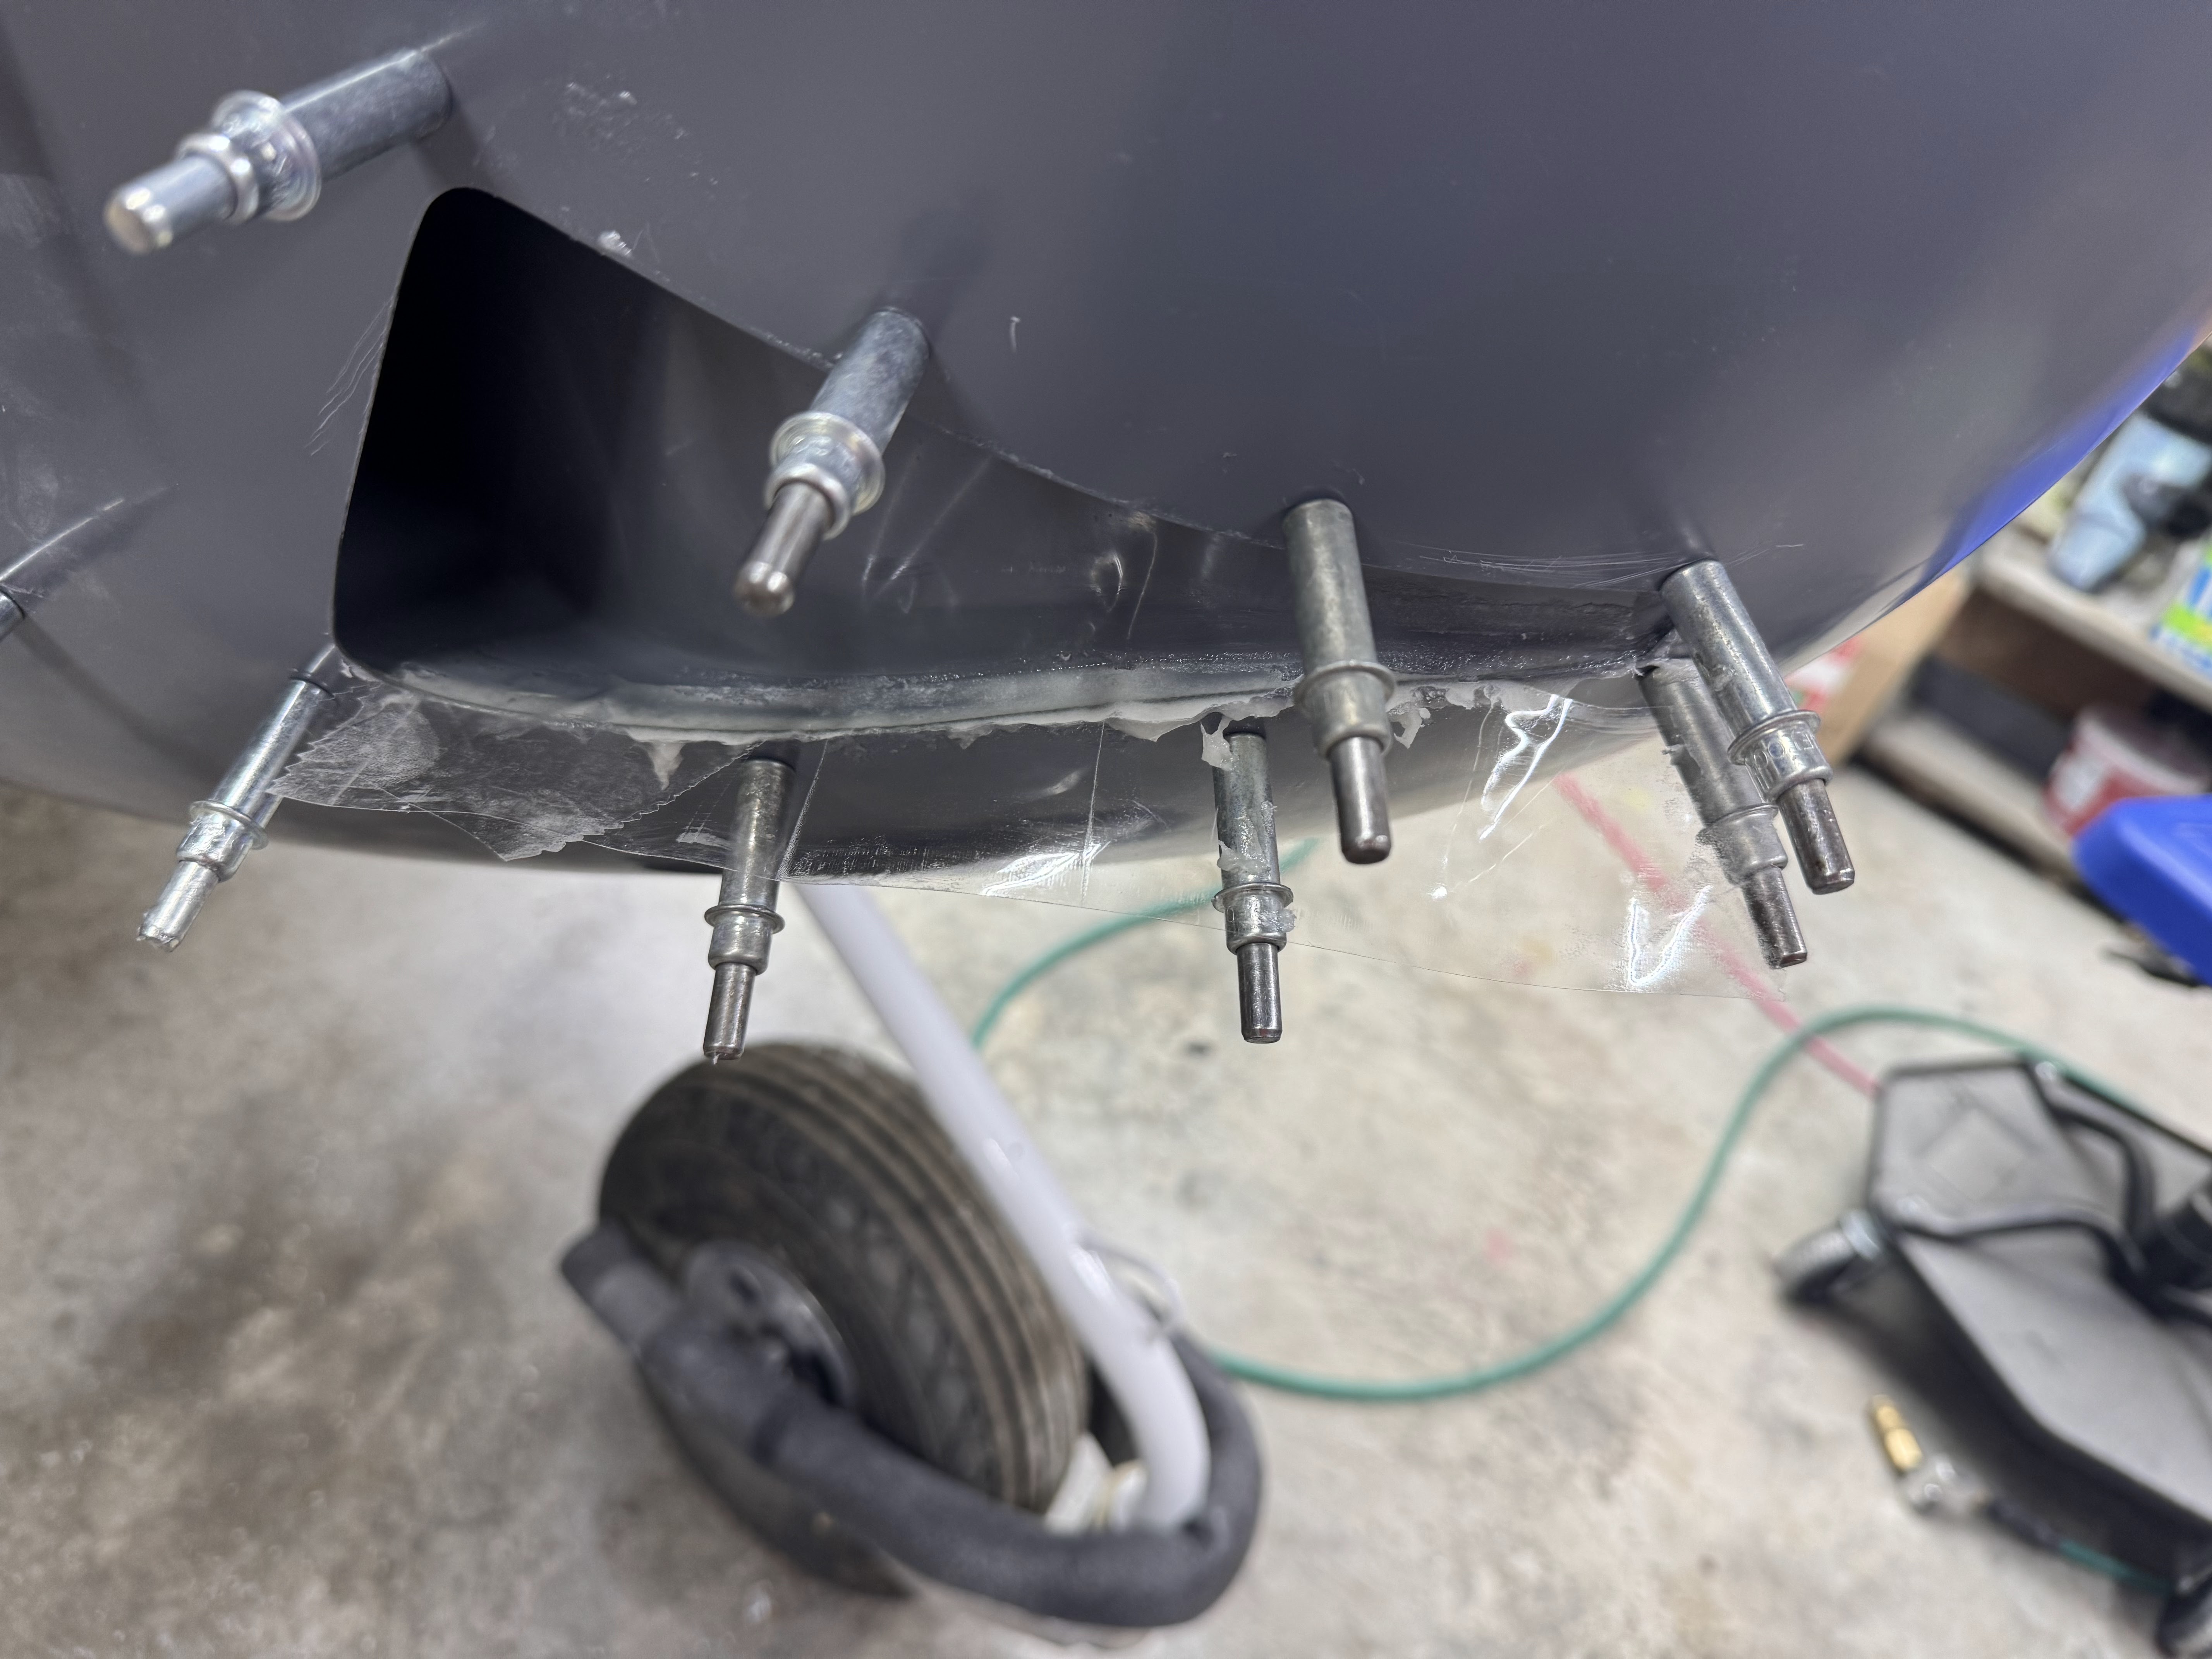
Located and match drilled the NACA duct to the lower cowl per the KAI's.


From the inside.

Match drilled the airbox to the lower cowl per the KAI's.  Was a bit difficult to align and hold it in the proper place to drill it.

Ready to attach!


Tuesday, June 17, 2025

Cowl Fitting Part 21


Riveted on the cover mount screw nutplates.

Drilled the water drain hole per the KAI's.


Rough cut the air scoop/NACA duct.

Fine tuned to the scribe line.
A little at a time!

Done!

Then I cutout the lower cowl for the NACA duct.  Trimmed to the scribe line.

And trimmed the lower cowl for the exhaust exit hole.

All done!


Monday, June 16, 2025

Cowl Fitting Part 20

Got started cutting out the airbox cover hole.  Here is the rough cut.


Finished the cutout up to the scribe line.

Marked the cover mounting screw holes to ensure edge distance.

Then match drilled the cover to the airbox.

Used the nutplate jig again to drill the nutplate rivet holes.

All drilled!