Sunday, April 30, 2023

Bulkheads!

 Tonight I got started on tailcone assembly.   2.5 man hours

Anti wear block riveting.

Top of big bulkhead riveting.

Almost forgot the SB!

Reinforcement brackets for the bulkheads.

Top of middle bulkhead riveted.

Bottom of middle one done.

Bottom of aft one done.

Top of aft bulkhead assembly.

Used the squeezer for all these.

All done!

Backside.

Machine countersinking the nutplate attach holes.

Using the vice and a socket to squeeze the bushing into place.

Done!
Assembling the aft most bulkhead.


Followed the directions and used the squeezer to get to all these rivets.  I could not get the ones that are not highlighted (disregard the nutplates) without a 3" yoke so I just used the rivet gun and my tungsten bucking bar to set these rivets the old fashioned way.  Some of the rivets called out by Van's are too short.  I used my experience to pick the correct length.  There are some blind rivets used here that at first seem unnecessary but they are not possible to squeeze due to interference.  I could have bucked them the traditional way but decided to go with the Van's plan.

All done!

Other side!


Saturday, April 29, 2023

Tailcone skin deburring and massive priming session

 Today I spent all day deburring tailcone skins and priming all the parts for the entire tailcone - 8 man hours


Friday, April 28, 2023

More tailcone part deburring

 More of the same, deburring tailcone parts.  - 2.5 man hours

Thursday, April 27, 2023

Tailcone part deburring

 Spent some time this evening deburring tailcone parts.  I am doing this section different by deburring everything up front and priming it before beginning construction.  - 1.75 man hours.


Tuesday, April 25, 2023

Blue film removal on tailcone skins.....

 Removed the blue film from all of the tailcone skins and other parts.  - 2 man hours.


Remove it all from the inside.

Waste time and effort doing this to the outside. 😛


Sunday, April 23, 2023

Finished Stabilator!

 Finished all the assembly of the stabilator! - 4.5 man hours.

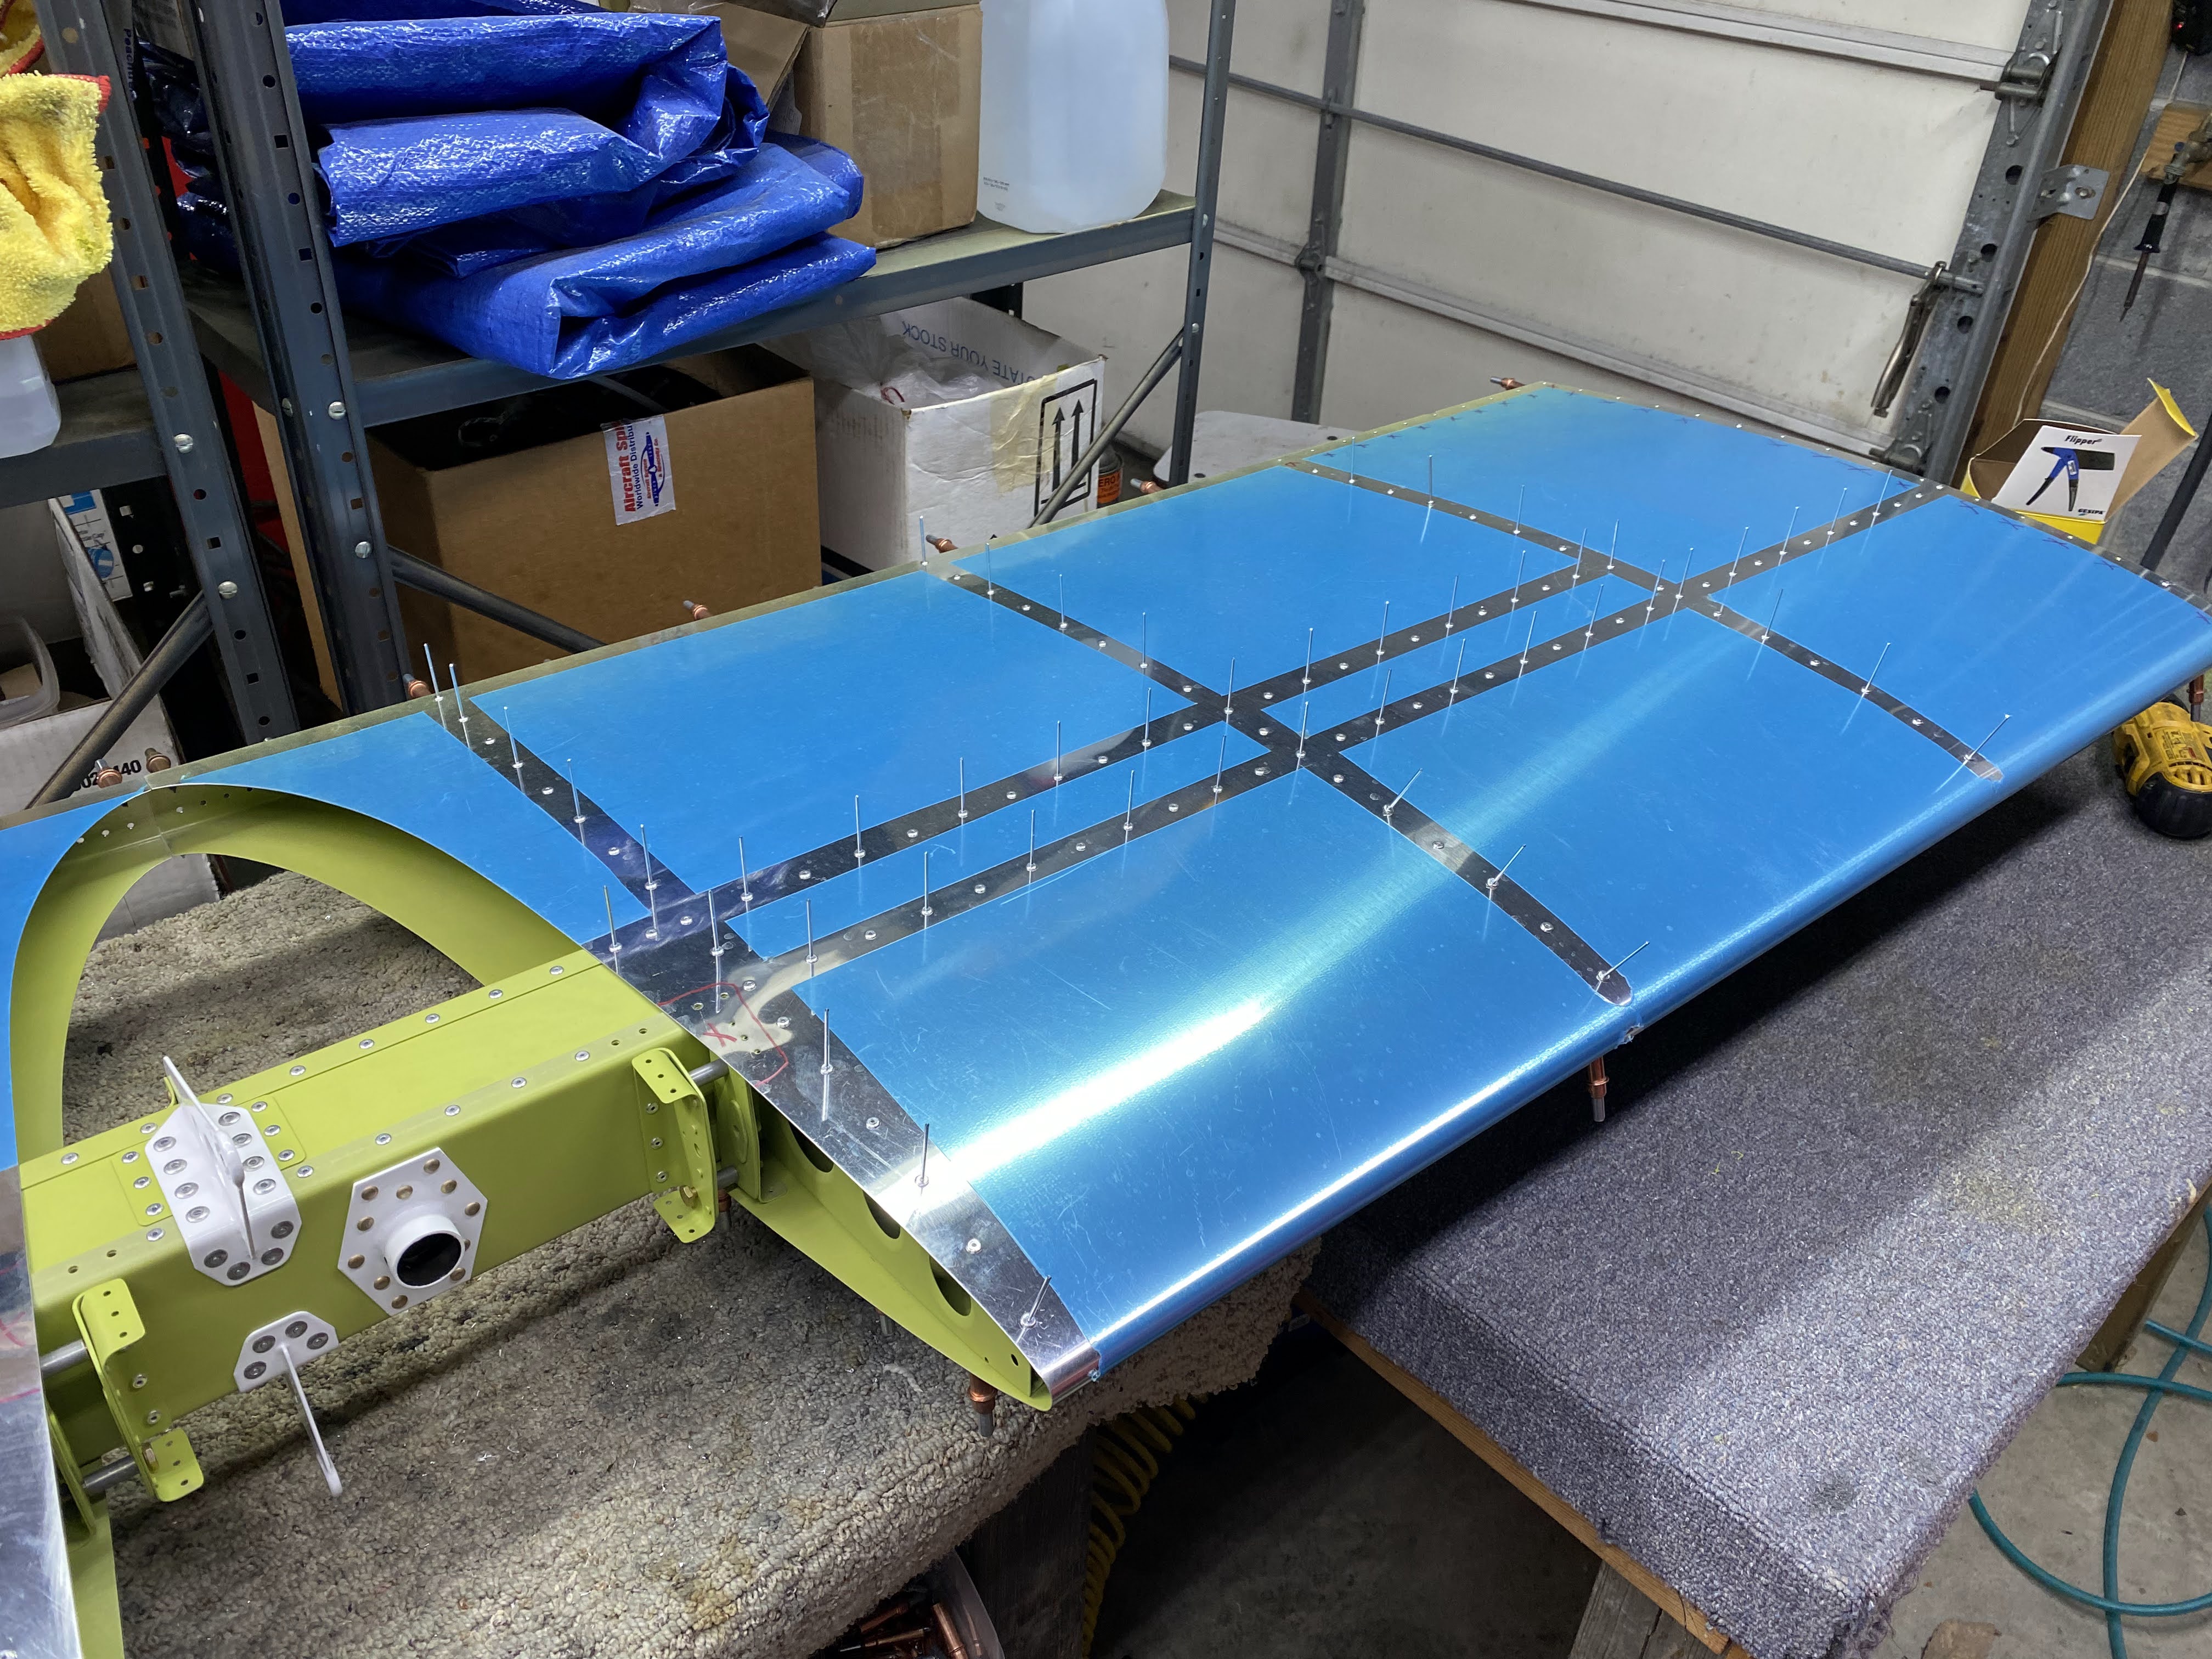
Cleco'ed on the left skin.

Half done.
All done!
Flip side of the left skin.

Half done.
All done!

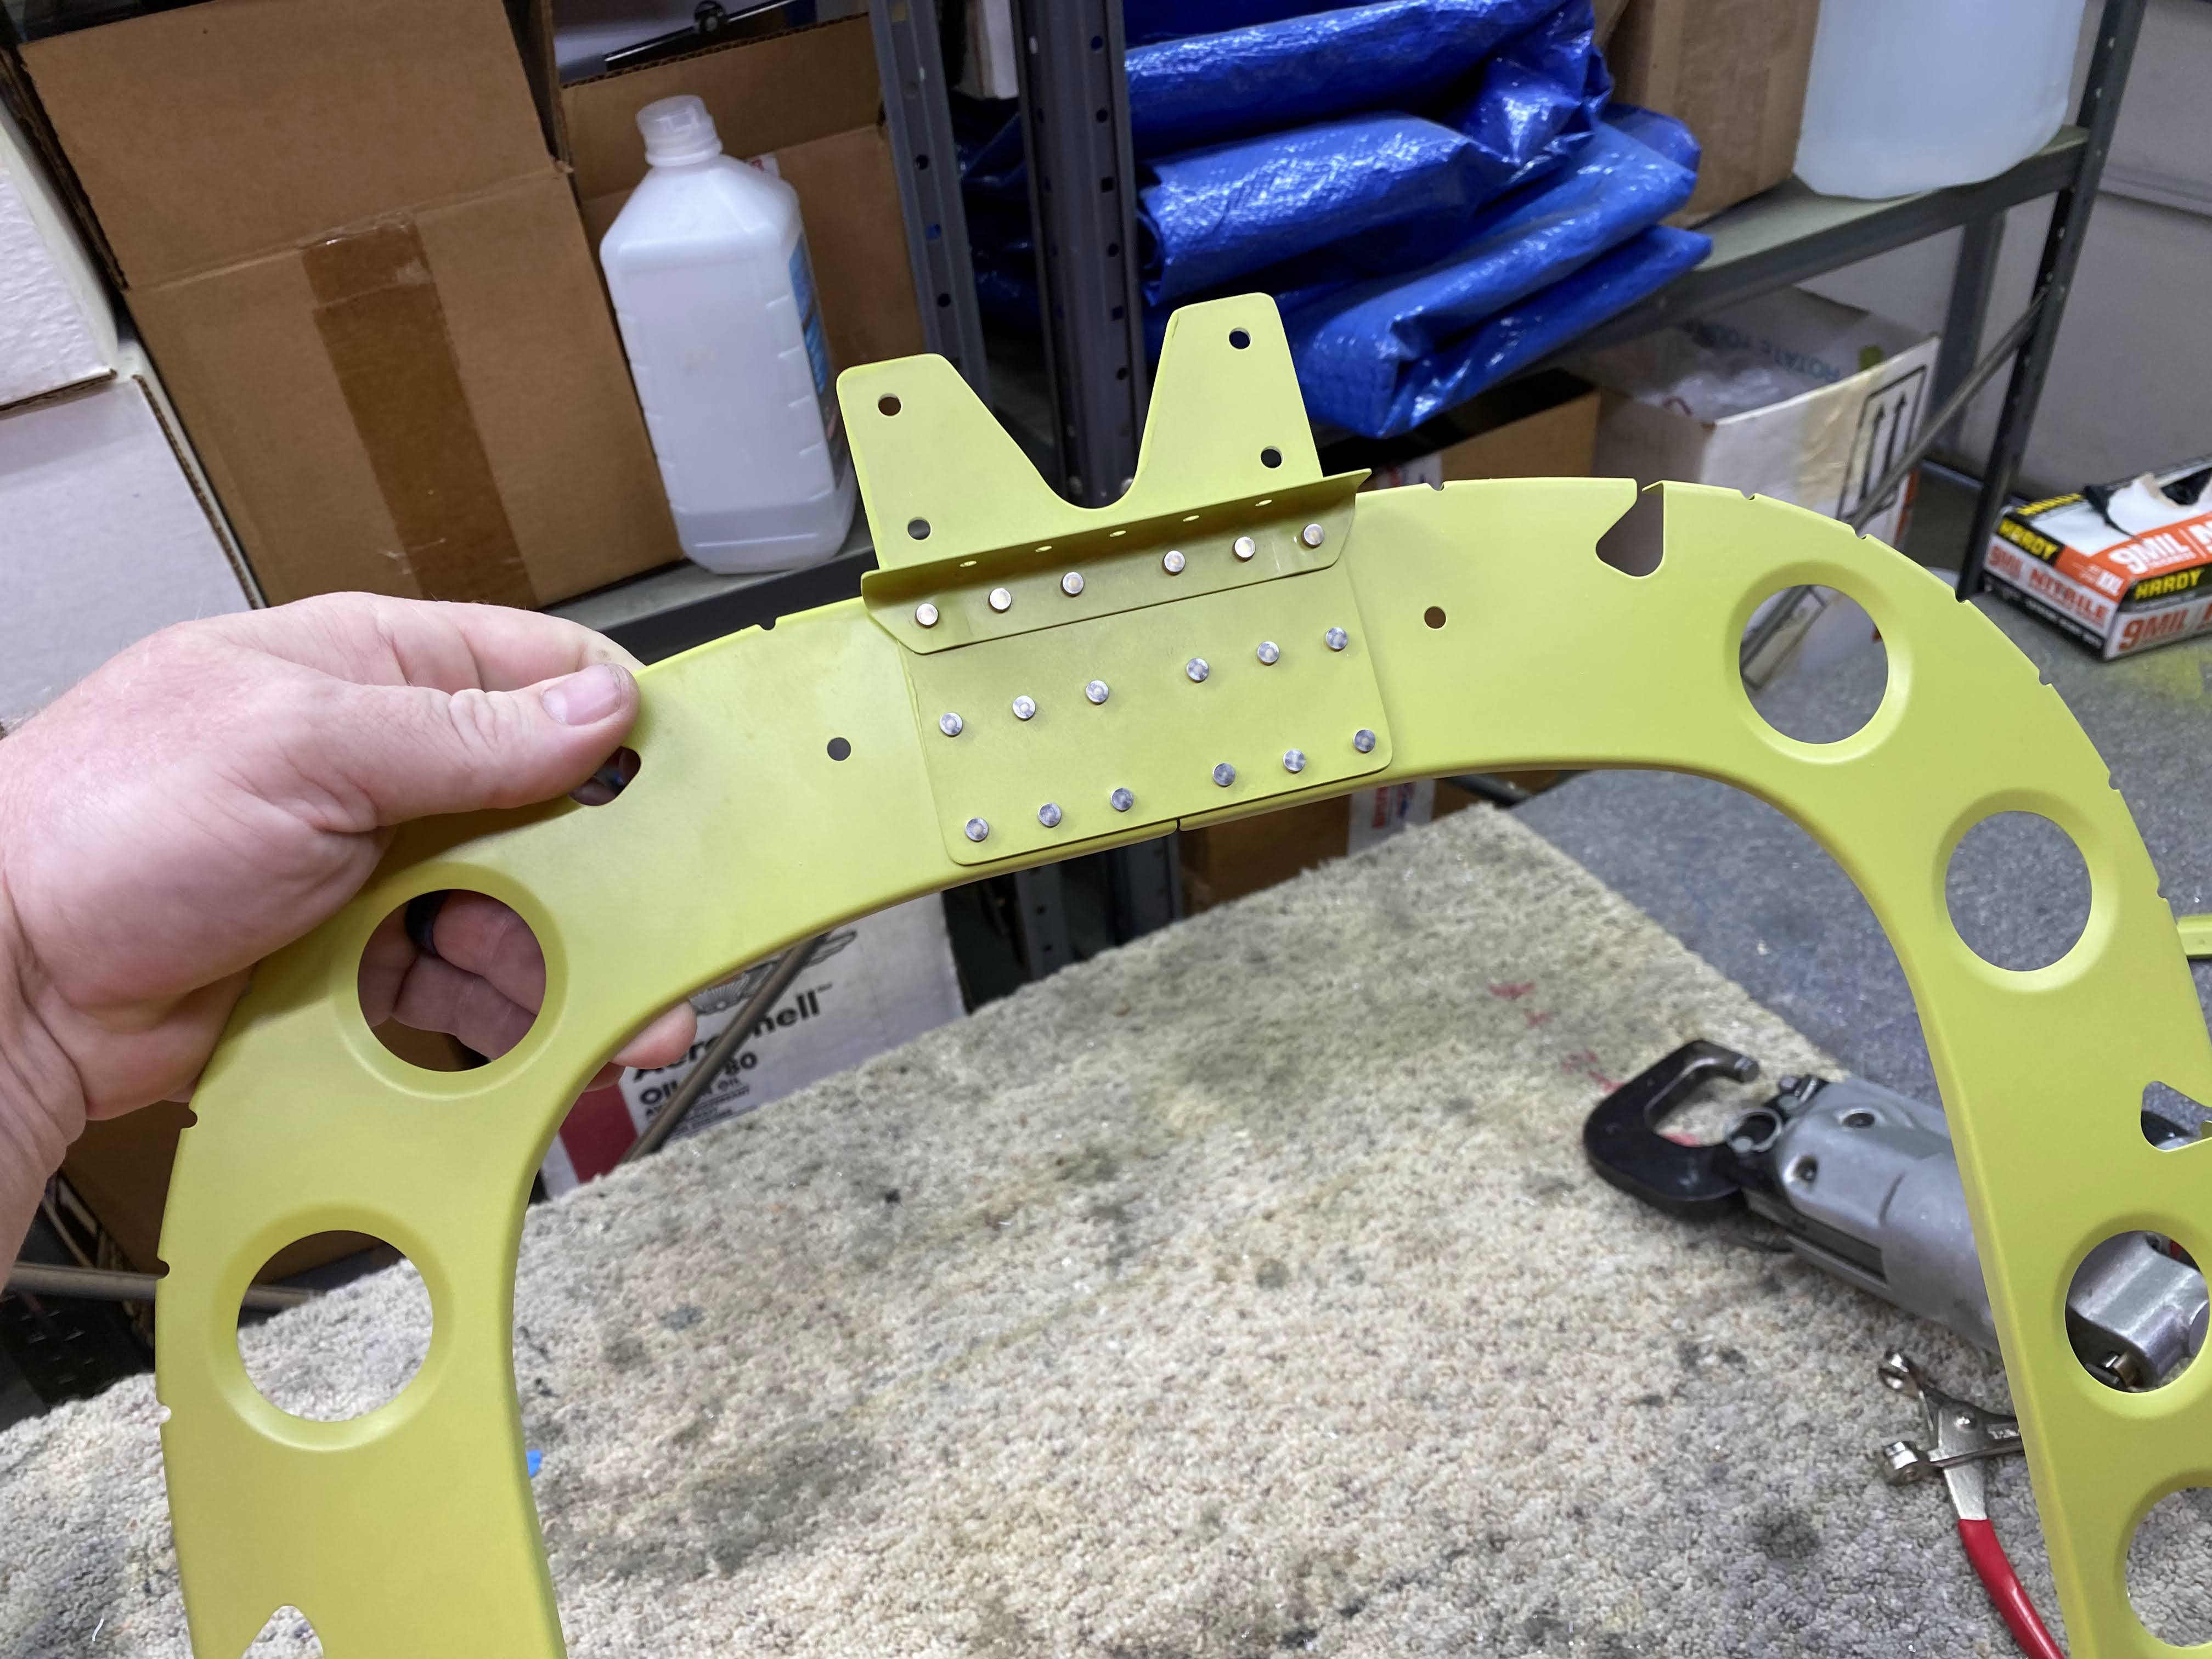
Finishing up the hinge gussets.

Top blind rivets in.

Top AN470 rivets done.

Bottom ones done.

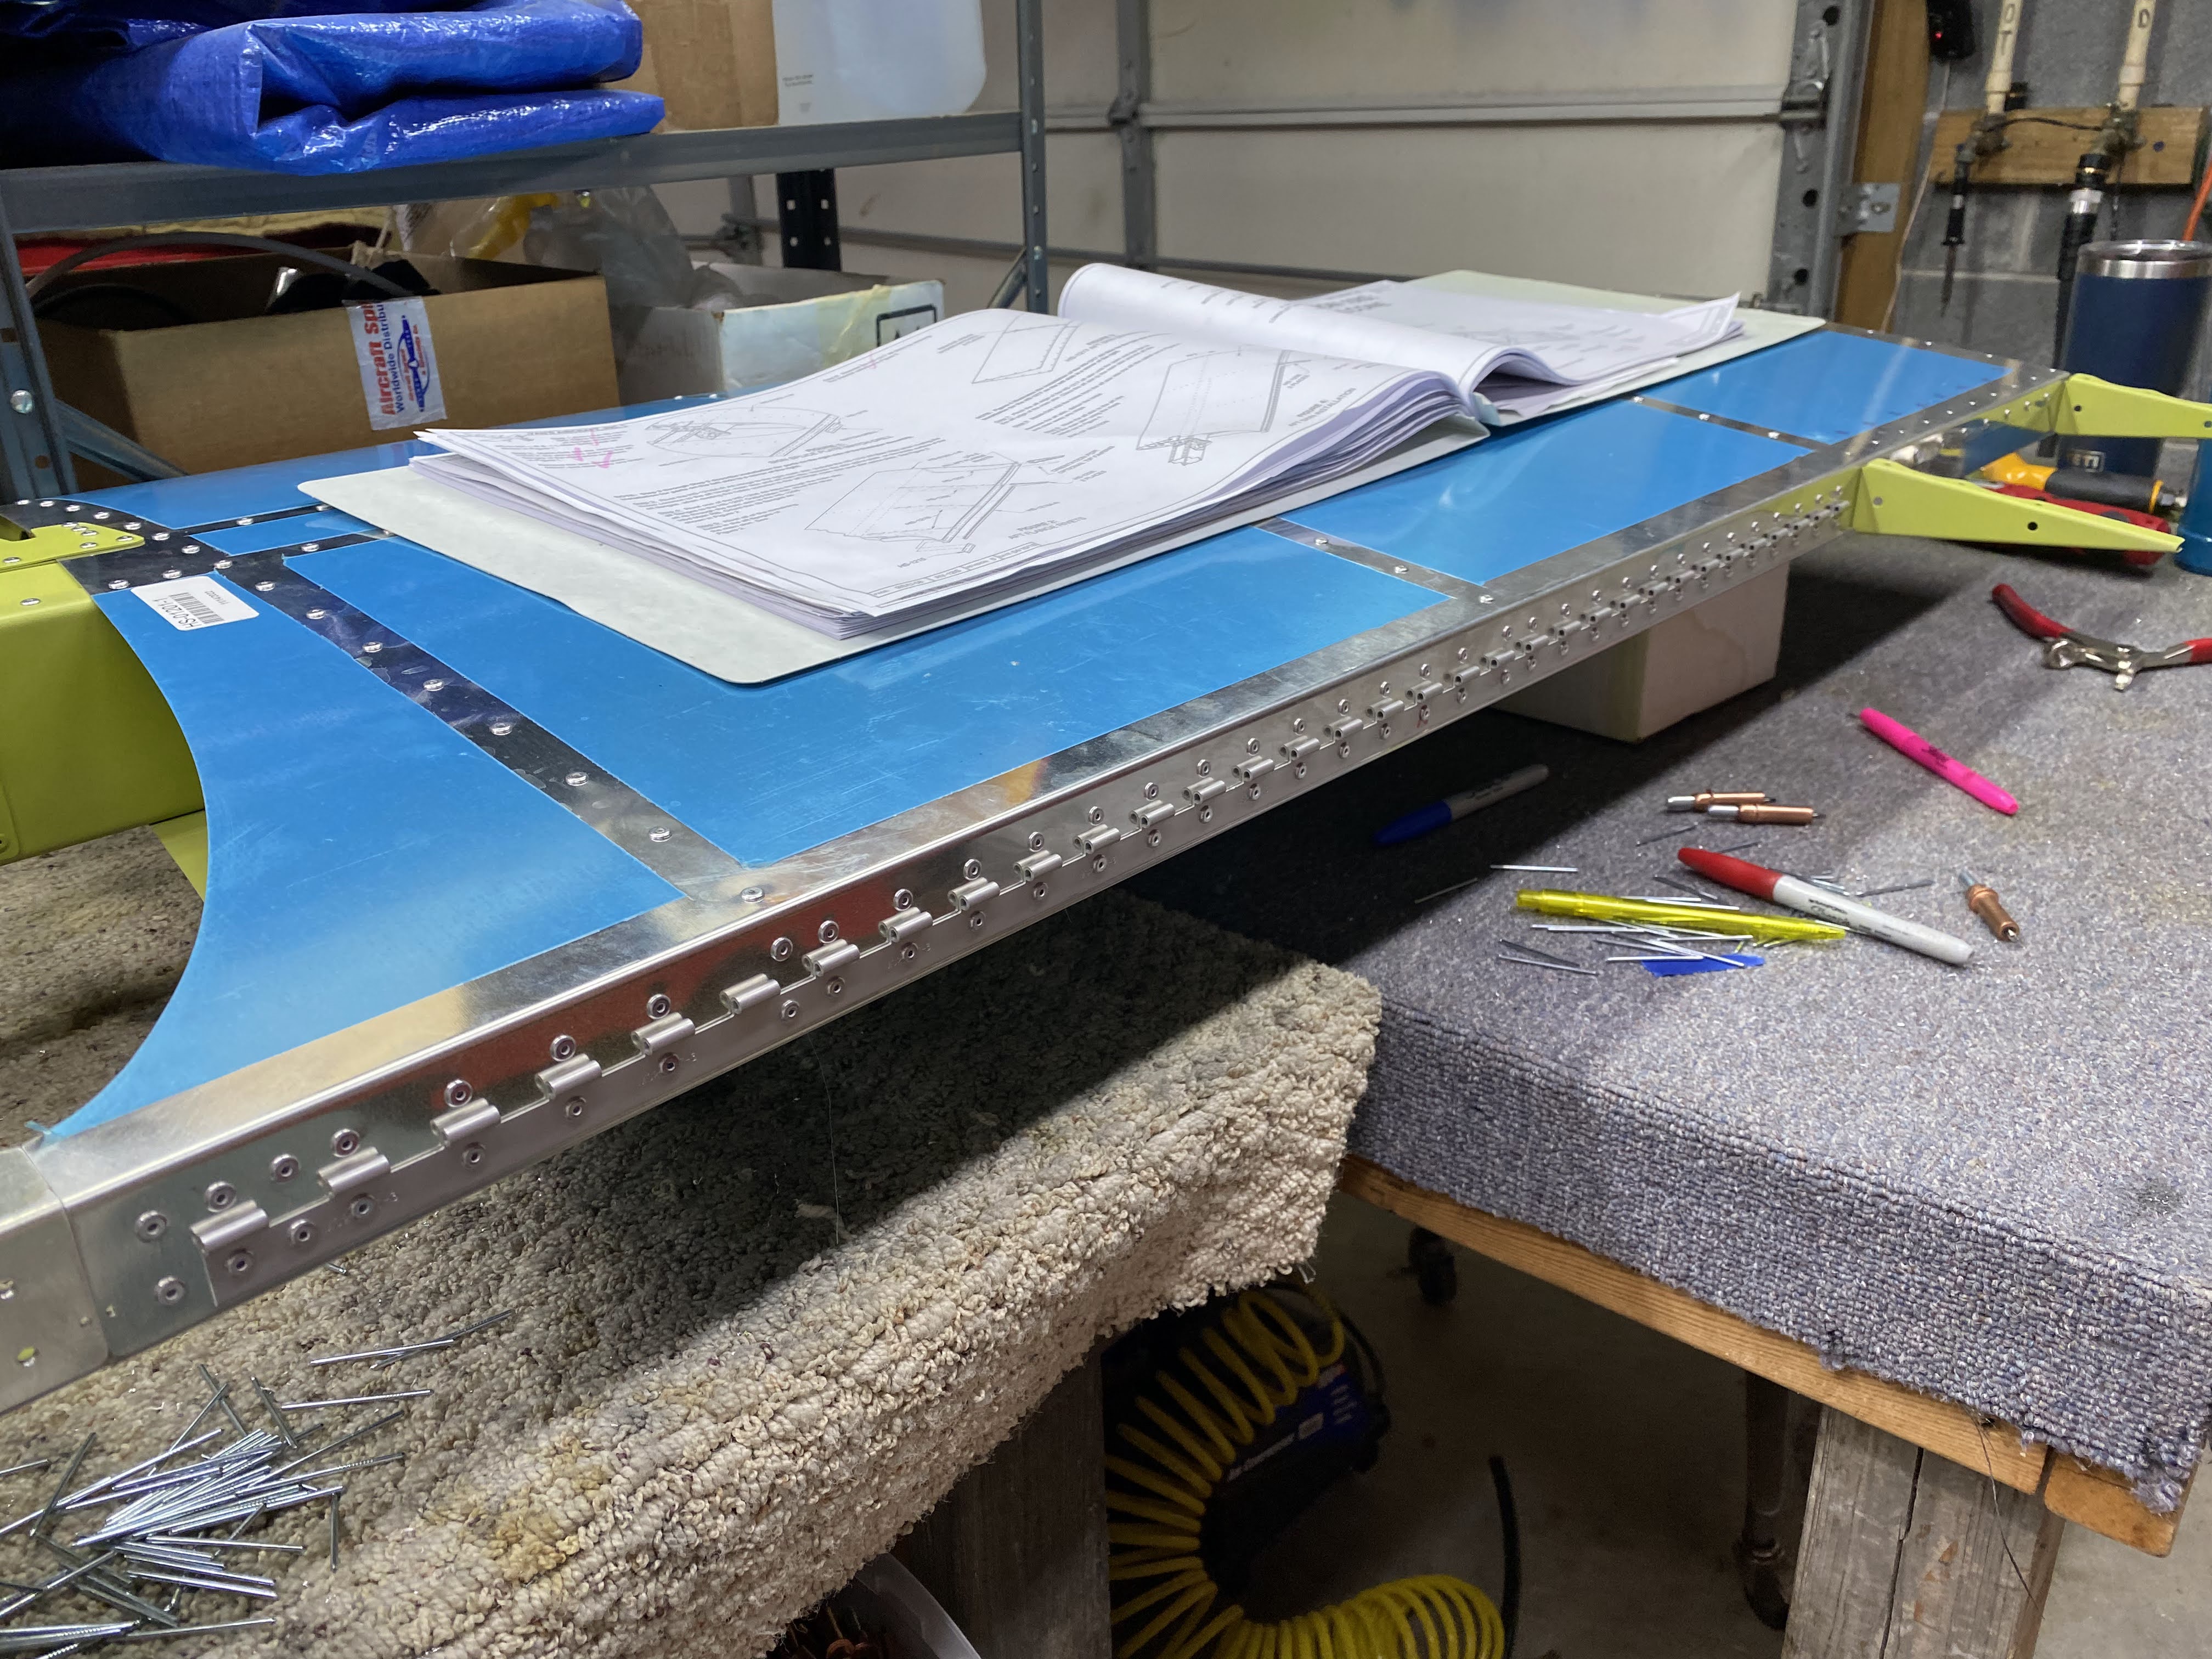
Drilling the safety wire holes for the hinge pins.

Riveting the right side aft holes and the hinge.

Splice plate goes on the inside.

Right side hinge done.

Riveted on the right side trailing edge ribs.

Have to match drill the aft most hole in the ribs.

Left side aft holes and hinges getting riveted.

Left side trailing edge skin going on.

All done!

This thing is the most complex part in the kit so far.  Must take your time and follow the directions.  Part orientation is critical or it won't go together properly.

Another note.  I see tons of blogs, videos and EAA builder sites where people are really skimping on the part edge prep and deburring.  Whether you are priming or not, you should do a good job in this task otherwise you are inviting cracks to destroy your airplane in the future.  Edges should be rounded, shear marks should be removed,  all match drilled holes at a minimum should be deburred/chamfered.  Personally I deburr/chamfer every hole regardless of how it came to be!  I have no idea how some folks just take parts out of the crate and start riveting them together.  Airplanes like that will almost certainly develop cracks in the future.  Many times these cracks are in critical places where it is not so easy to find them.