Tuesday, April 11, 2023

Stabilator Prep Part 1

Started the stabilator construction prep this evening - 2.5 man hours.

Machine countersinking the hinge brackets.  Two of them don't get countersinks on the nutplate holes.

Bandsaw makes quick work of separating the hinge brackets.

Cleaning up the left overs and the edges.

The two thinner spacers get dimpled.


The thicker spacers get machine countersinks.  Do not use your expensive one hole countersink cutter on these as these are stainless and will ruin it quickly.  Ask me how I know..... 😥

This way of holding them worked great.

Deburring the hinge bracket flange parts.

Machine countersinking the spar cap spacer shims.

Cutting the spar cap spacer shims apart with the bandsaw.

Cleaning up the edges of the spar cap spacers.

Cutting apart the horn attach angles.

Deburring the horn attach angles.

Riveting the inner and outer hinge bracket assemblies together.  I primed the mating surfaces with some rattle can self etching primer.


All done.  Make sure you put the thin shim on the inboard ones with countersinks and the thick shim on the ones with no countersinks.  Van's calls out AN426AD3-5 rivets for the nutplates but there are no AN426AD3-5 rivets provided in the kit.  👎  Lucky I have some rivets left over from the RV-7 build that I can use.

Monday, April 10, 2023

Anti-Servo tab final assembly

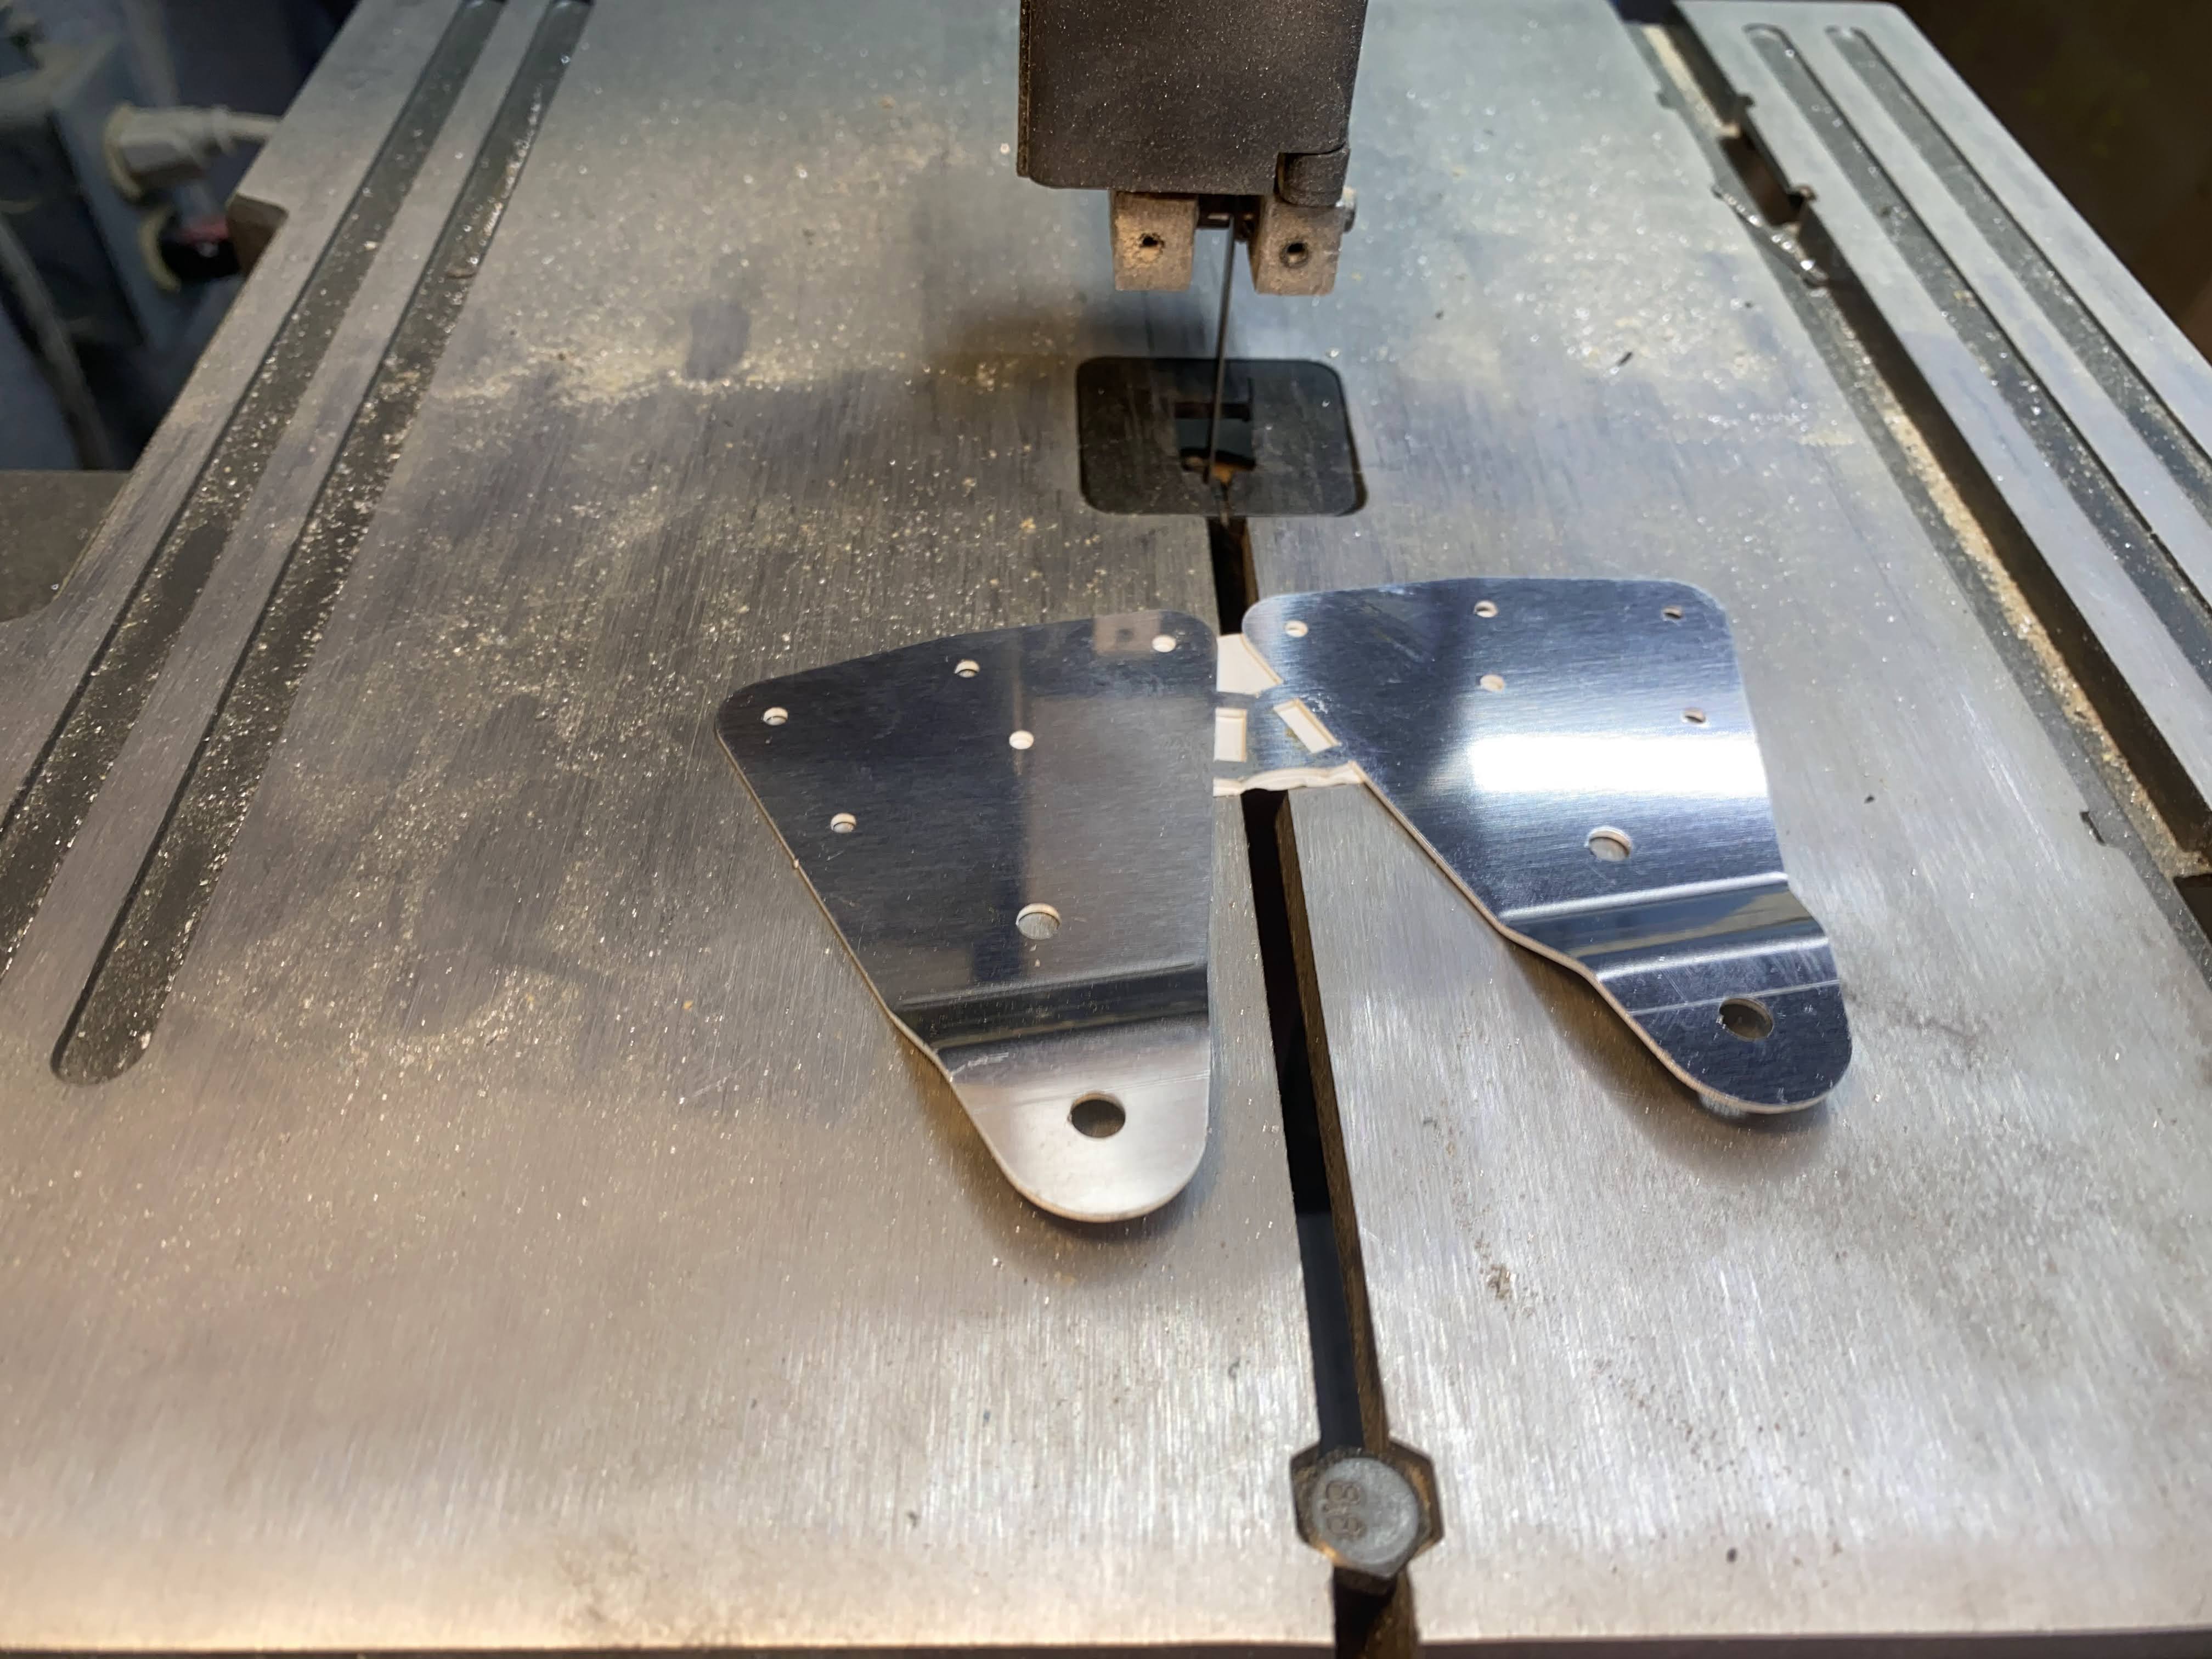
Primed and assembled the anti-servo tabs this evening - 3 man hours.

Disclaimer:  Don't judge me on the clutter in my shop.  I had to move my hangar back home, my wife has an Ebay reselling business, and my oldest daughter has a ton of her stuff stored here while she is in school.  Hence why I am building a she shed with tons of storage!  LOL


All the parts were etched and scrubbed with maroon Scotchbrite and EkoEtch.  Then hung up to dry.


Parts were then primed with EkoPoxy.  Was a challenge to get the insides of these skins.  I ended up using two weights on the bottom one to pull them both open a bit which worked great.

The aftermath.  Cut my first batch of primer too close and had to mix a bit more.  I hate wasting this high dollar stuff!

Riveted the top of the skins to the ribs.

One side done.

Next side done.
Ribs on the inside.

Riveted the control horn on the root rib.

Used the longeron yoke for this.  Careful not to catch the flanges or the blind rivet tails with the yoke.

Control horns all riveted.

Next is riveting the spars to the top skins.


One side done.

Other side done.

Next comes riveting the hinge to the lower skin and spar.

The hinge goes on with the eyelets turned away from the tab and pointing up.  The hinge does not extend over to the root rib.

Half of the rivets are in.

Other half of them are done.

Two finished anti-servo tabs!  On to the stabilator.


More tools! Well not really....

So I ordered some more tools.  Not really, more like I ordered some more consumables that work with my spray gun system.

I use the 3M PPS Paint Gun system that has disposable cups and lids with built in filters.

Back when I was building the RV-10, I purchased a bulk lot of 50 cups and lids.  The issue is that they are 22oz cups.  While you don't have to mix the batches large enough to fill the cups, the larger cup size leads to more wasted primer.

So I decided to purchase some 6oz and 13.5oz cups for when I want to mix small and medium amounts.  Bonus is that I found some knockoff brand that is compatible with the 3M PPS gun nozzles that are much less expensive and the reviews seem to indicate they work just as well.

Sunday, April 9, 2023

Anti-Servo Tab Prep Part 2

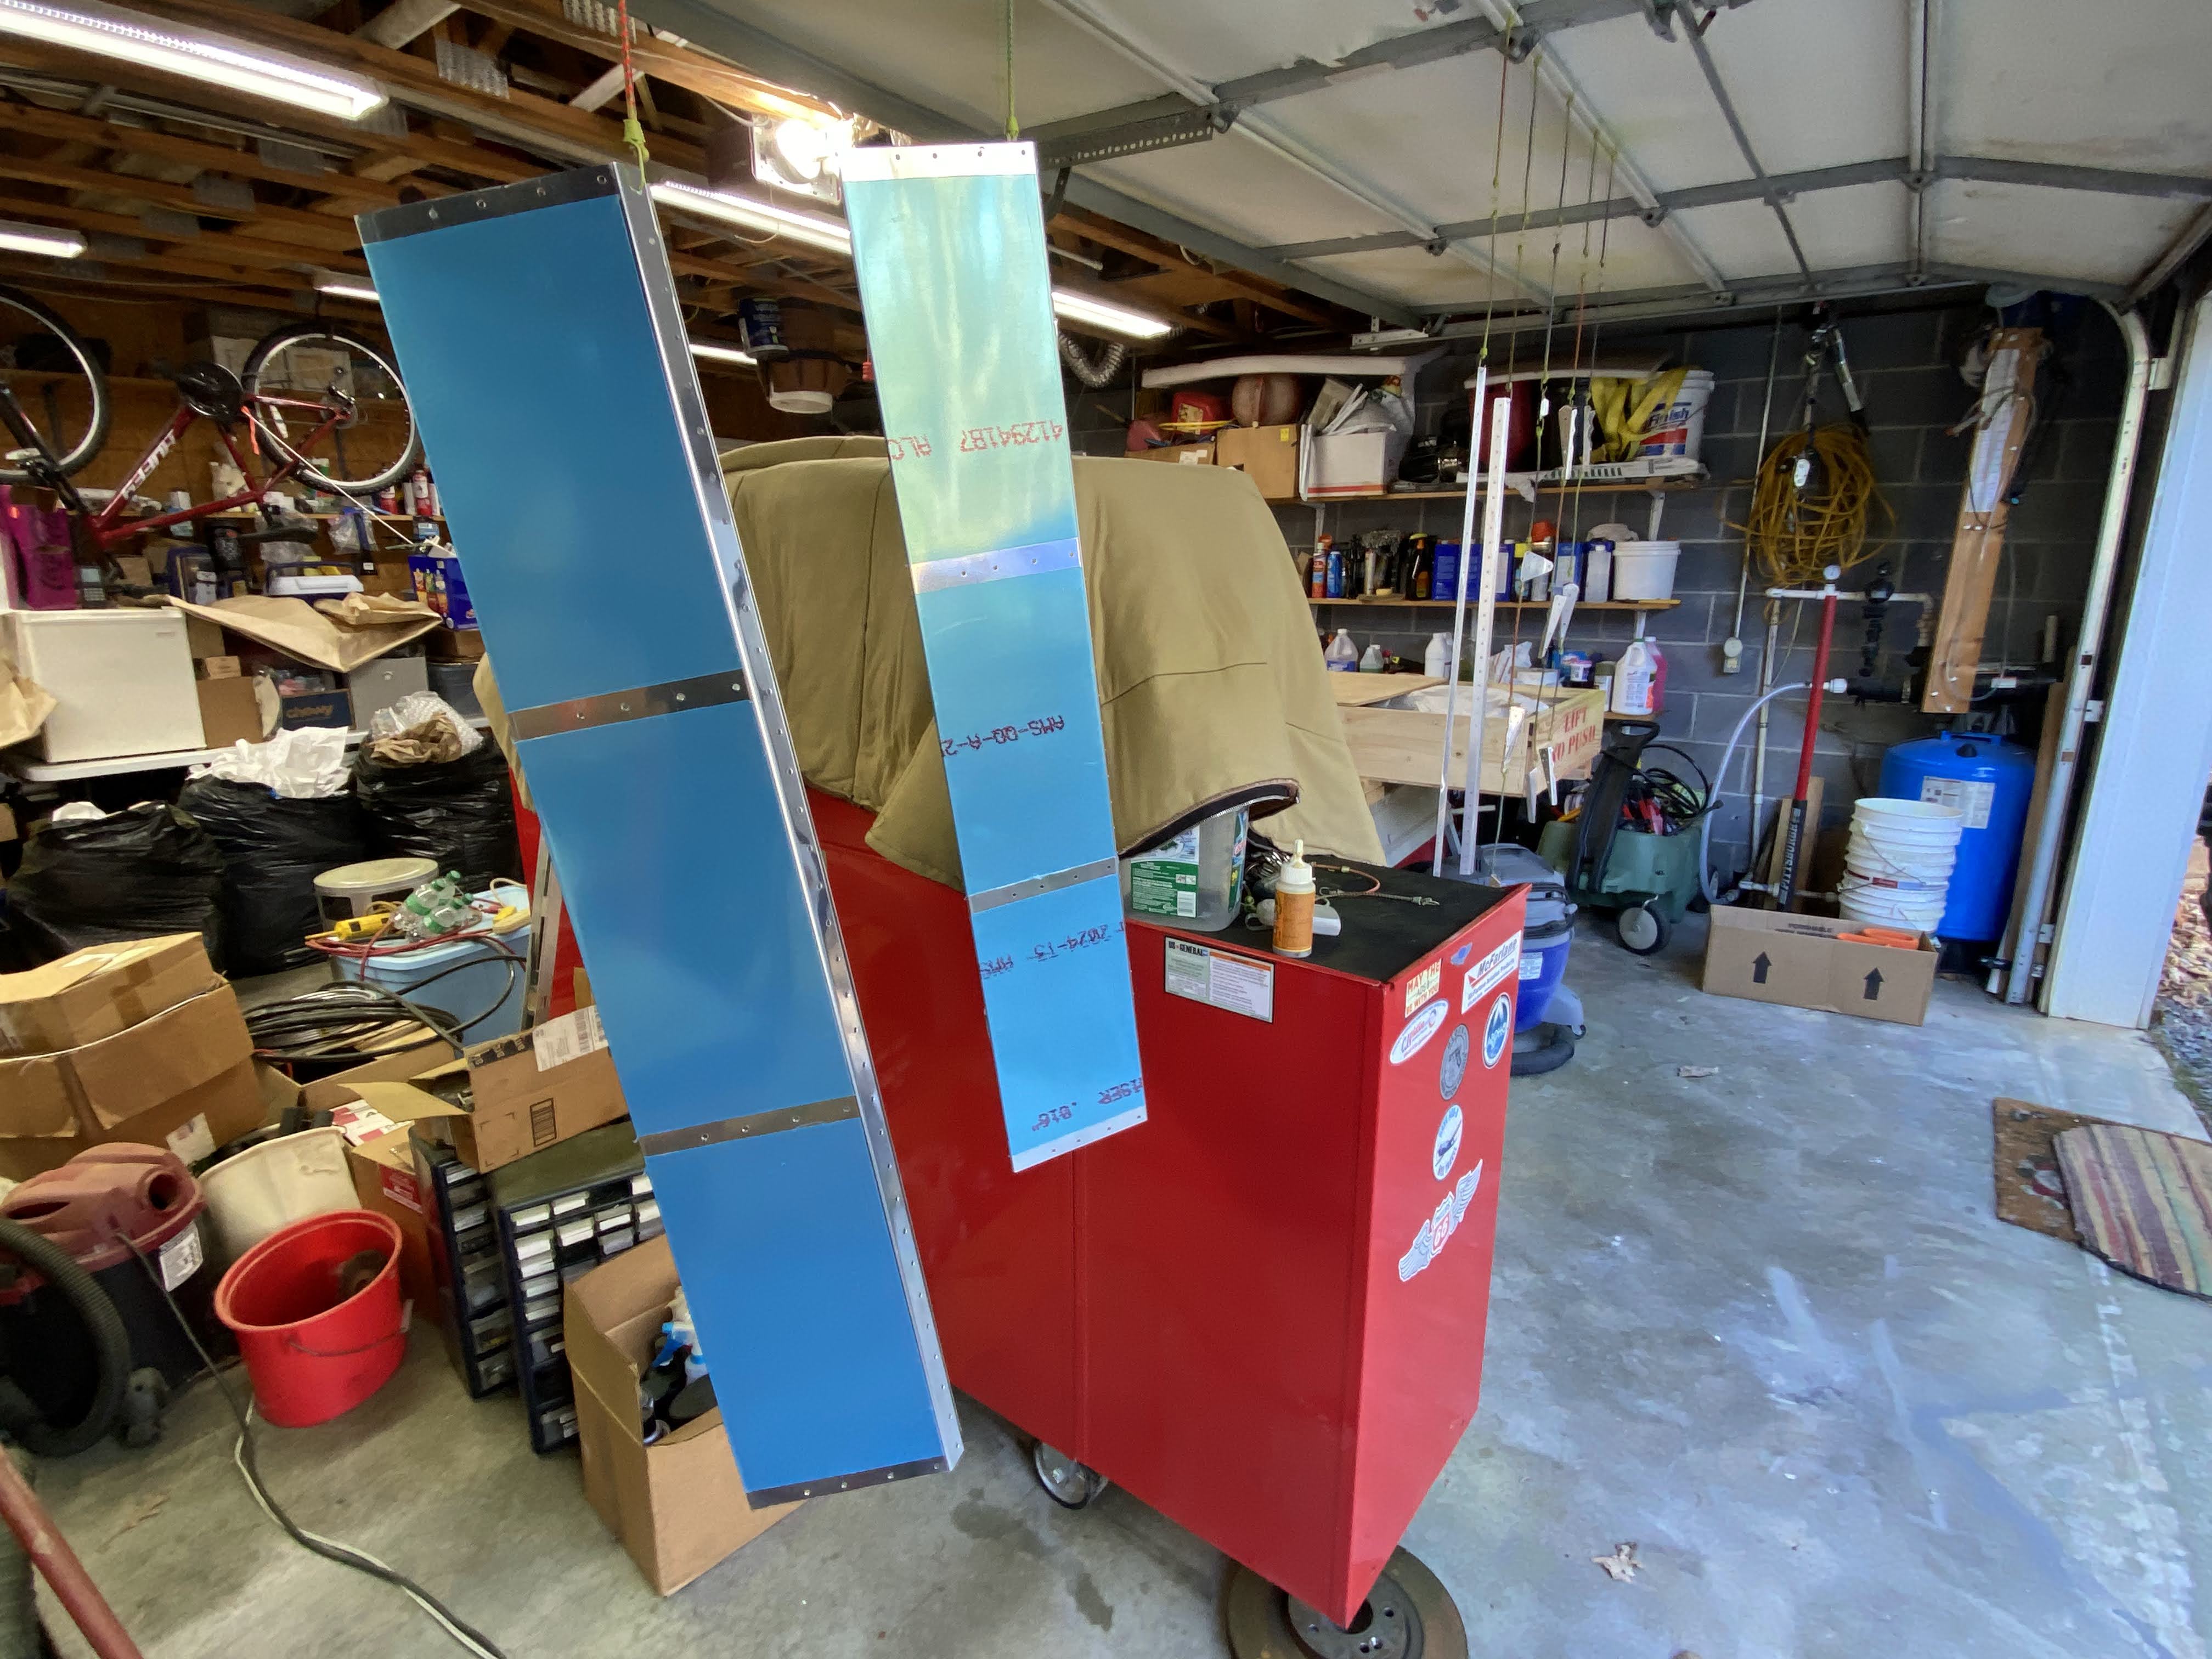
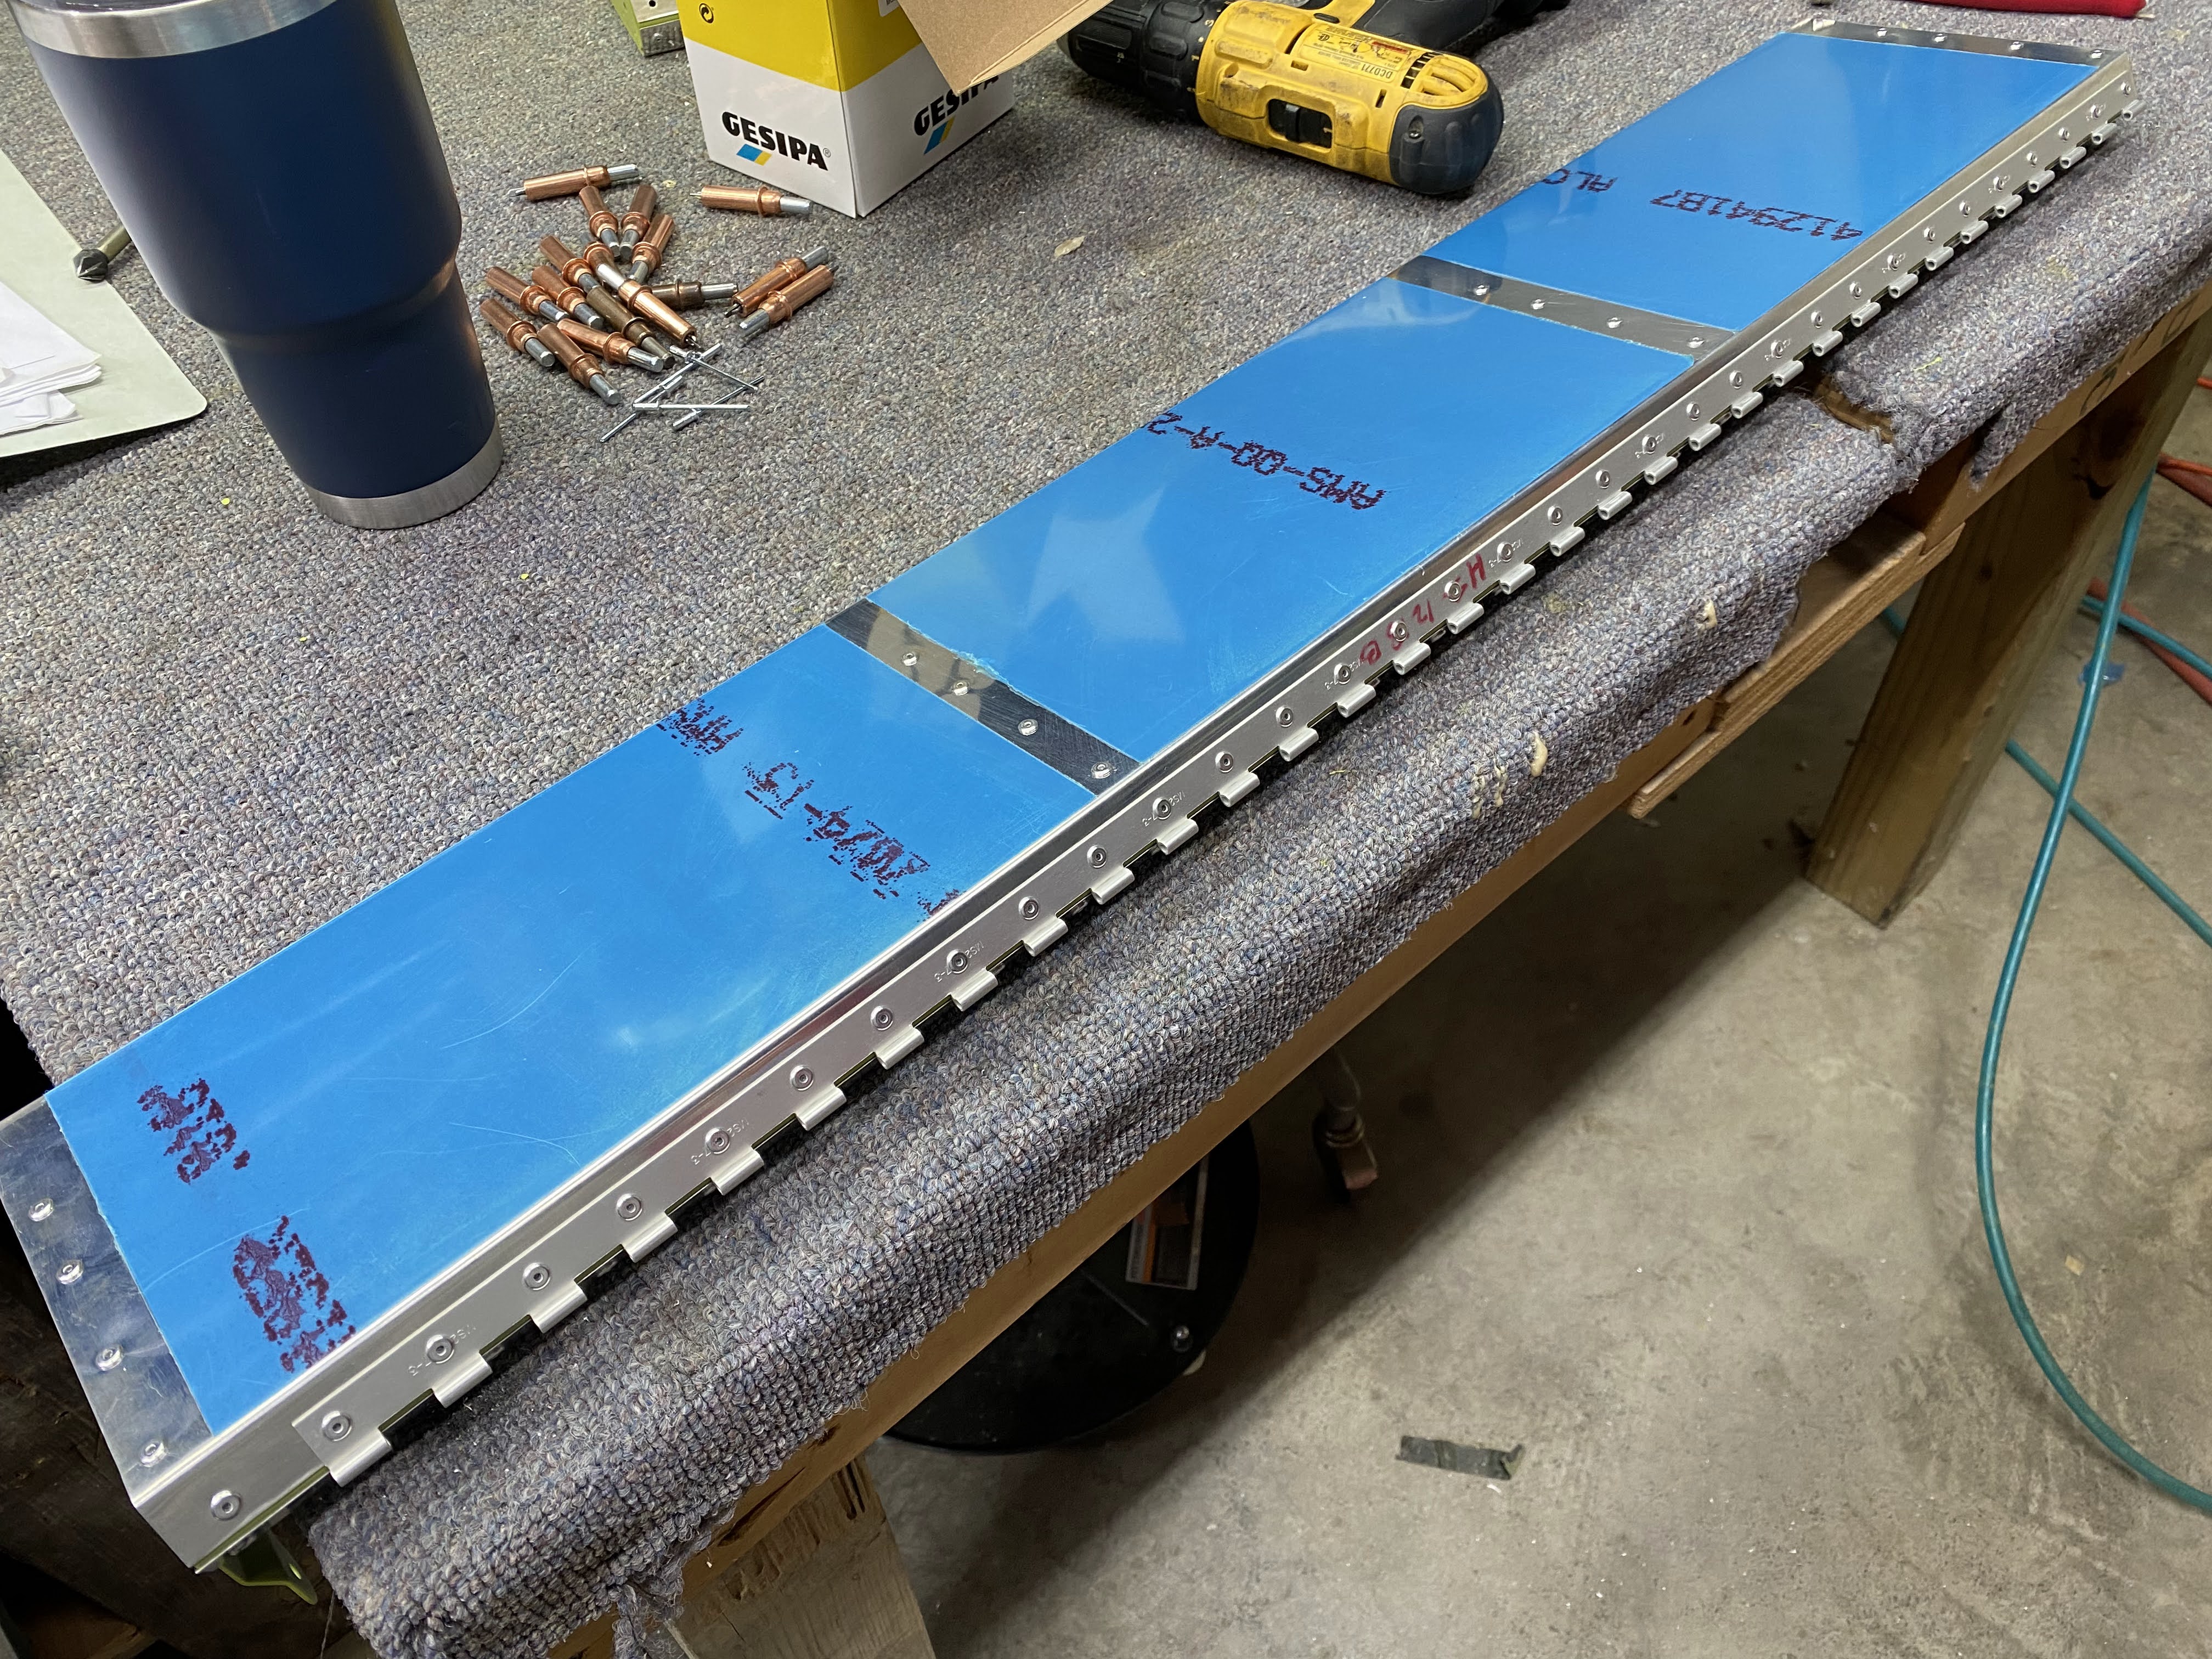
 Anti-Servo Tab Prep Part 2 - 2.25 Man Hours

Cutting the extra tab off the skins.

Filing smooth the left overs.  Careful not to cut yourself!

Deburring the front spars.

Cutting the control horns apart.

Deburring...

Machine countersinking the control horns for flush rivets.

Deburring the front spars.

Deburring all the holes in the ribs.

Deburring the edges of the rib flanges.


Deburring the skin edges.