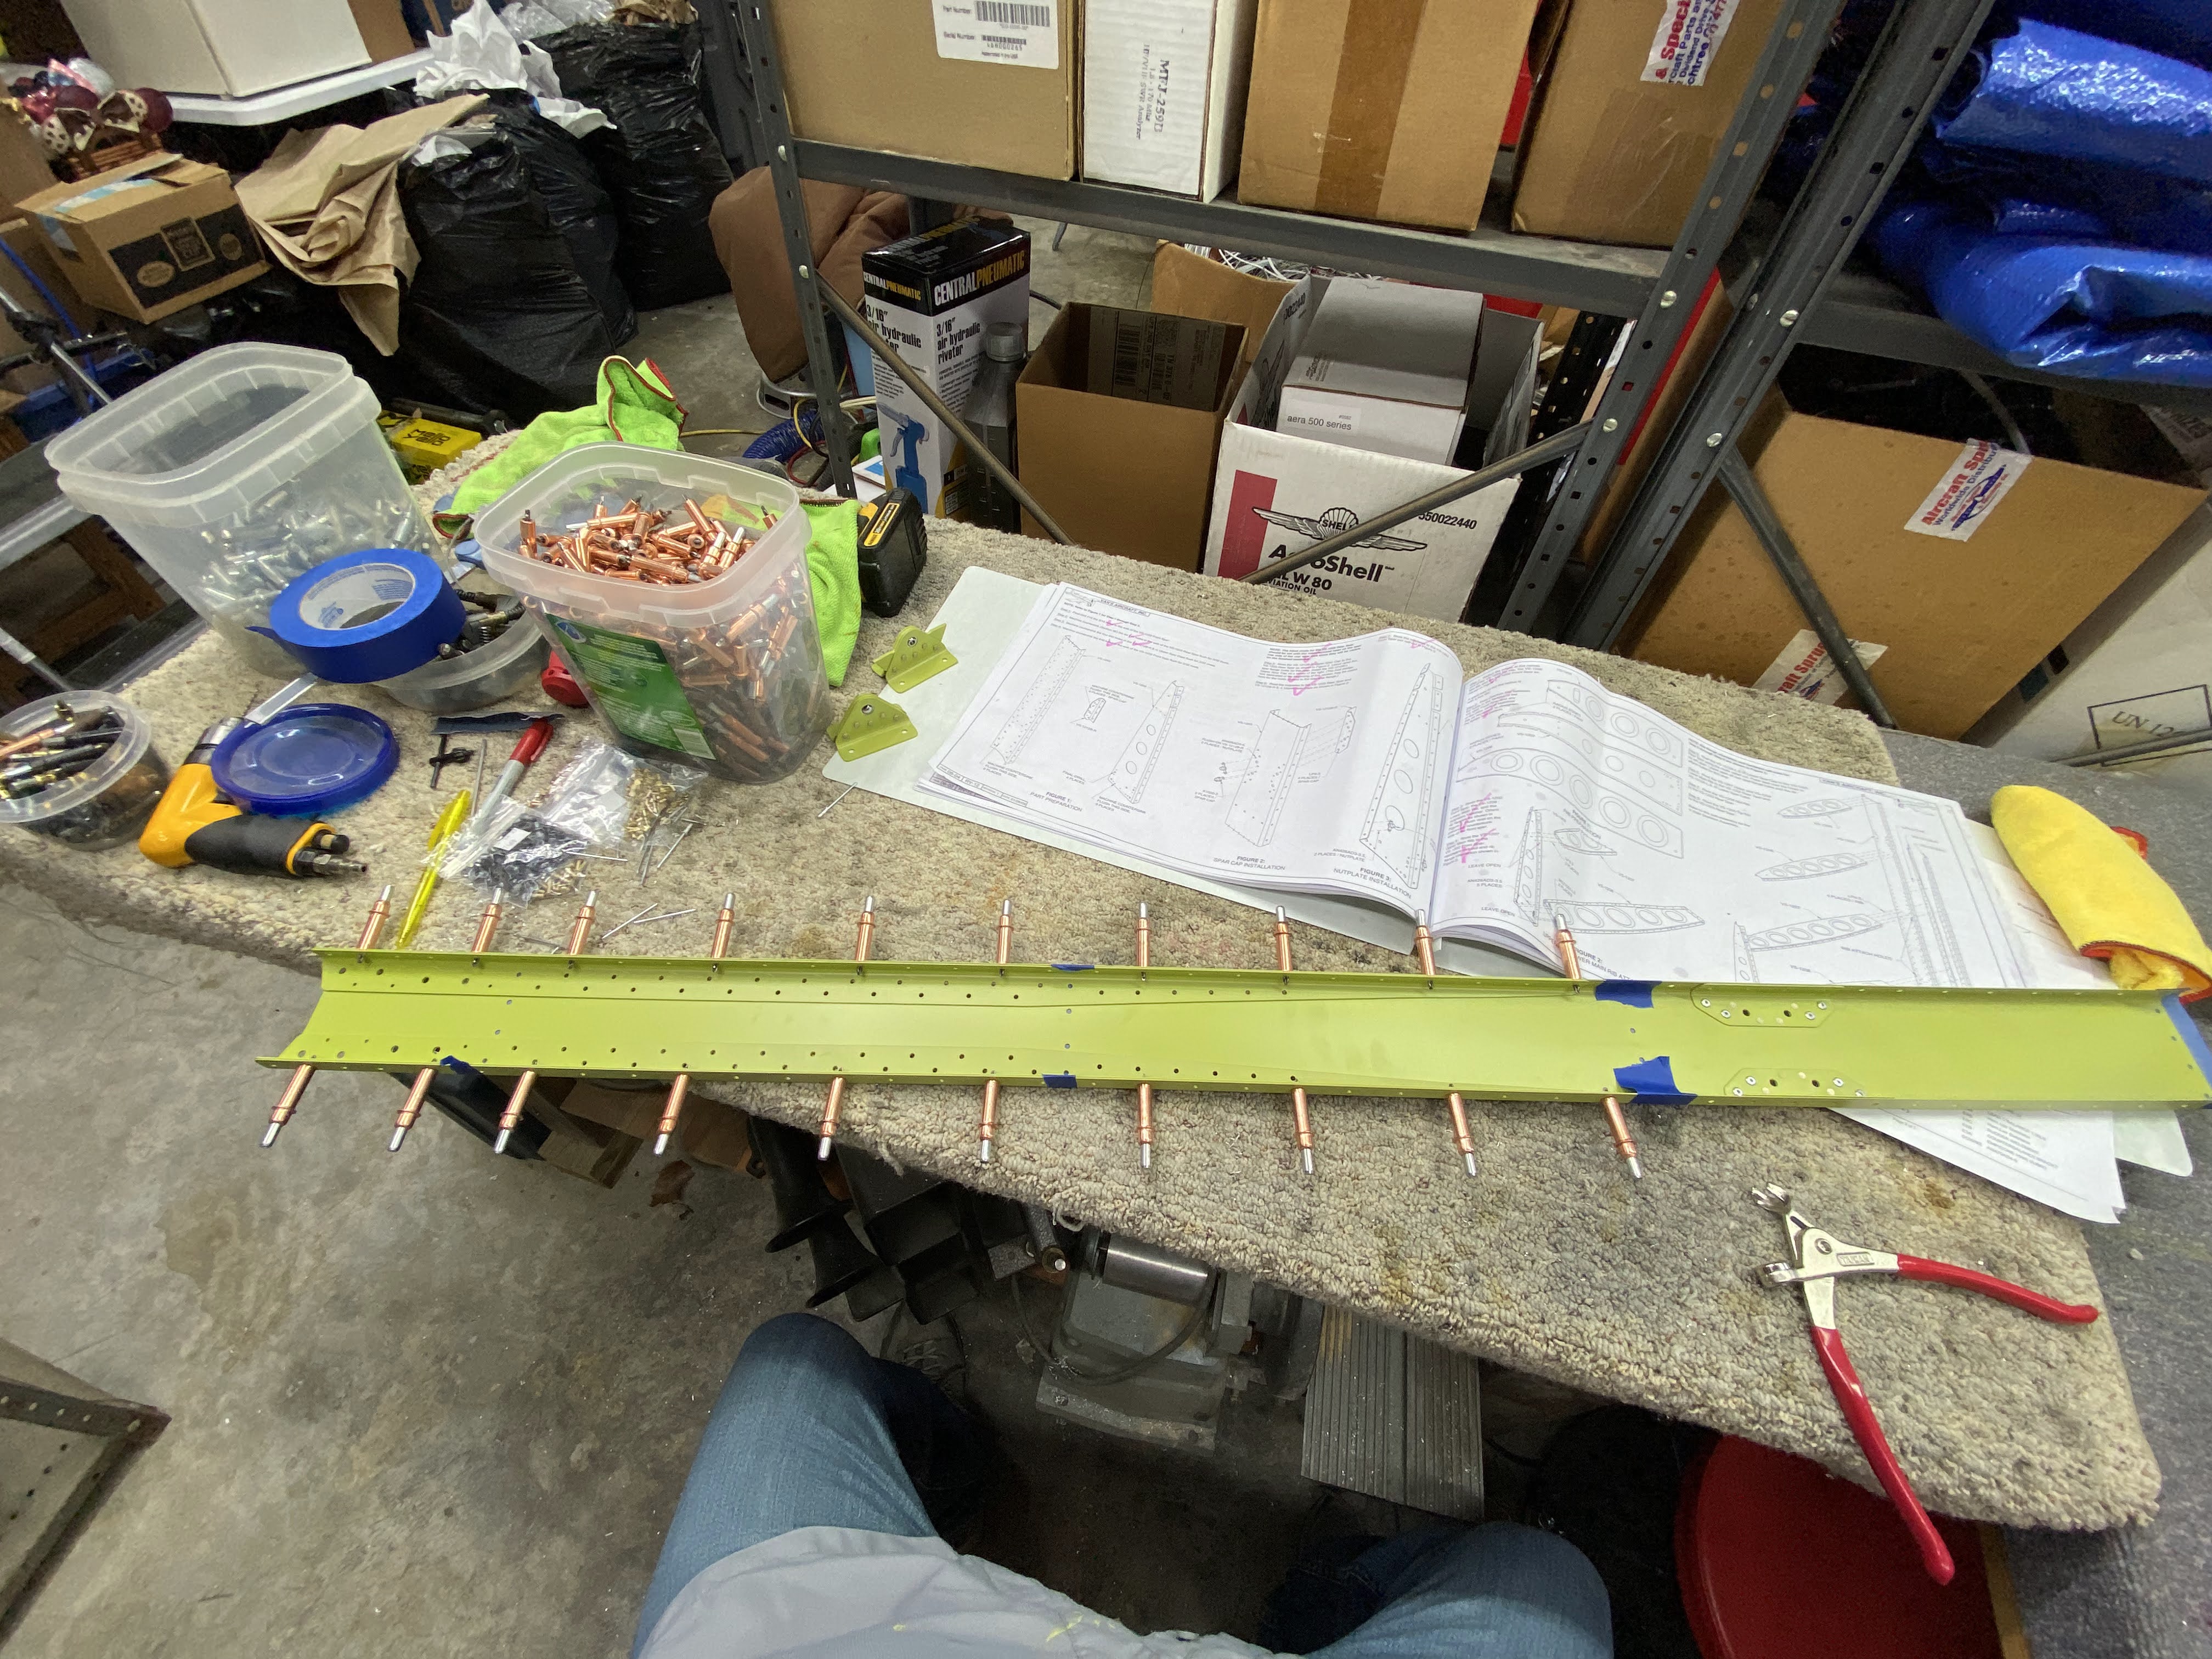
Continuing to work on the vertical stabilizer prep leading up to priming - 3.3 man hours
Started by deburring the match drilled holes on the upper VS rear spar caps.
Next did the same for the lower VS rear spar caps.
And the VS rear spar web.
And the VS rear spar flanges. The inside ones are easier with an extension for the deburr tool. Thanks AVERY TOOLS (we miss you)!
Next came reaming the #12 holes to full size on the VS front spar web.
And then machine countersinking the #40 holes for 3/32 flush rivets.
Machine countersinking the #40 holes for 3/32 flush rivets on the upper VS spar caps.
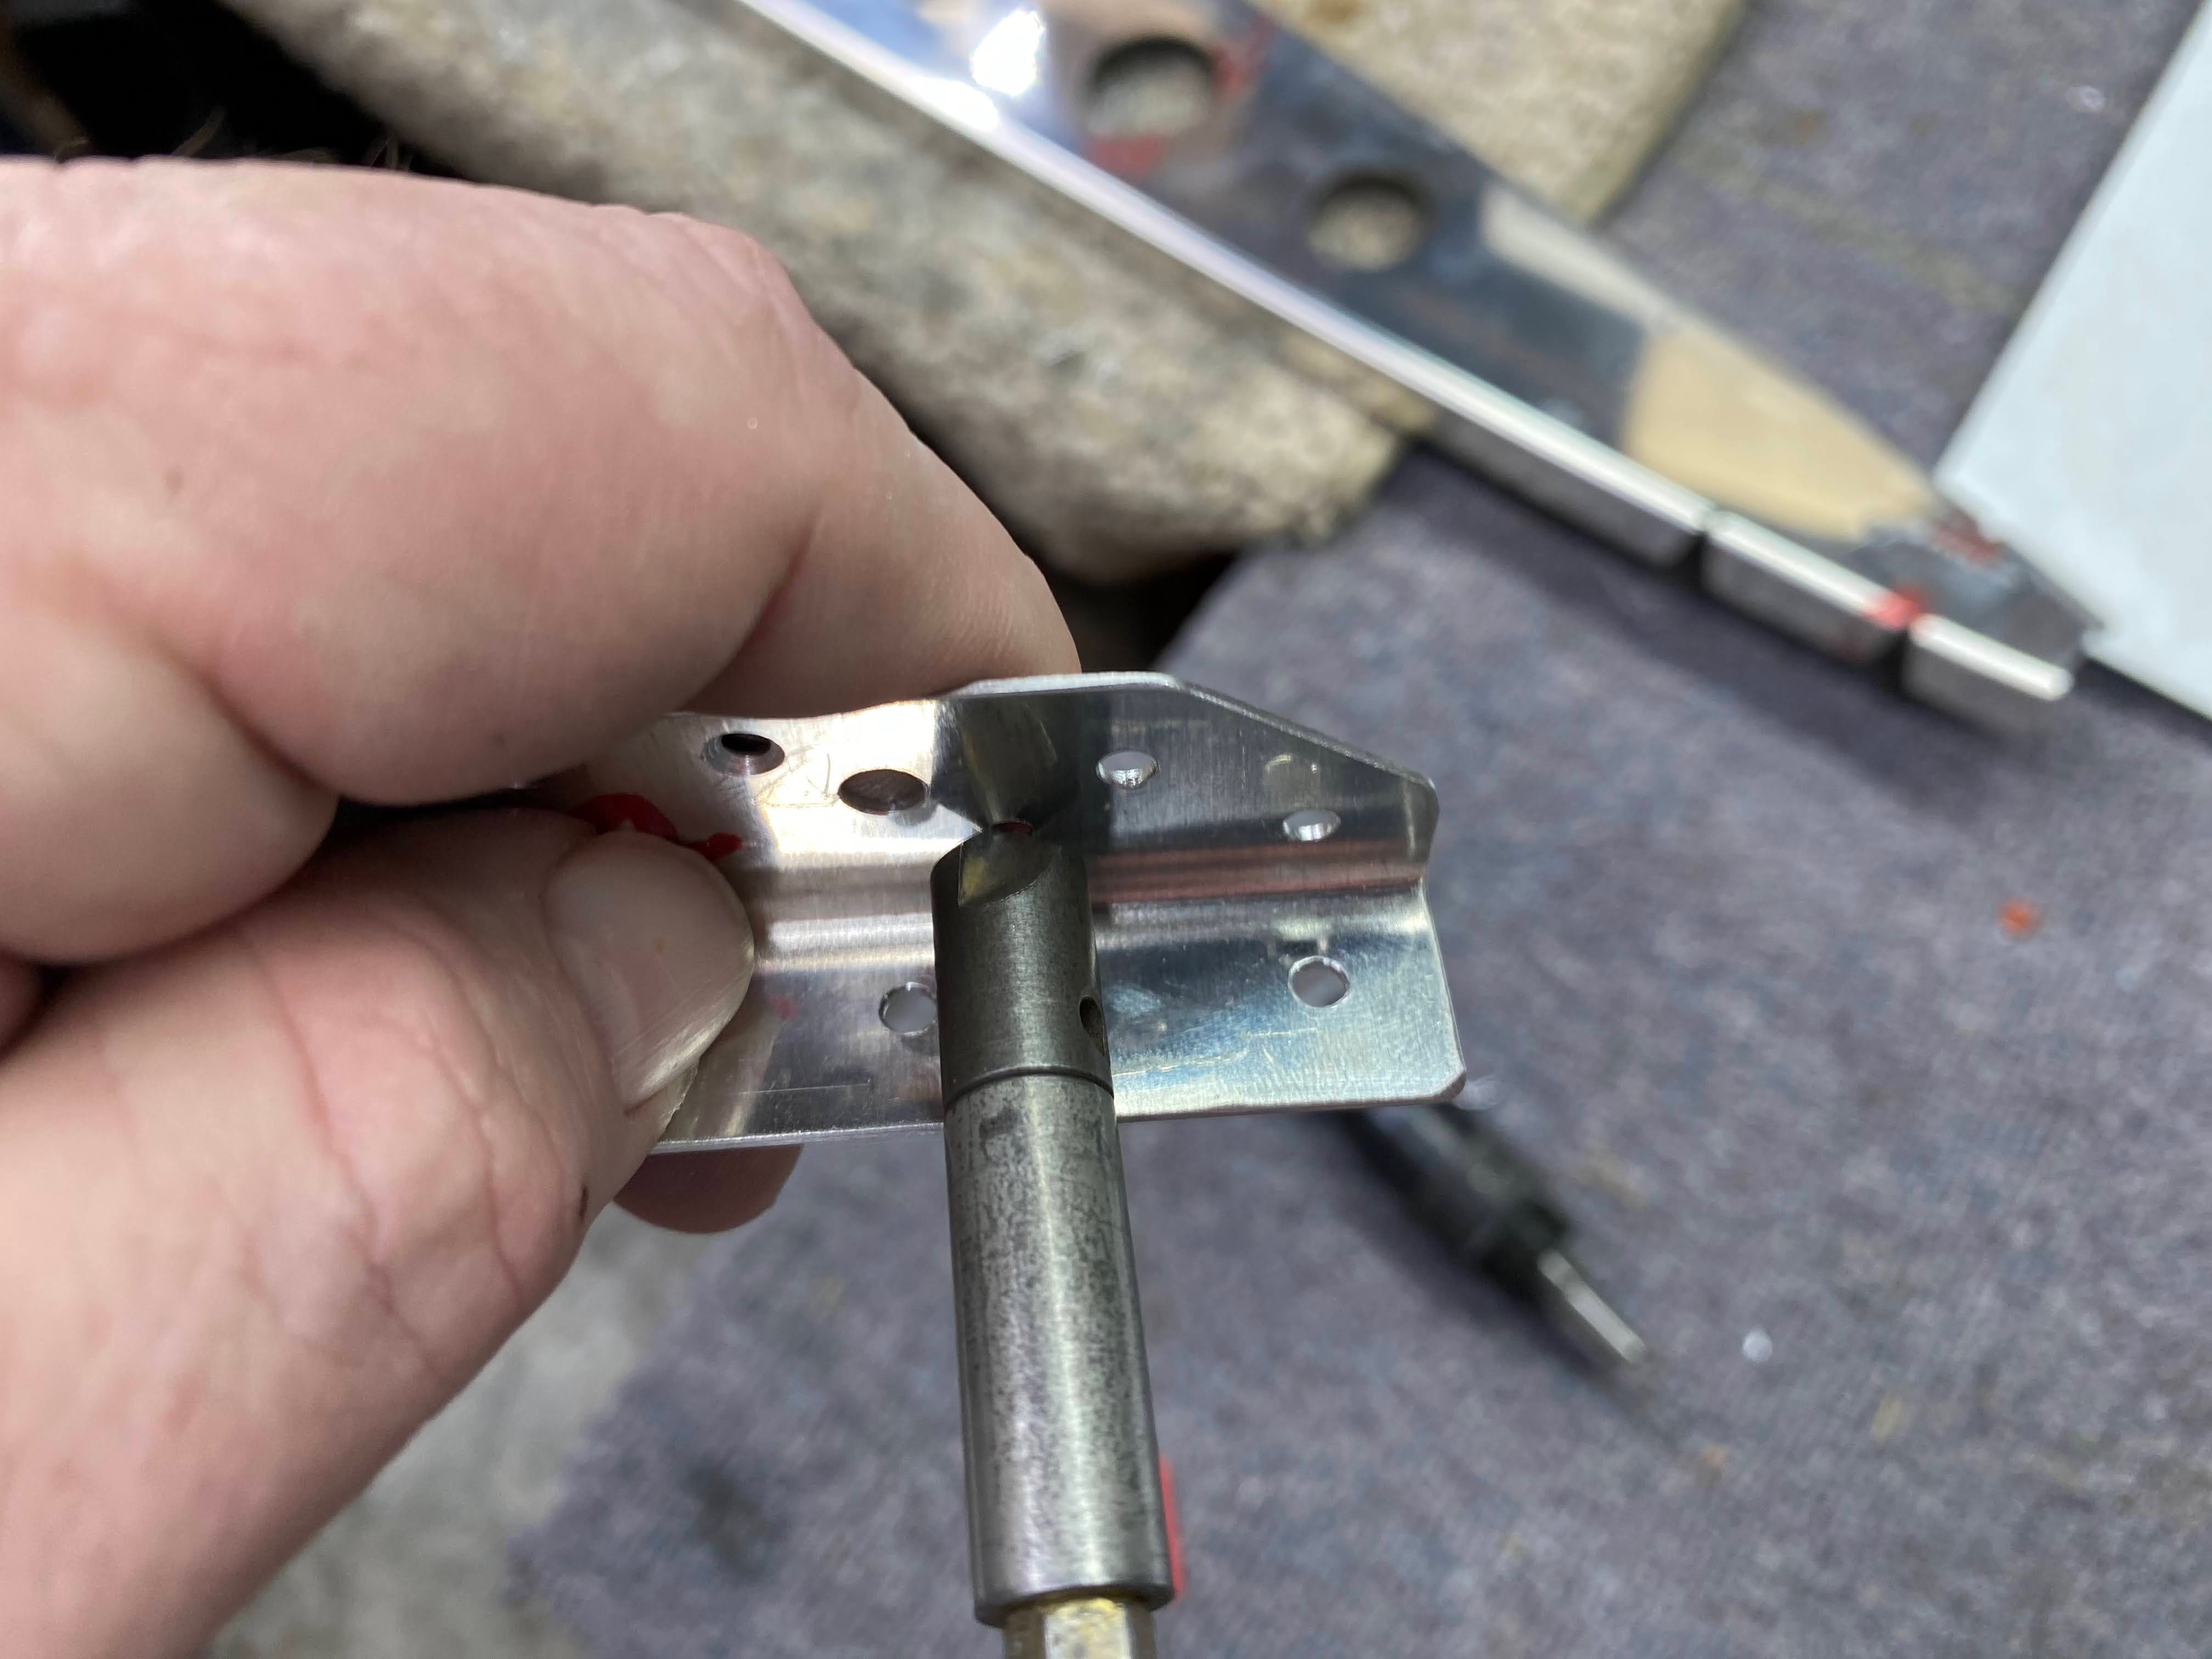
These #40 holes are too close to the flange to be able to use the countersink cage. You have to do these in suicide mode by hand.
Easy peasy, just sneak up on them and keep checking with a rivet.
Next machine countersinking the #40 holes for 3/32 flush rivets on the VS front spar web.
Deburring the front spar web lightening holes with a 1" cut and polish wheel mounted in a die grinder.
Flutting the VS front spar.
Rounding the front edges of the flanges on the VS front spar.
Rinse and repeat for all the parts that make up the skeleton of the VS. Deburr all the edges and the nooks and crannies of the flanges. I decided to deburr all the holes....even those that are pre-punched full size. I am old school.
One thing that strikes me as I work on these parts when I compare them to my RV-7 and the RV-10 parts....They are very light and made from thinner material. I know it will be plenty strong in the end but I can see where they pulled weight and strength out of this LSA airplane.
Next came removing this bit of extra material from the FWD VS skin. Used the band saw.
Left over with these bits of material that must be removed.
Used the cut and polish wheel to remove these nibs and make it smooth.
All done, nice and smooth. Also removed the blue film from the inside and removed the strips from the outside. Yes, it is likely a complete waste of time to do this and yes, I know you have to scuff the skins anyway during painting. At this point, I have no idea if I will paint or polish so I am leaving the blue film on the outside for now.
Next was reaming the #19 holes to full size on the VS FWD skin.
And then using the squeezer to dimple the #19 holes using #8 screw dimple dies.
All done.
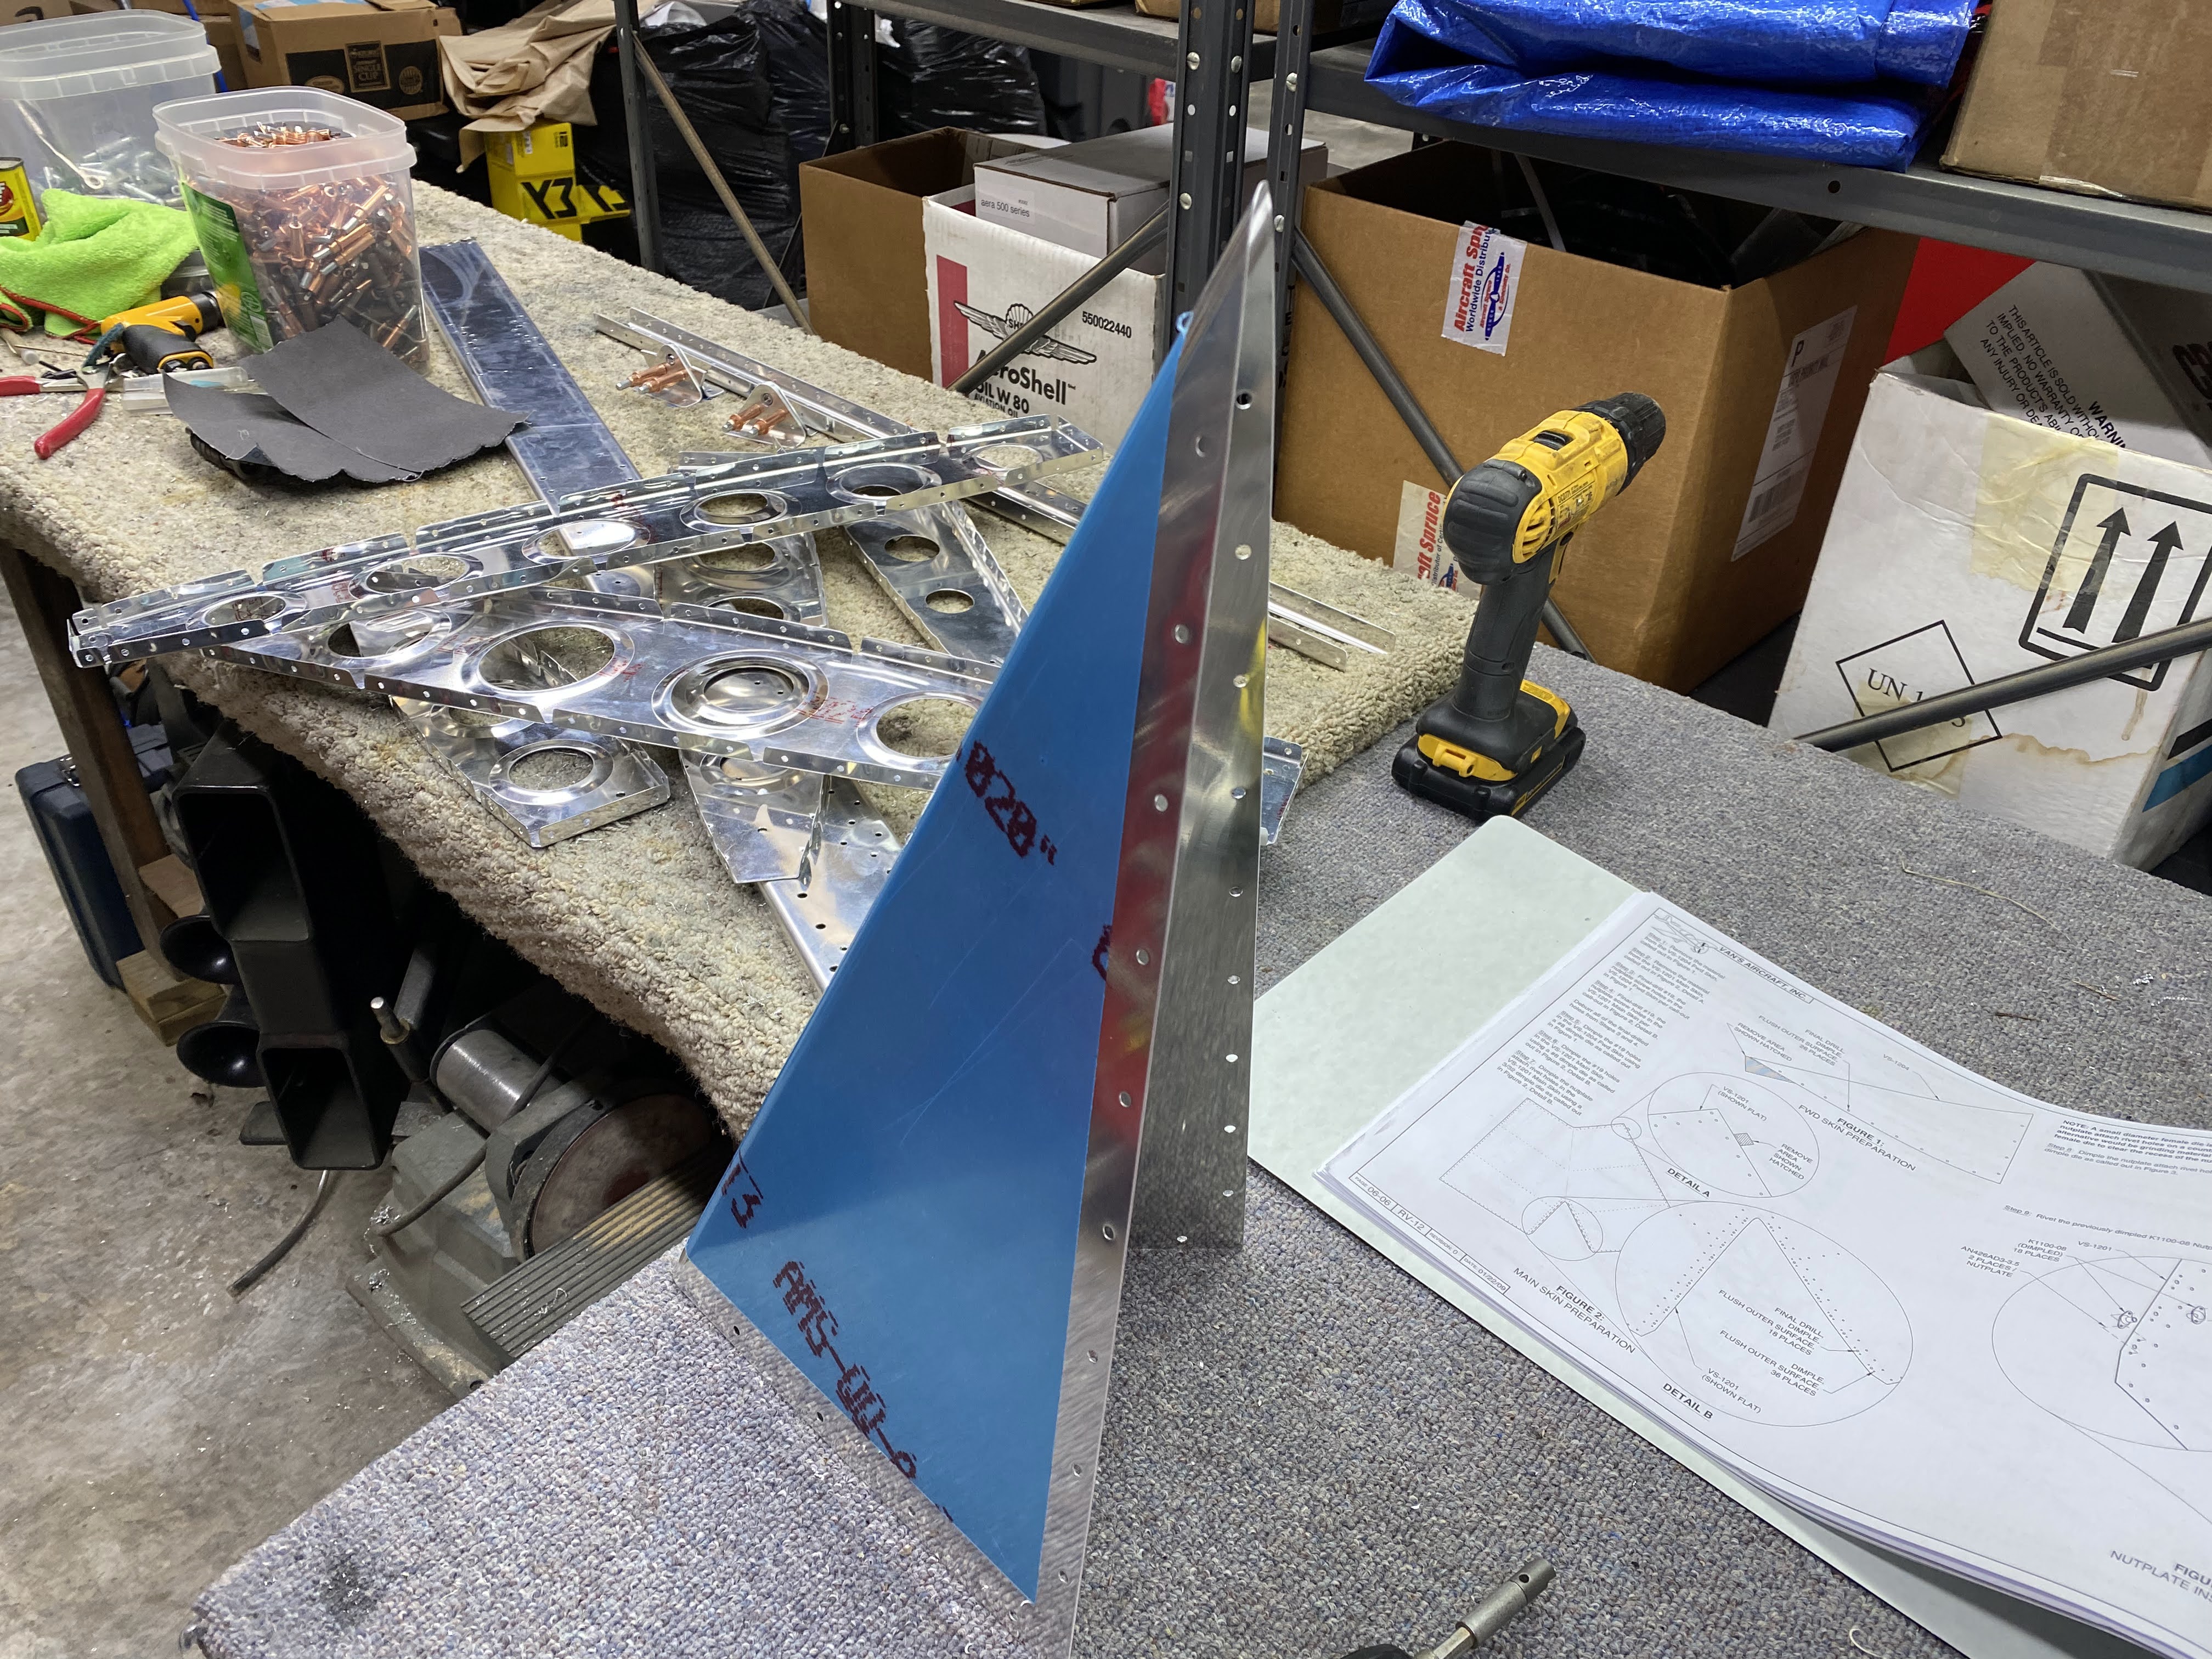
On to the VS Main skin....I also removed the blue film from the inside and removed the strips from the outside. Yes, it is likely a complete waste of time to do this and yes, I know you have to scuff the skins anyway during painting. At this point, I have no idea if I will paint or polish so I am leaving the blue film on the outside for now.
Takes a bit of working with the blue film therapy (as Smitty would say) to remove it without kinking the skins. Take your time and go slow. You can also wrap it around a roller and this helps remove it.
Next task was to remove this little bit of extra material.
Cut it off using some snips.
Left with these nubs sticking out.
Used a file to knock them down.
All done, nice and smooth!
Final reamed the #19 holes to full size on the VS Main skin.
Deburring all the reamed holes.
Dimpling the #19 holes using a squeezer and #8 screw dimple dies. Also dimpled the #40 holes for 3/32 flush rivets.
All that is left before priming is to deburr the edges of the VS Main skin as well as the remaining holes. I am old school in I think all holes should at least have a slight chamfer on them. Therefore I will be deburring all holes including the ones that are pre-punched full size. It will make me feel better!