Monday, April 3, 2023

More Vertical Stabilizer Prep

 Continuing to work on the vertical stabilizer prep leading up to priming - 3.3 man hours

Started by deburring the match drilled holes on the upper VS rear spar caps.

Next did the same for the lower VS rear spar caps.

And the VS rear spar web.

And the VS rear spar flanges.  The inside ones are easier with an extension for the deburr tool.  Thanks AVERY TOOLS (we miss you)!

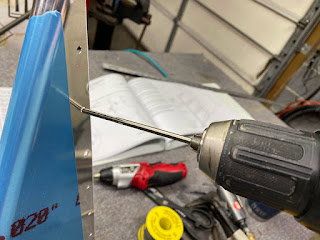
Next came reaming the #12 holes to full size on the VS front spar web.

And then machine countersinking the #40 holes for 3/32 flush rivets.

Machine countersinking the #40 holes for 3/32 flush rivets on the upper VS spar caps.

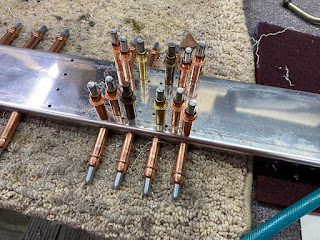
These #40 holes are too close to the flange to be able to use the countersink cage.  You have to do these in suicide mode by hand.

Easy peasy, just sneak up on them and keep checking with a rivet.

Both done!

Next machine countersinking the #40 holes for 3/32 flush rivets on the VS front spar web.

Deburring the front spar web lightening holes with a 1" cut and polish wheel mounted in a die grinder.

Flutting the VS front spar.

Rounding the front edges of the flanges on the VS front spar.

Rinse and repeat for all the parts that make up the skeleton of the VS.  Deburr all the edges and the nooks and crannies of the flanges.  I decided to deburr all the holes....even those that are pre-punched full size.  I am old school.

One thing that strikes me as I work on these parts when I compare them to my RV-7 and the RV-10 parts....They are very light and made from thinner material.  I know it will be plenty strong in the end but I can see where they pulled weight and strength out of this LSA airplane.

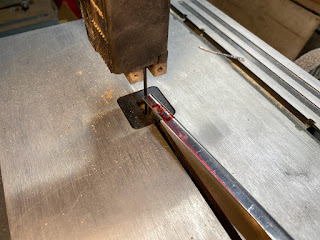
Next came removing this bit of extra material from the FWD VS skin.  Used the band saw.

Left over with these bits of material that must be removed.

Used the cut and polish wheel to remove these nibs and make it smooth.

All done, nice and smooth.  Also removed the blue film from the inside and removed the strips from the outside.  Yes, it is likely a complete waste of time to do this and yes, I know you have to scuff the skins anyway during painting.  At this point, I have no idea if I will paint or polish so I am leaving the blue film on the outside for now.

Next was reaming the #19 holes to full size on the VS FWD skin.
 
And then using the squeezer to dimple the #19 holes using #8 screw dimple dies.

All done.

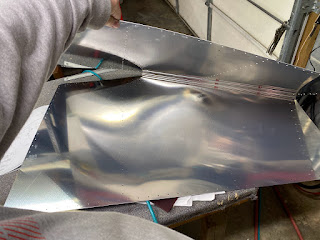
On to the VS Main skin....I also removed the blue film from the inside and removed the strips from the outside.  Yes, it is likely a complete waste of time to do this and yes, I know you have to scuff the skins anyway during painting.  At this point, I have no idea if I will paint or polish so I am leaving the blue film on the outside for now.

Takes a bit of working with the blue film therapy (as Smitty would say) to remove it without kinking the skins.  Take your time and go slow.  You can also wrap it around a roller and this helps remove it.

Next task was to remove this little bit of extra material.

Cut it off using some snips.

Left with these nubs sticking out.

Used a file to knock them down.

All done, nice and smooth!

Final reamed the #19 holes to full size on the VS Main skin.

Deburring all the reamed holes.

Dimpling the #19 holes using a squeezer and #8 screw dimple dies.  Also dimpled the #40 holes for 3/32 flush rivets.


All that is left before priming is to deburr the edges of the VS Main skin as well as the remaining holes.  I am old school in I think all holes should at least have a slight chamfer on them.  Therefore I will be deburring all holes including the ones that are pre-punched full size.  It will make me feel better!


Sunday, April 2, 2023

Camping trip....

We spent last week on a "local" camping trip with our 5th wheel.  Well.....the family did while I worked every day but spent the evenings at the campground.  The weather was great and everyone enjoyed the week.  Family time takes precedence over airplane building so no work was completed on the plane.

Sun Outdoors Pigeon Forge


Saturday, March 25, 2023

Started Vertical Stabilizer

Working on vertical stabilizer rear spar parts. - 2.5 man hours

Splitting the rudder attach/bearing brackets apart.  The tabletop band saw does a great job.  I use a wood cutting blade instead of a fine tooth metal cutting blade on this thin aluminum.  It does not clog up like the fine teeth of the metal cutting blade.

Plenty of blue film to remove from these parts.

Deburring the edges with the Scotchbrite wheel.  This does a great job.  I remove all the shear marks, flashing from cutting the parts apart, round over the edges and the corners.

For all the pre-drilled holes, I use a reamer to make em final size.  This is the #12 holes that will get bolts when the bracket is attached to the spar.

More blue film therapy as Smitty would say.

Cutting the bearing spacers and rudder stop apart.

These parts are allot thicker so they take more work on the wheel to get rid of the shear marks.

I have a brand new wheel on the right side.  It takes a bit to get these broken in.

Notices the shear marks from the factory.  These are all places for cracks to form later.

Rounding the corners of the round holes with some emory cloth.

The upper and lower bearing assemblies cleco'ed together.

Final ream/match ream the #30 rivet holes.

Deburr all the holes.

Use my large deburr bit on the smaller bearing holes.

Separating the VS Aft Spar upper and lower cap strips.

Marking a weird amount of material to remove from the top end of the bottom spar cap strips.  Have no idea why they leave this to the builder.  (Edit: I was reminded that the press brake tooling needs something to work against to form the radius in the part.  Makes sense now!). They also don't give all the dimensions for the cut, they assume you will just know to follow the existing edge down to the notch in the part on the end.

Here is the area to be removed.

Easy peasy with the bandsaw.

Removing the flashing where the parts were cut apart.

Deburring and rounding the long edges.

Marking the alignment line for the upper spar caps.  Get this right or you will have edge distance issues.

These lines are to be centered up in the predrilled holes in the spar web to locate the upper spar caps.

Just put the line in the middle of the hole and clamp.

Rinse and repeat.

Locate the bottom spar caps by aligning their bottom edge with the spar bottom edge.  Use plenty of clamps.

Match drill the #30 holes about every 4th hole.  Use the spar web as a guide to drill the spar caps.  I am a cleco in every hole I drill kind of builder.

Match drilled the #30 holes in the upper spar caps.

Went back and match drilled the remaining #30 spar web to spar cap holes.  Like I said, I like to use allot of cleco's.  Seems to help keep stuff aligned.

Next was to match drill the #30 holes from the spar flange to spar caps.

One side done.

The other side done!  That is a ton of holes!

Next was match drilling the #40 holes that will end up with nutplate rivets.

#40's all done.

Then came the match drilling of the #12 holes that will receive bolts later when the hinges are bolted on.  I have a long #12 bit that makes it easier to drill in close quarters.
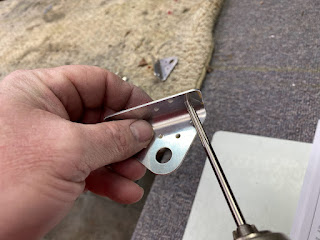
The rest of the #12 holes drilled.

3/16 clecos in the #12 holes.


Spar prep complete.  Time to take it all apart and deburr all the holes and clean out any chips.


Thursday, March 23, 2023

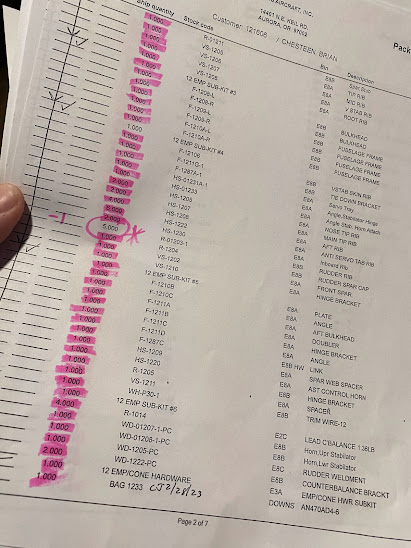
Inventory complete

Finished my Emp kit inventory this evening. Missing one rudder rib. Not bad I guess! I have been lucky in the past as all prior kits were complete. Now to get at it!

Wednesday, March 22, 2023

N number reserved!

Reserved my N number today. I went with N912BC and found it was available. All the other cool ideas I had were taken. "912" is obvious a nod to the engine as well as the "12" and "BC" for Brian Chesteen. It seems to flow off this hillbilly's tongue pretty good and sort of reminds me of 310 Pilot's tail number.